You are browsing camaro6 
 09-09-2018, 08:31 PM
|
#1 |
        Drives: 2016 2SS M6 Mosaic Blk Met-SOLD Join Date: Jun 2016
Location: KY
Posts: 2,934
|
DIY removing scuffs and paint transfer from bumper
I had a customer bring me a Buick that had hit some parking structures in a parking garage. It had scuffs and paint transfer. He thought it would need to go to the body shop, but asked if I could give it a shot first.
I thought I would go ahead and do a write up and maybe somebody will save $500 instead of going to a body shop.  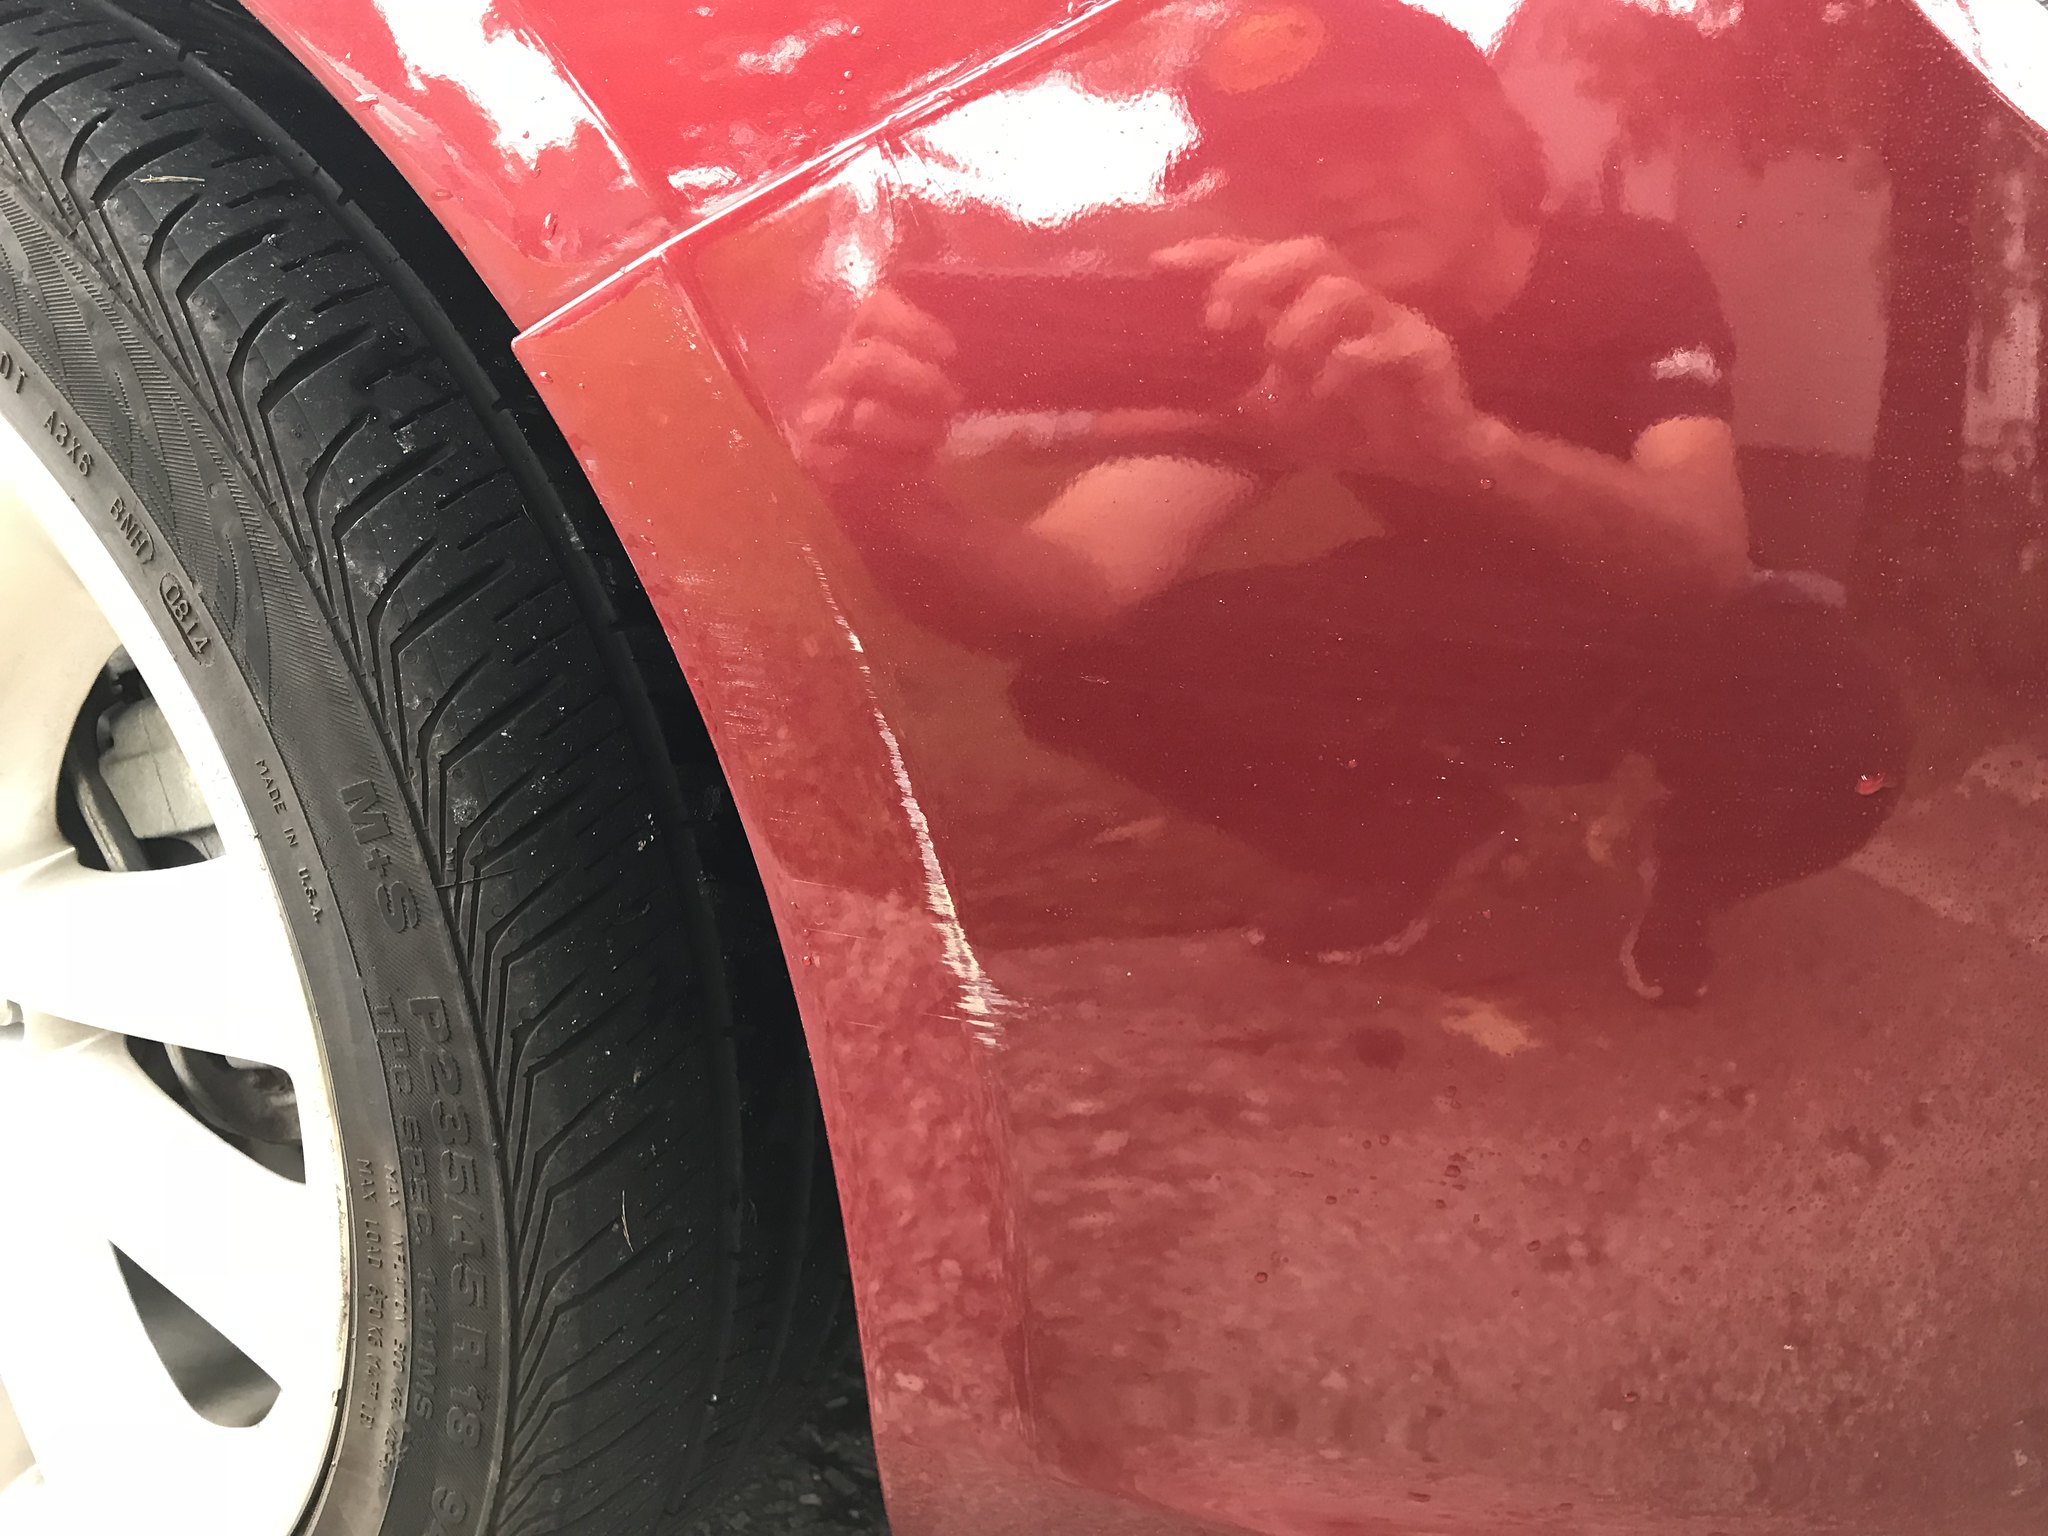 I started off with a good scrubbing wash with Chemical Guys Wash & Gloss. I clayed the area with Chemical Guys Heavy Clay Bar and CG Synthetic Detail Spray for clay lube. The clay removed some of the paint transfer. I really went over the area many times, pressing hard since I knew I was going to be polishing. To start, I used a dual action polisher (Makita PO5000C) and an orange pad. I started with Meguiar's Ultimate Compound, which has a aggressiveness rating of 8 on the Autopia Polish Chart. https://www.autopia.org/forums/paint...son-chart.html It removed a lot of the paint transfer, but there was still some paint left. I moved up to Wolfgang Uber Compound 3.0 which has a rating of 10. This removed all the paint, but I could still see a pattern where the paint transfer had been. It looked kinda like "orange peel" or maybe a glue residue kind of look. I moved up to a yellow pad (heavy cutting) and got the rest of it off. There were still some scratches visible after removing all the paint transfer so I decided to wet sand the area. I used 3000 grit wet sand cloth and sanded lightly until the scratches were gone. This, of course left a little bit of sanding marks, in the form of a haze. I went back to the orange pad and the Wolfgang and compounded out the sanding marks. I followed with a white pad and Meguiar's Ultimate Polish (aggressive rating 3) and polished the area. At this point, the affected area looked polished shiny and incredible and the other side of the bumper was dull. So I clayed the rest of the front bumper and polished it with the white pad and the Meguiar's Ultimate Polish. 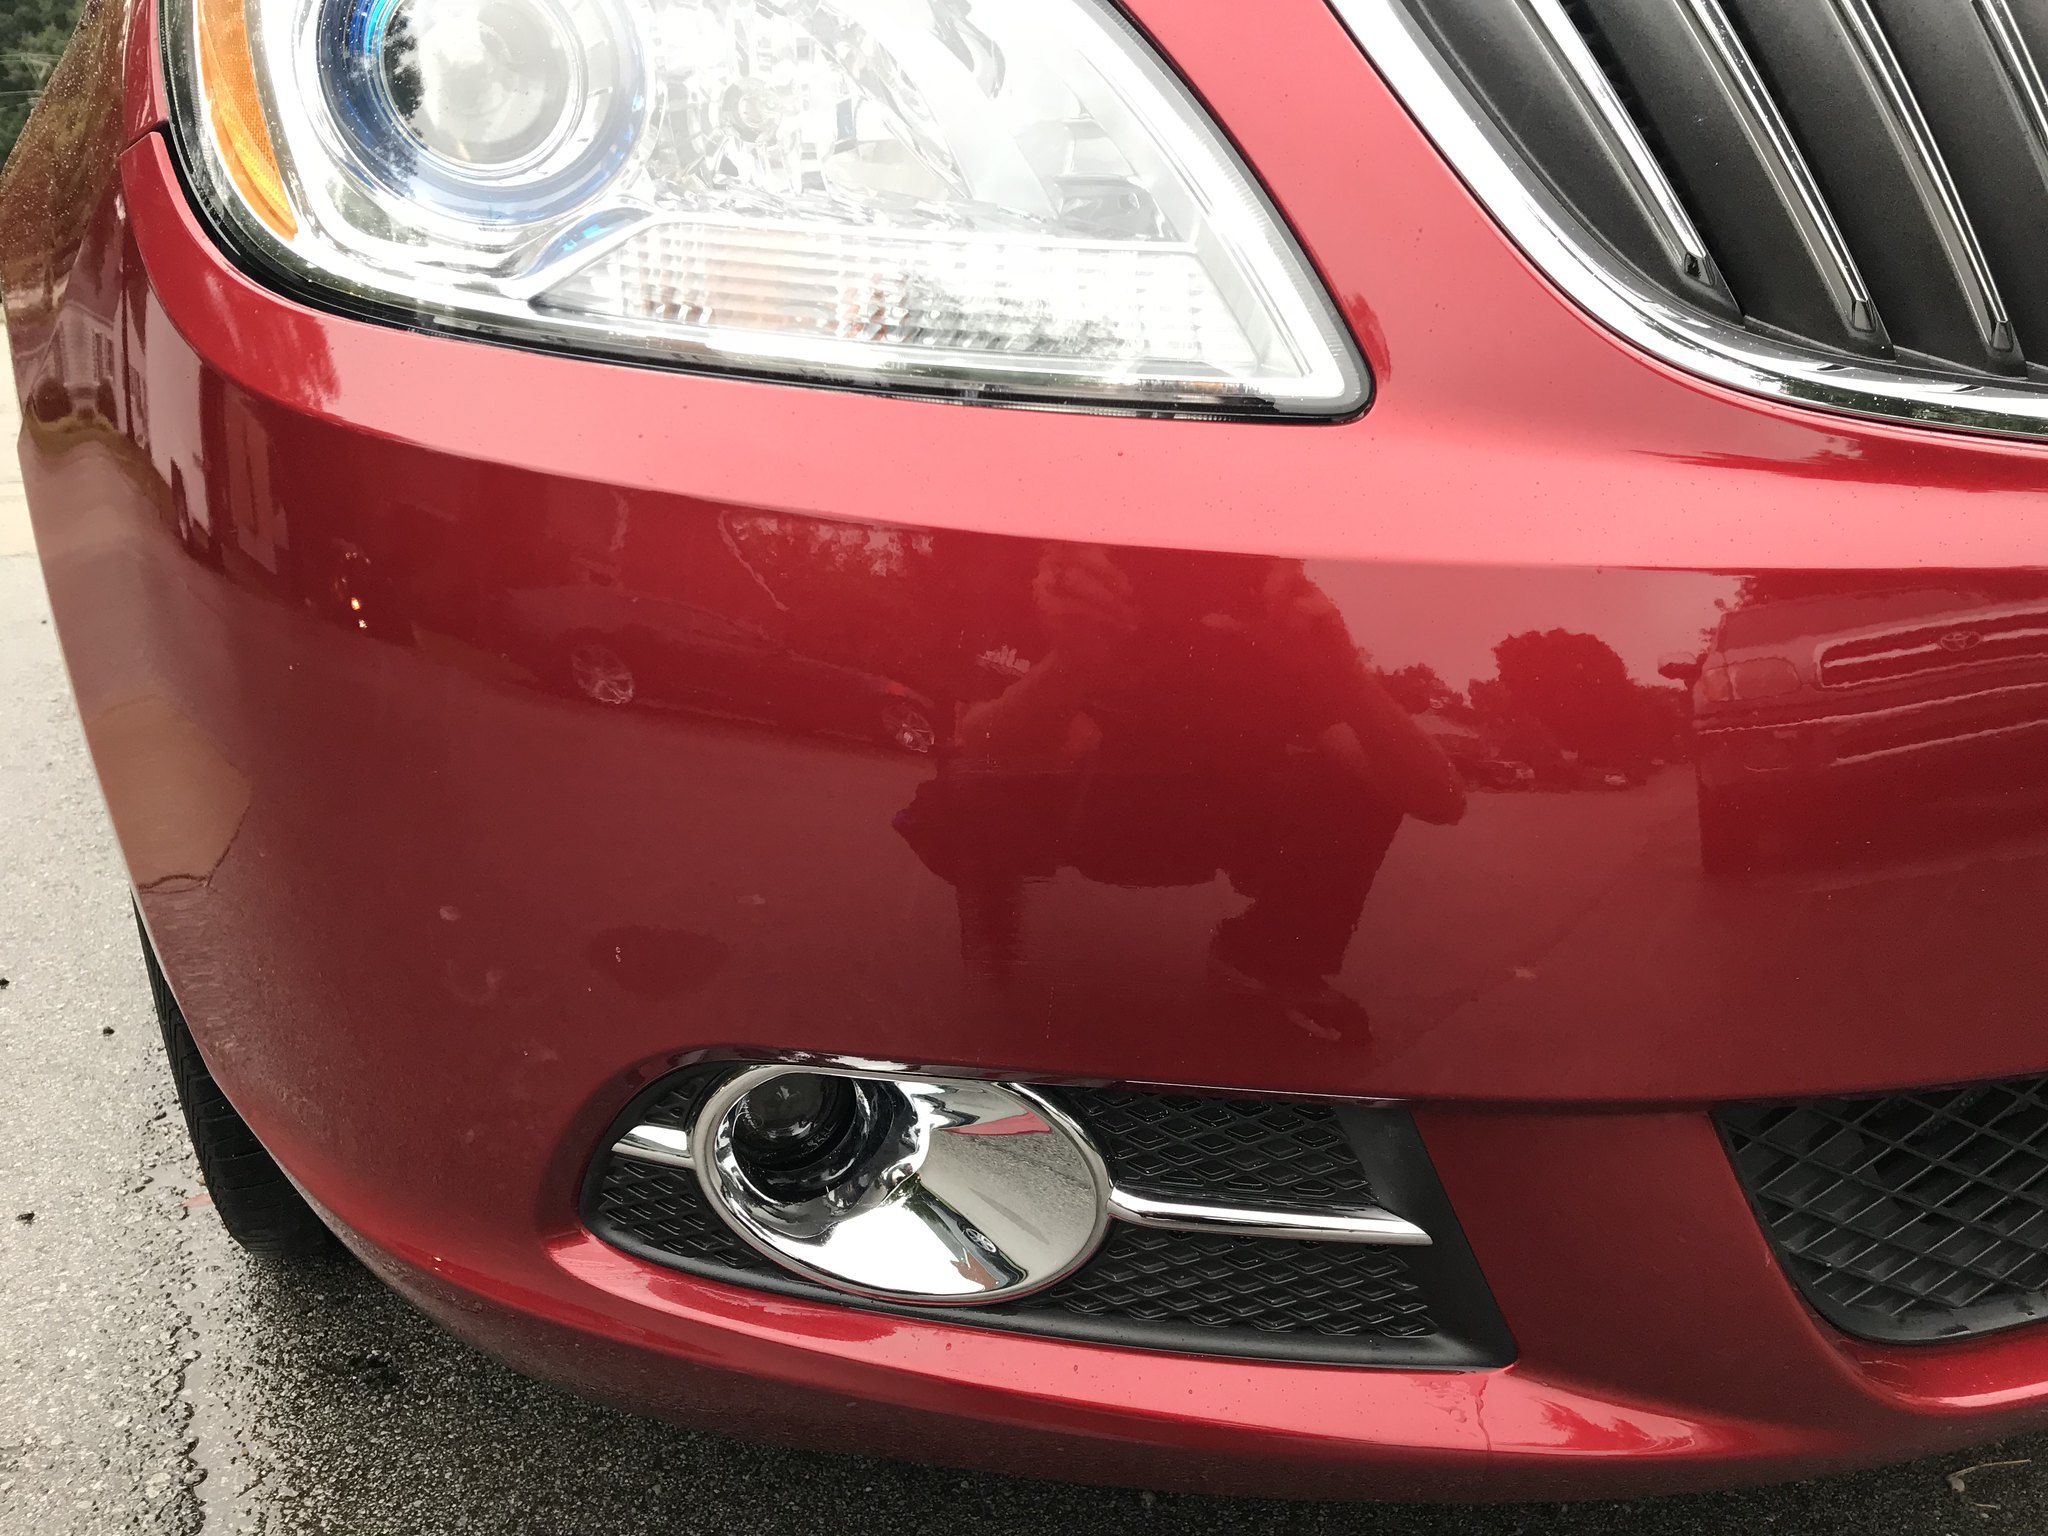 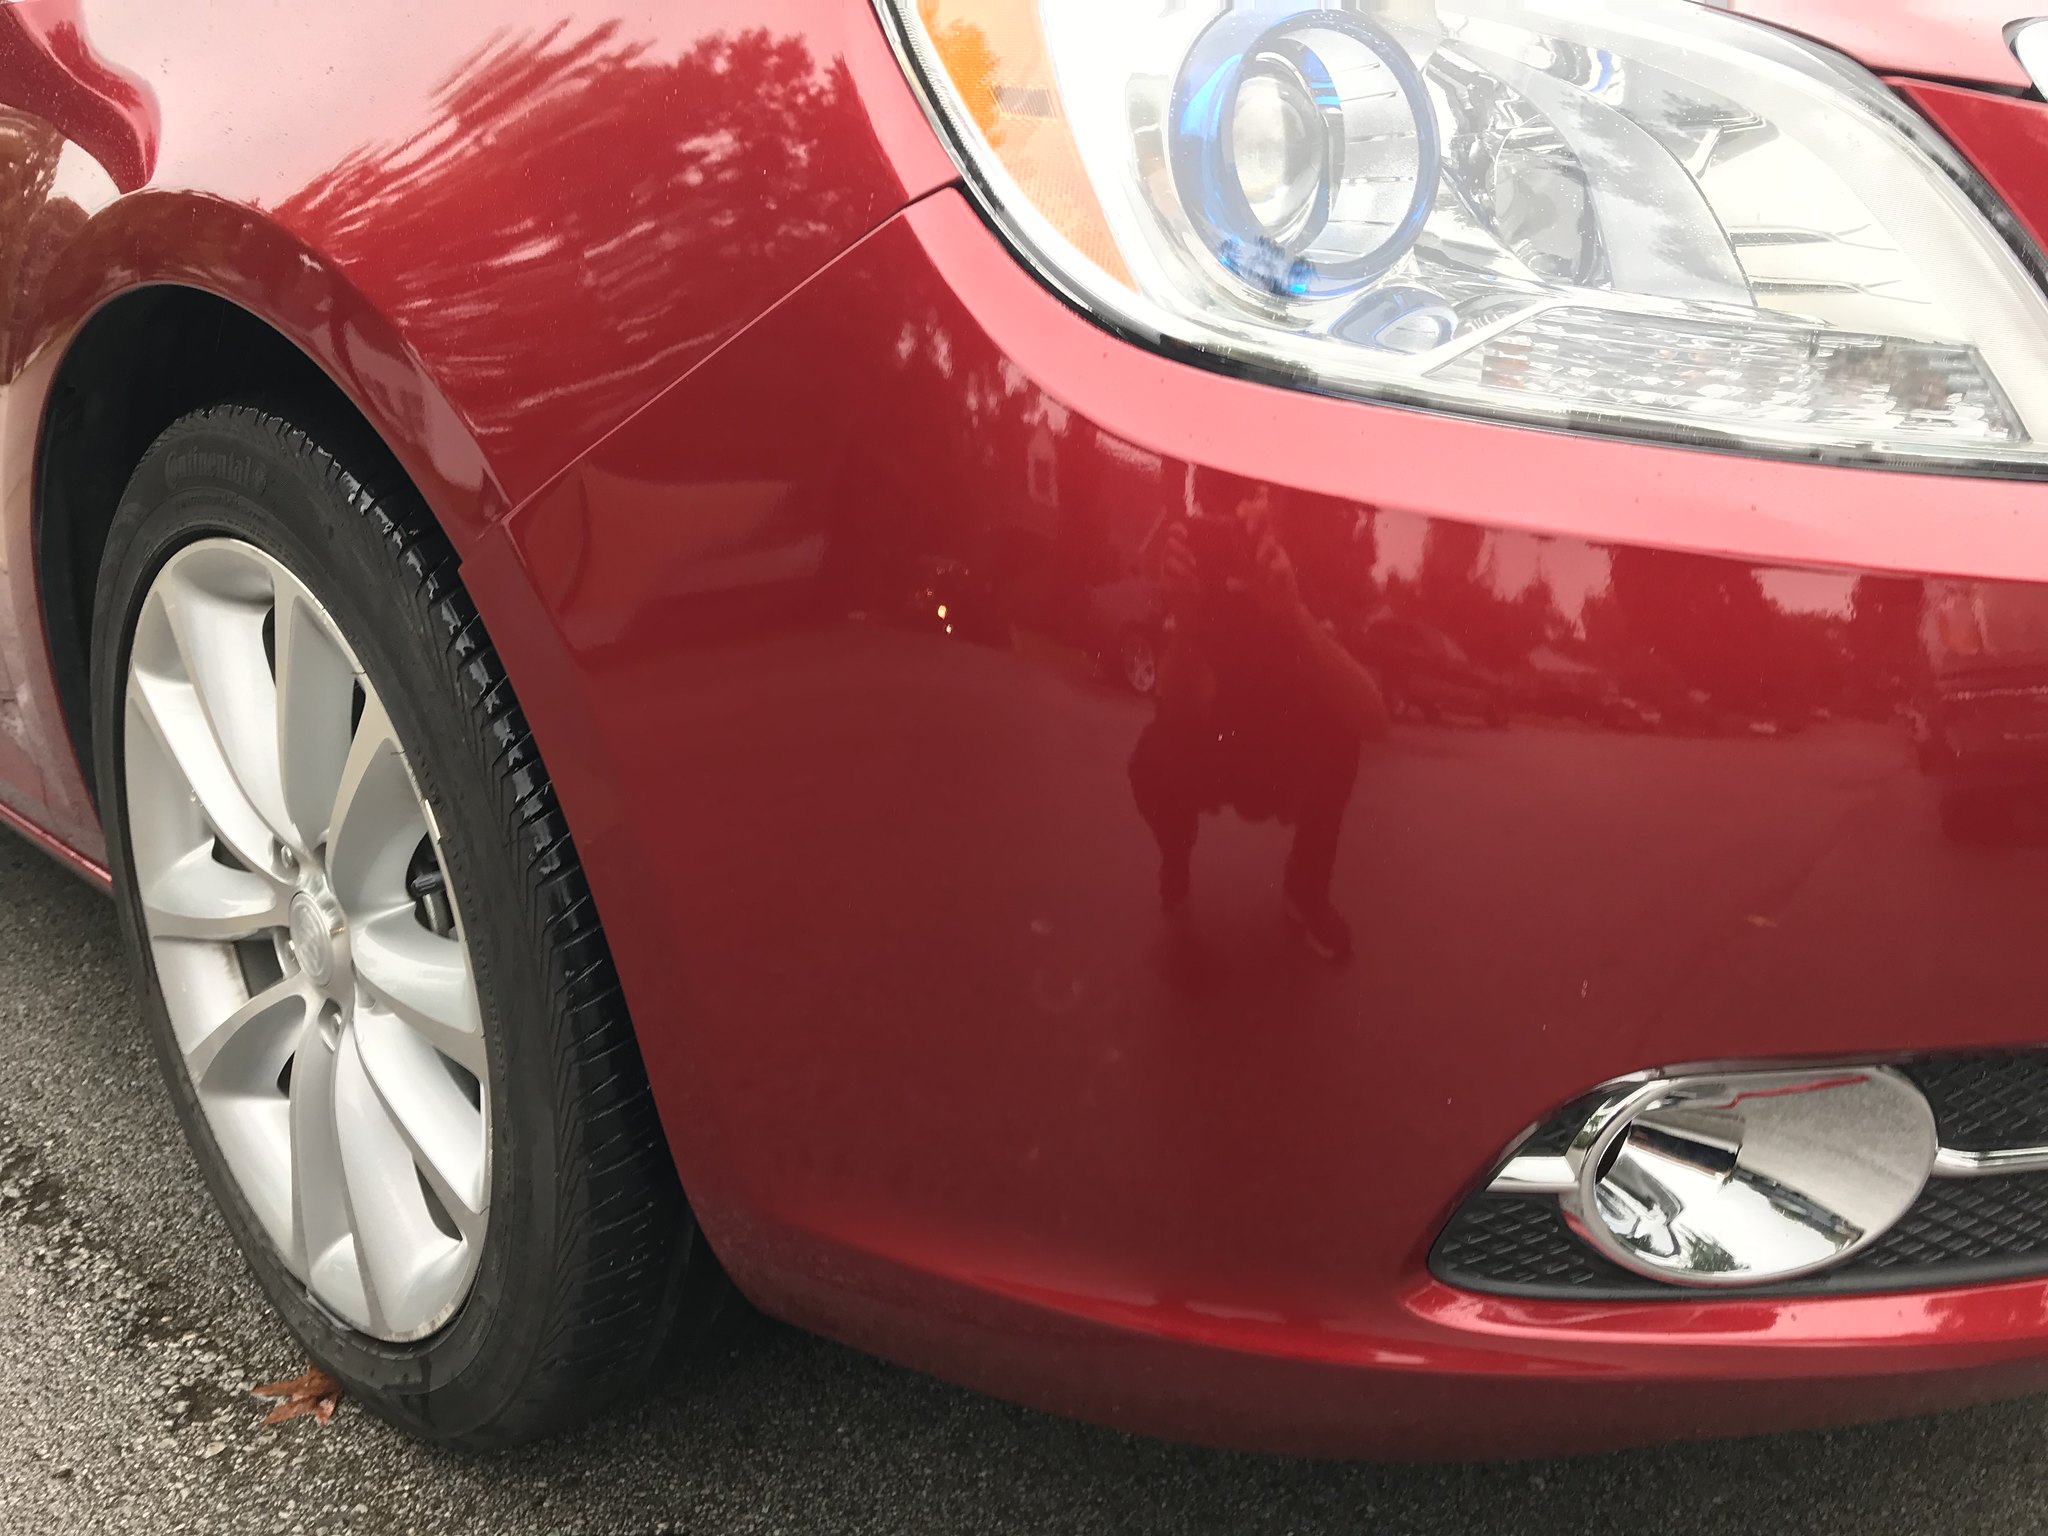 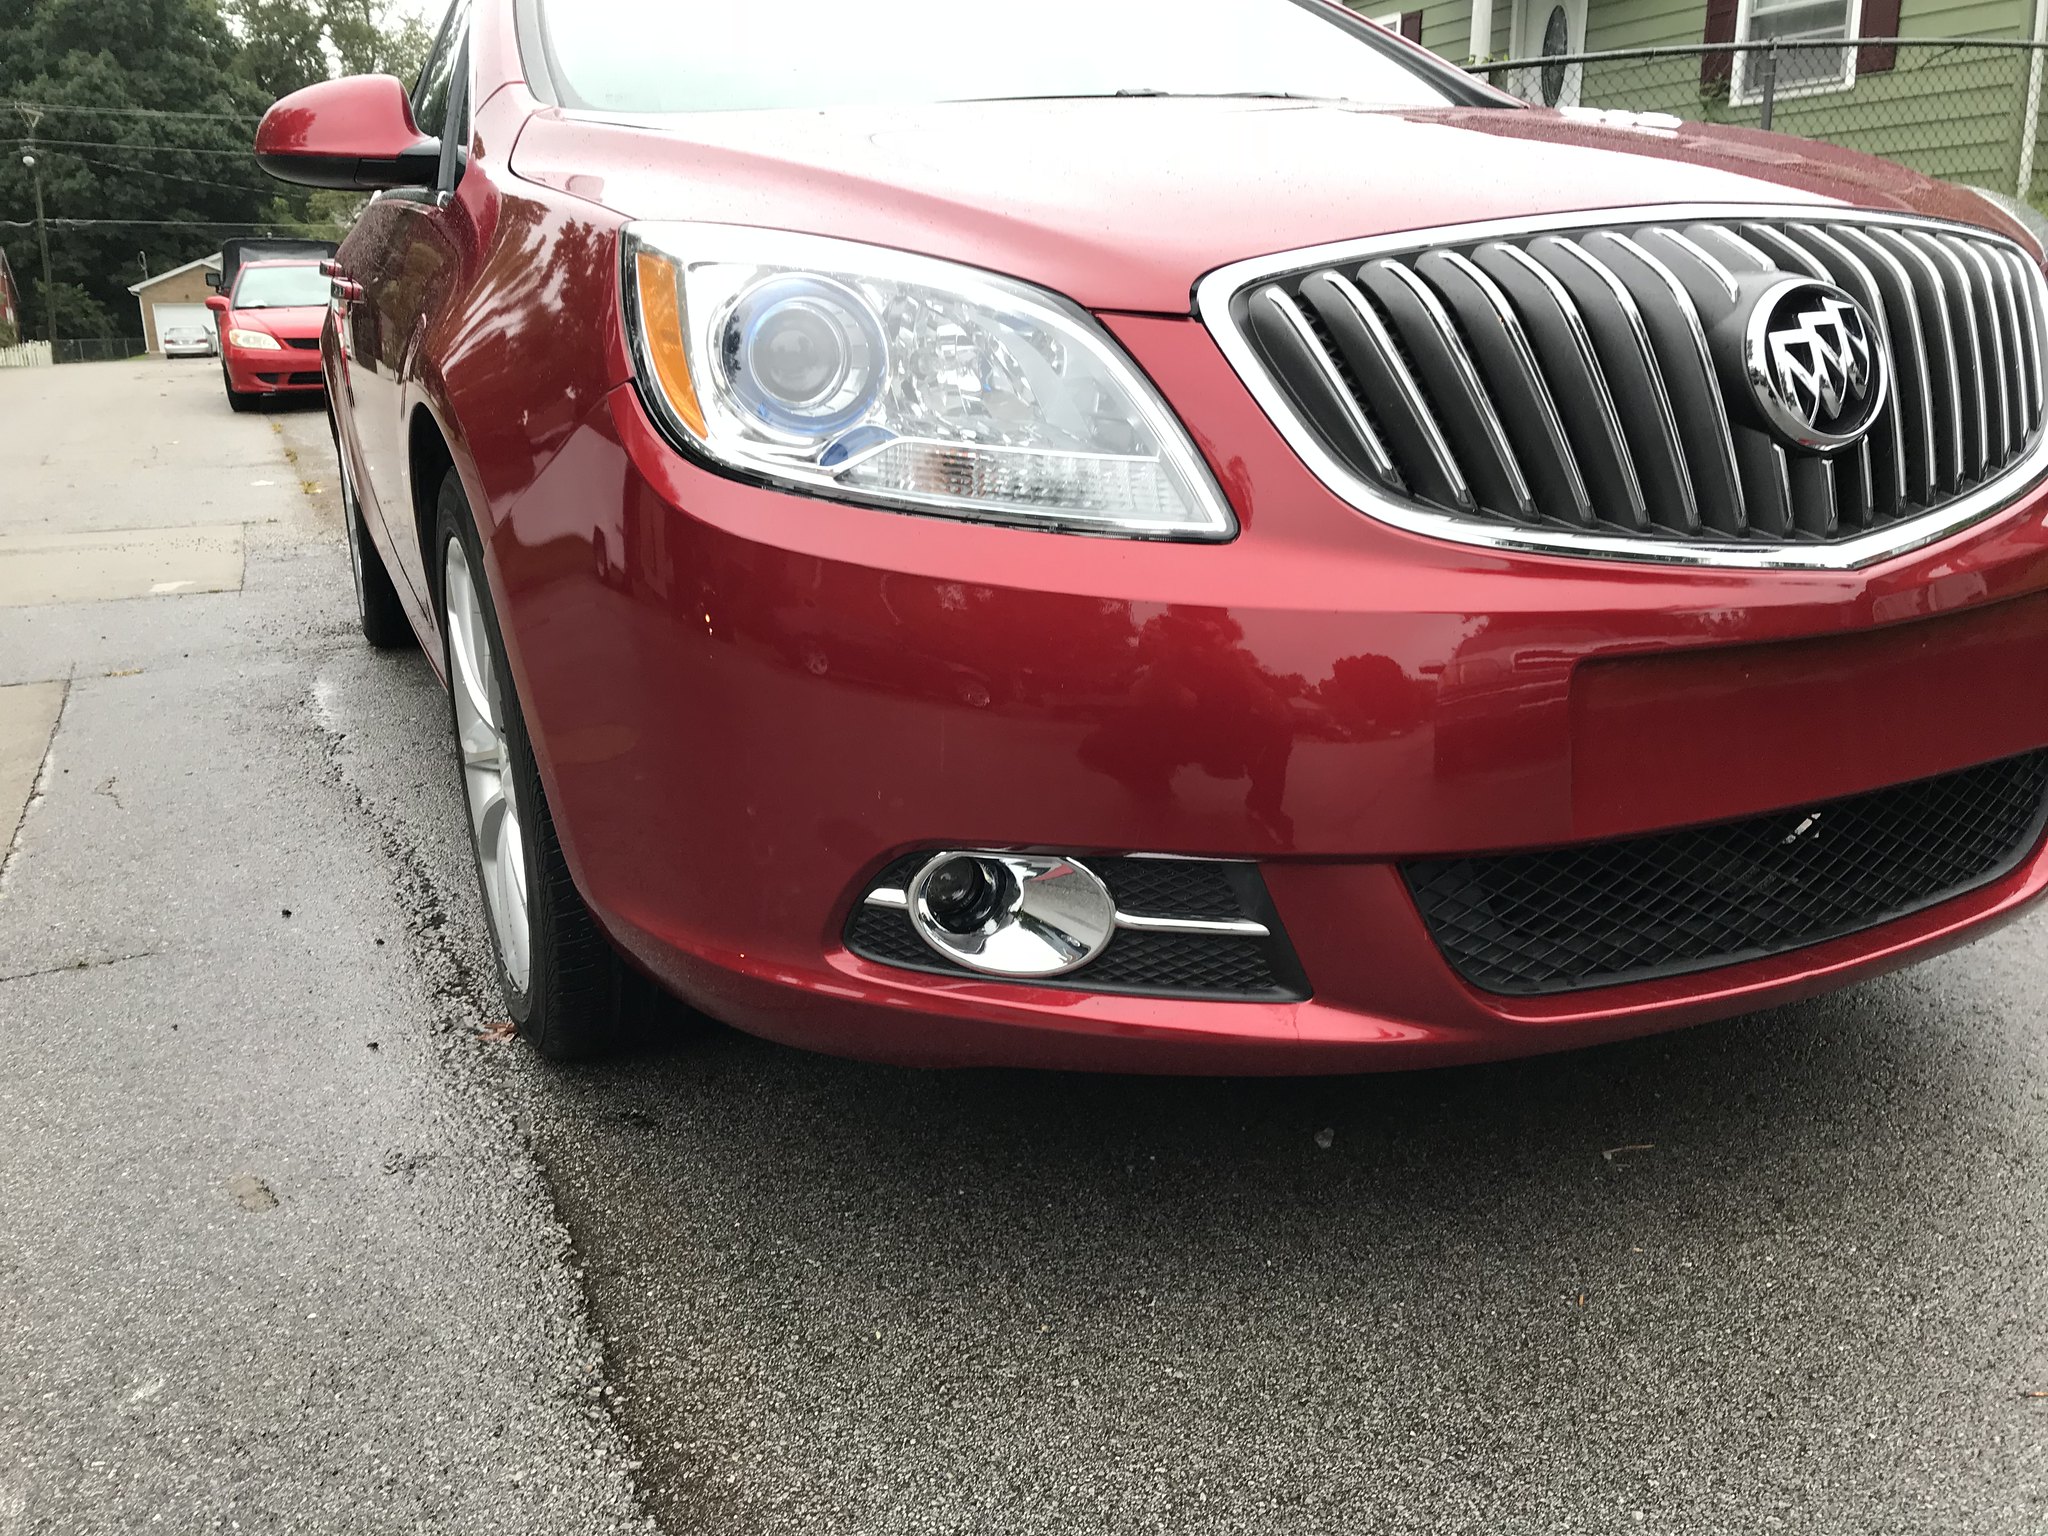 I finished out the entire car with Meguiar's Ultimate Fast Finish polymer sealant. It was raining when I gave the car back to the customer, which always sucks, but it shows off the awesome beading of the Meguiar's Ultimate Fast Finish! 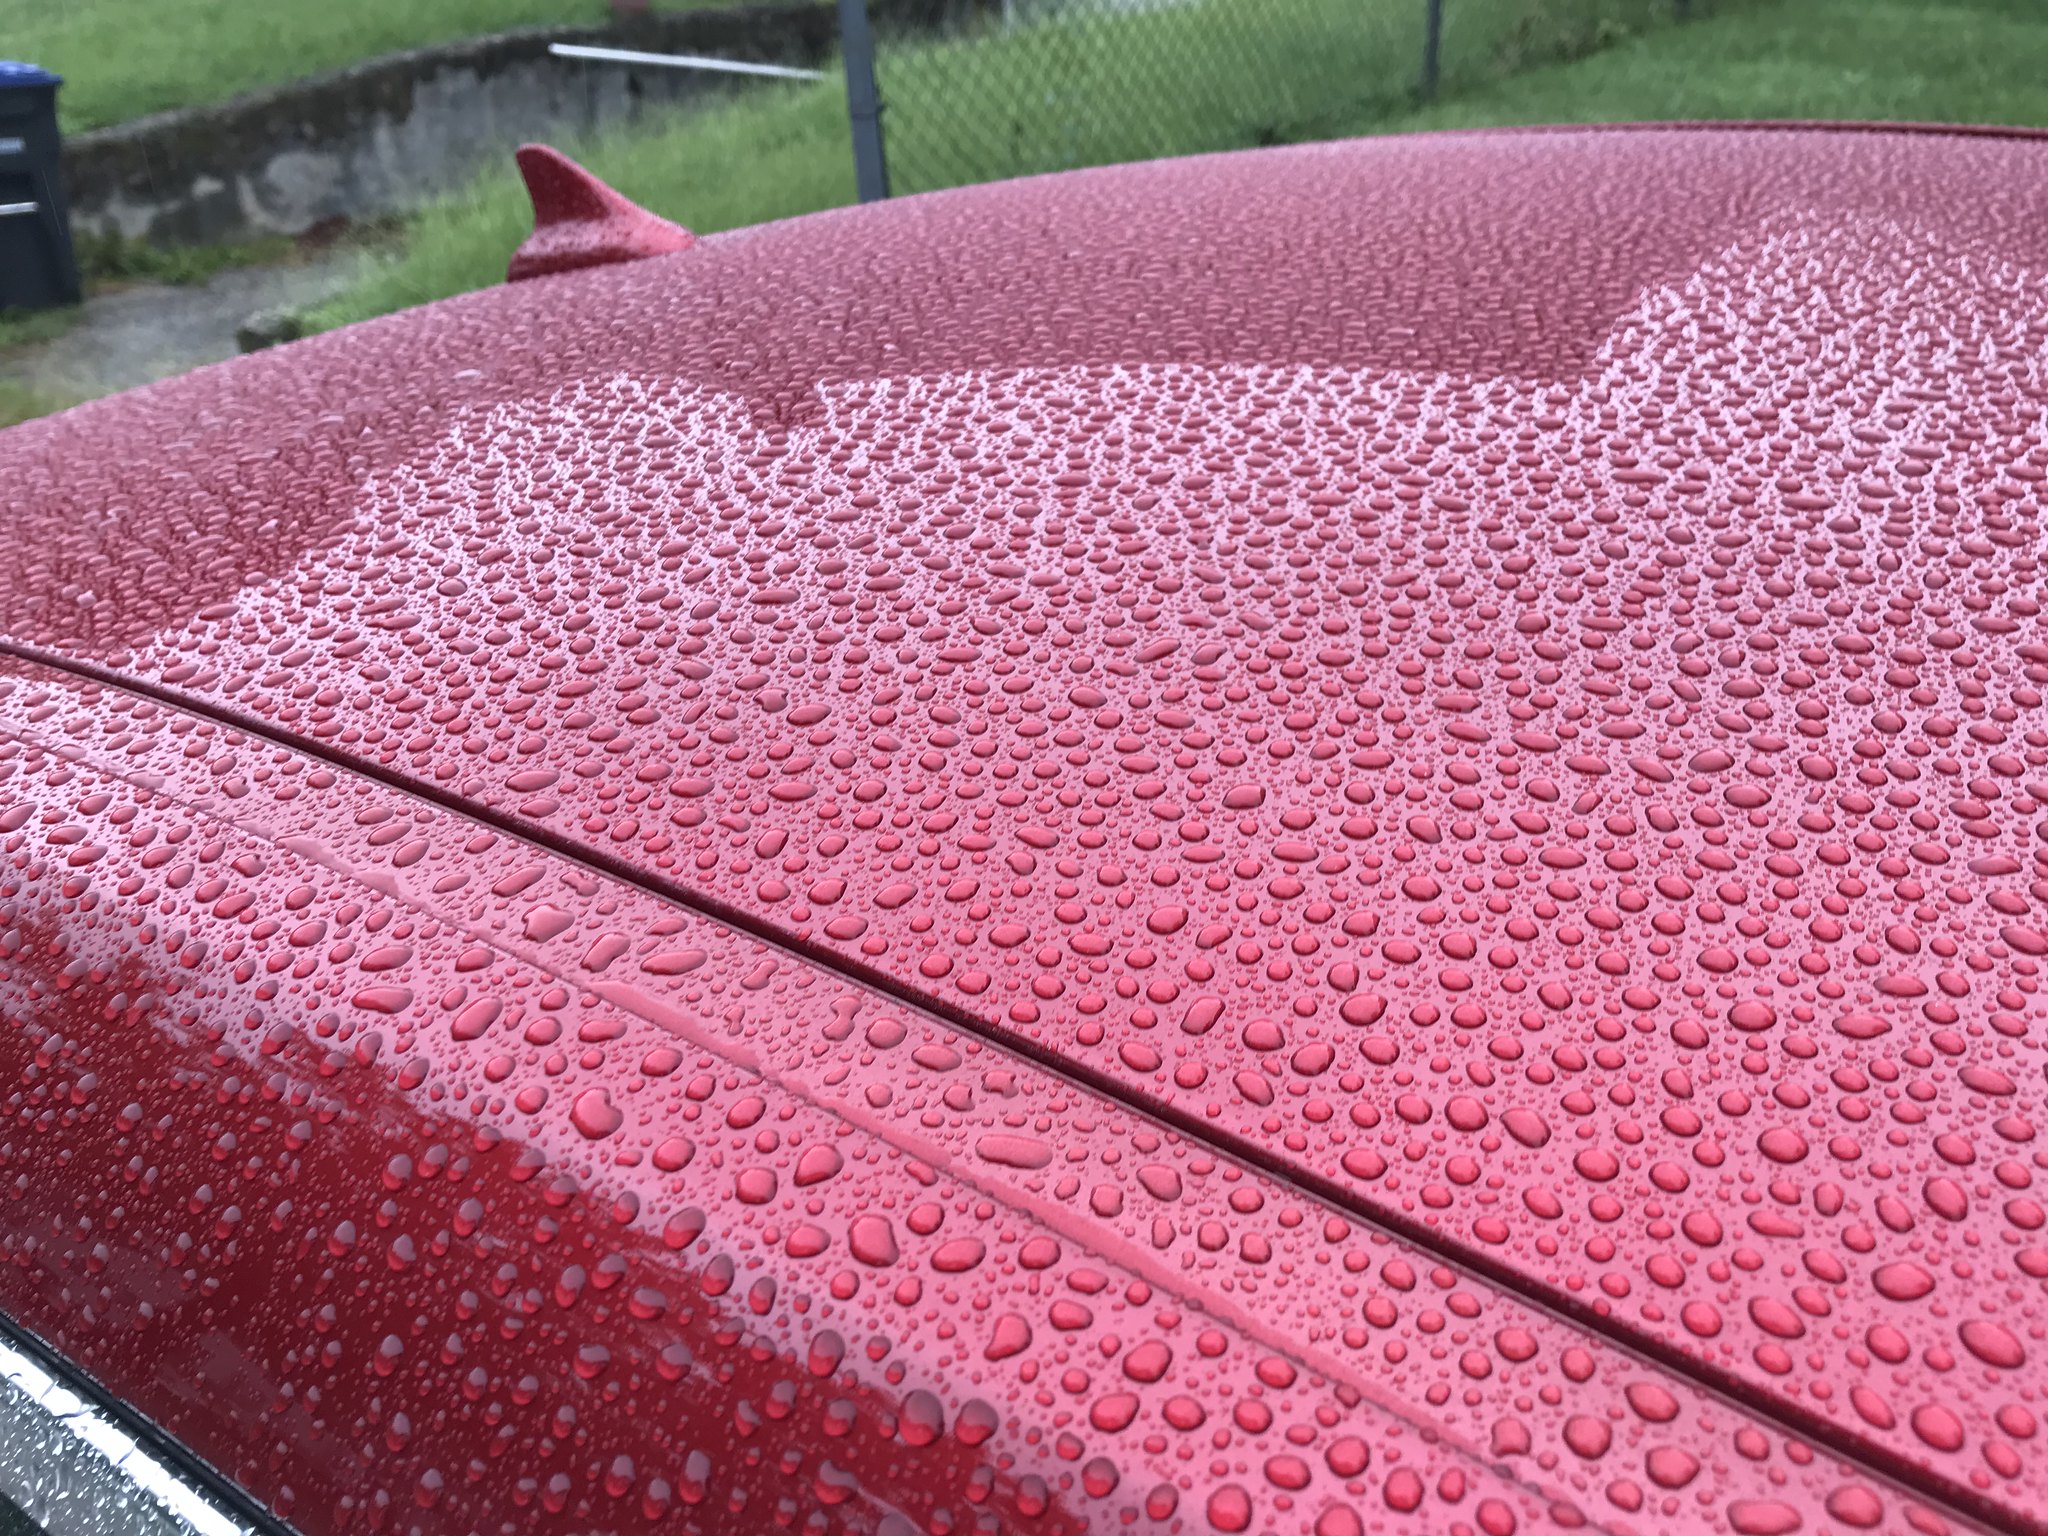 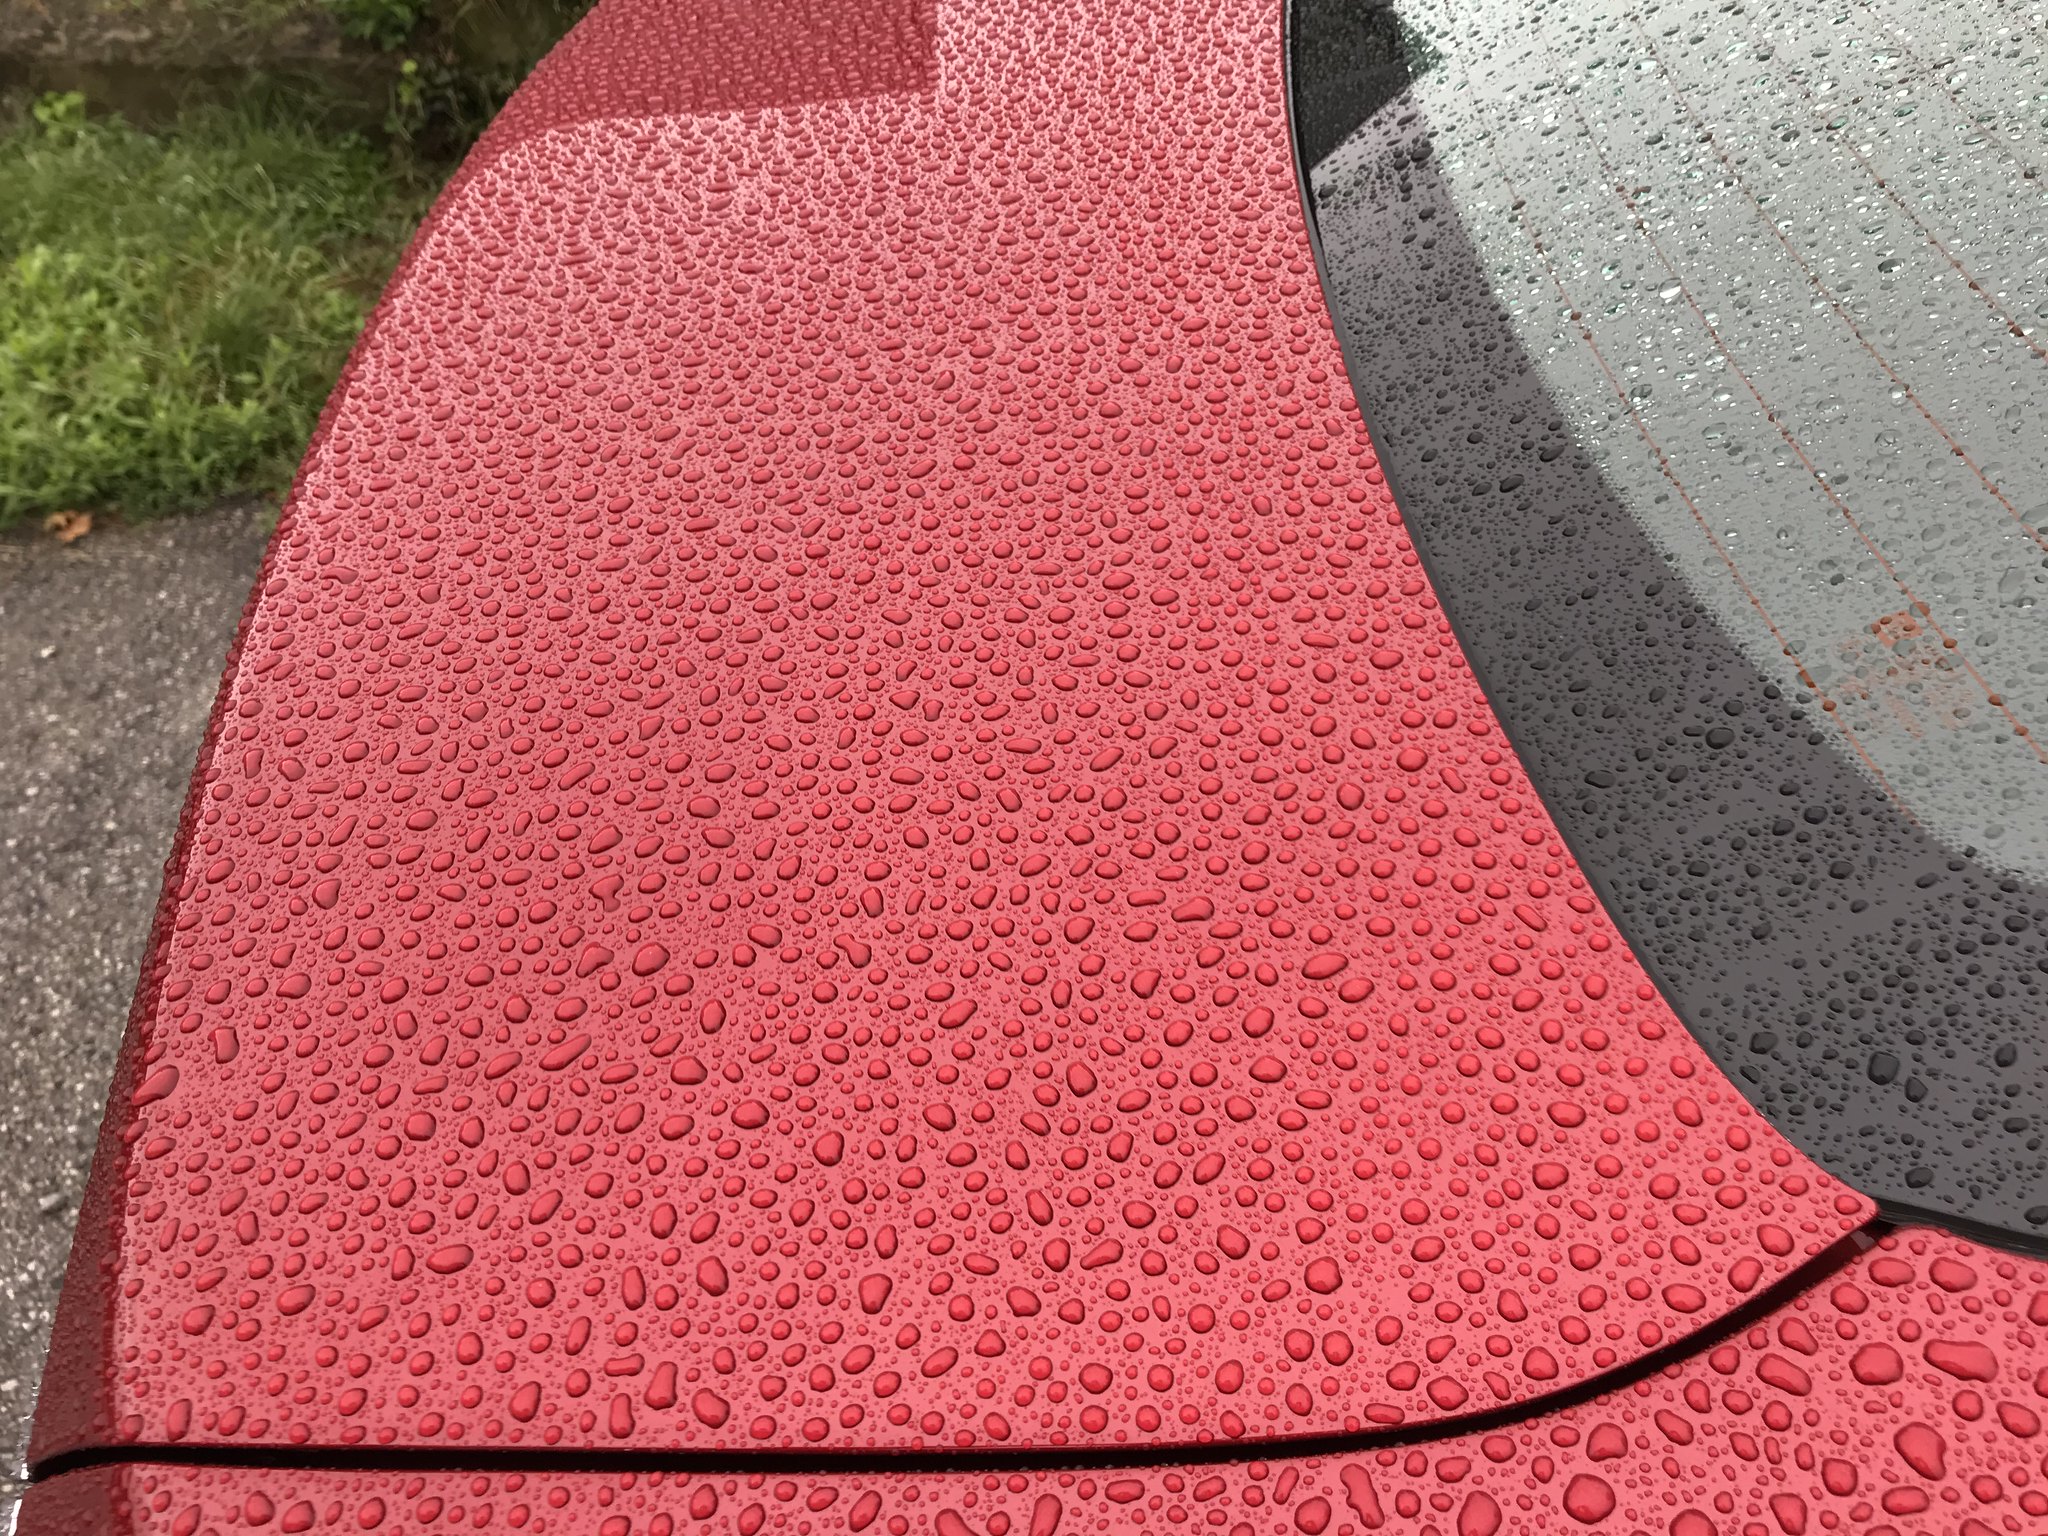 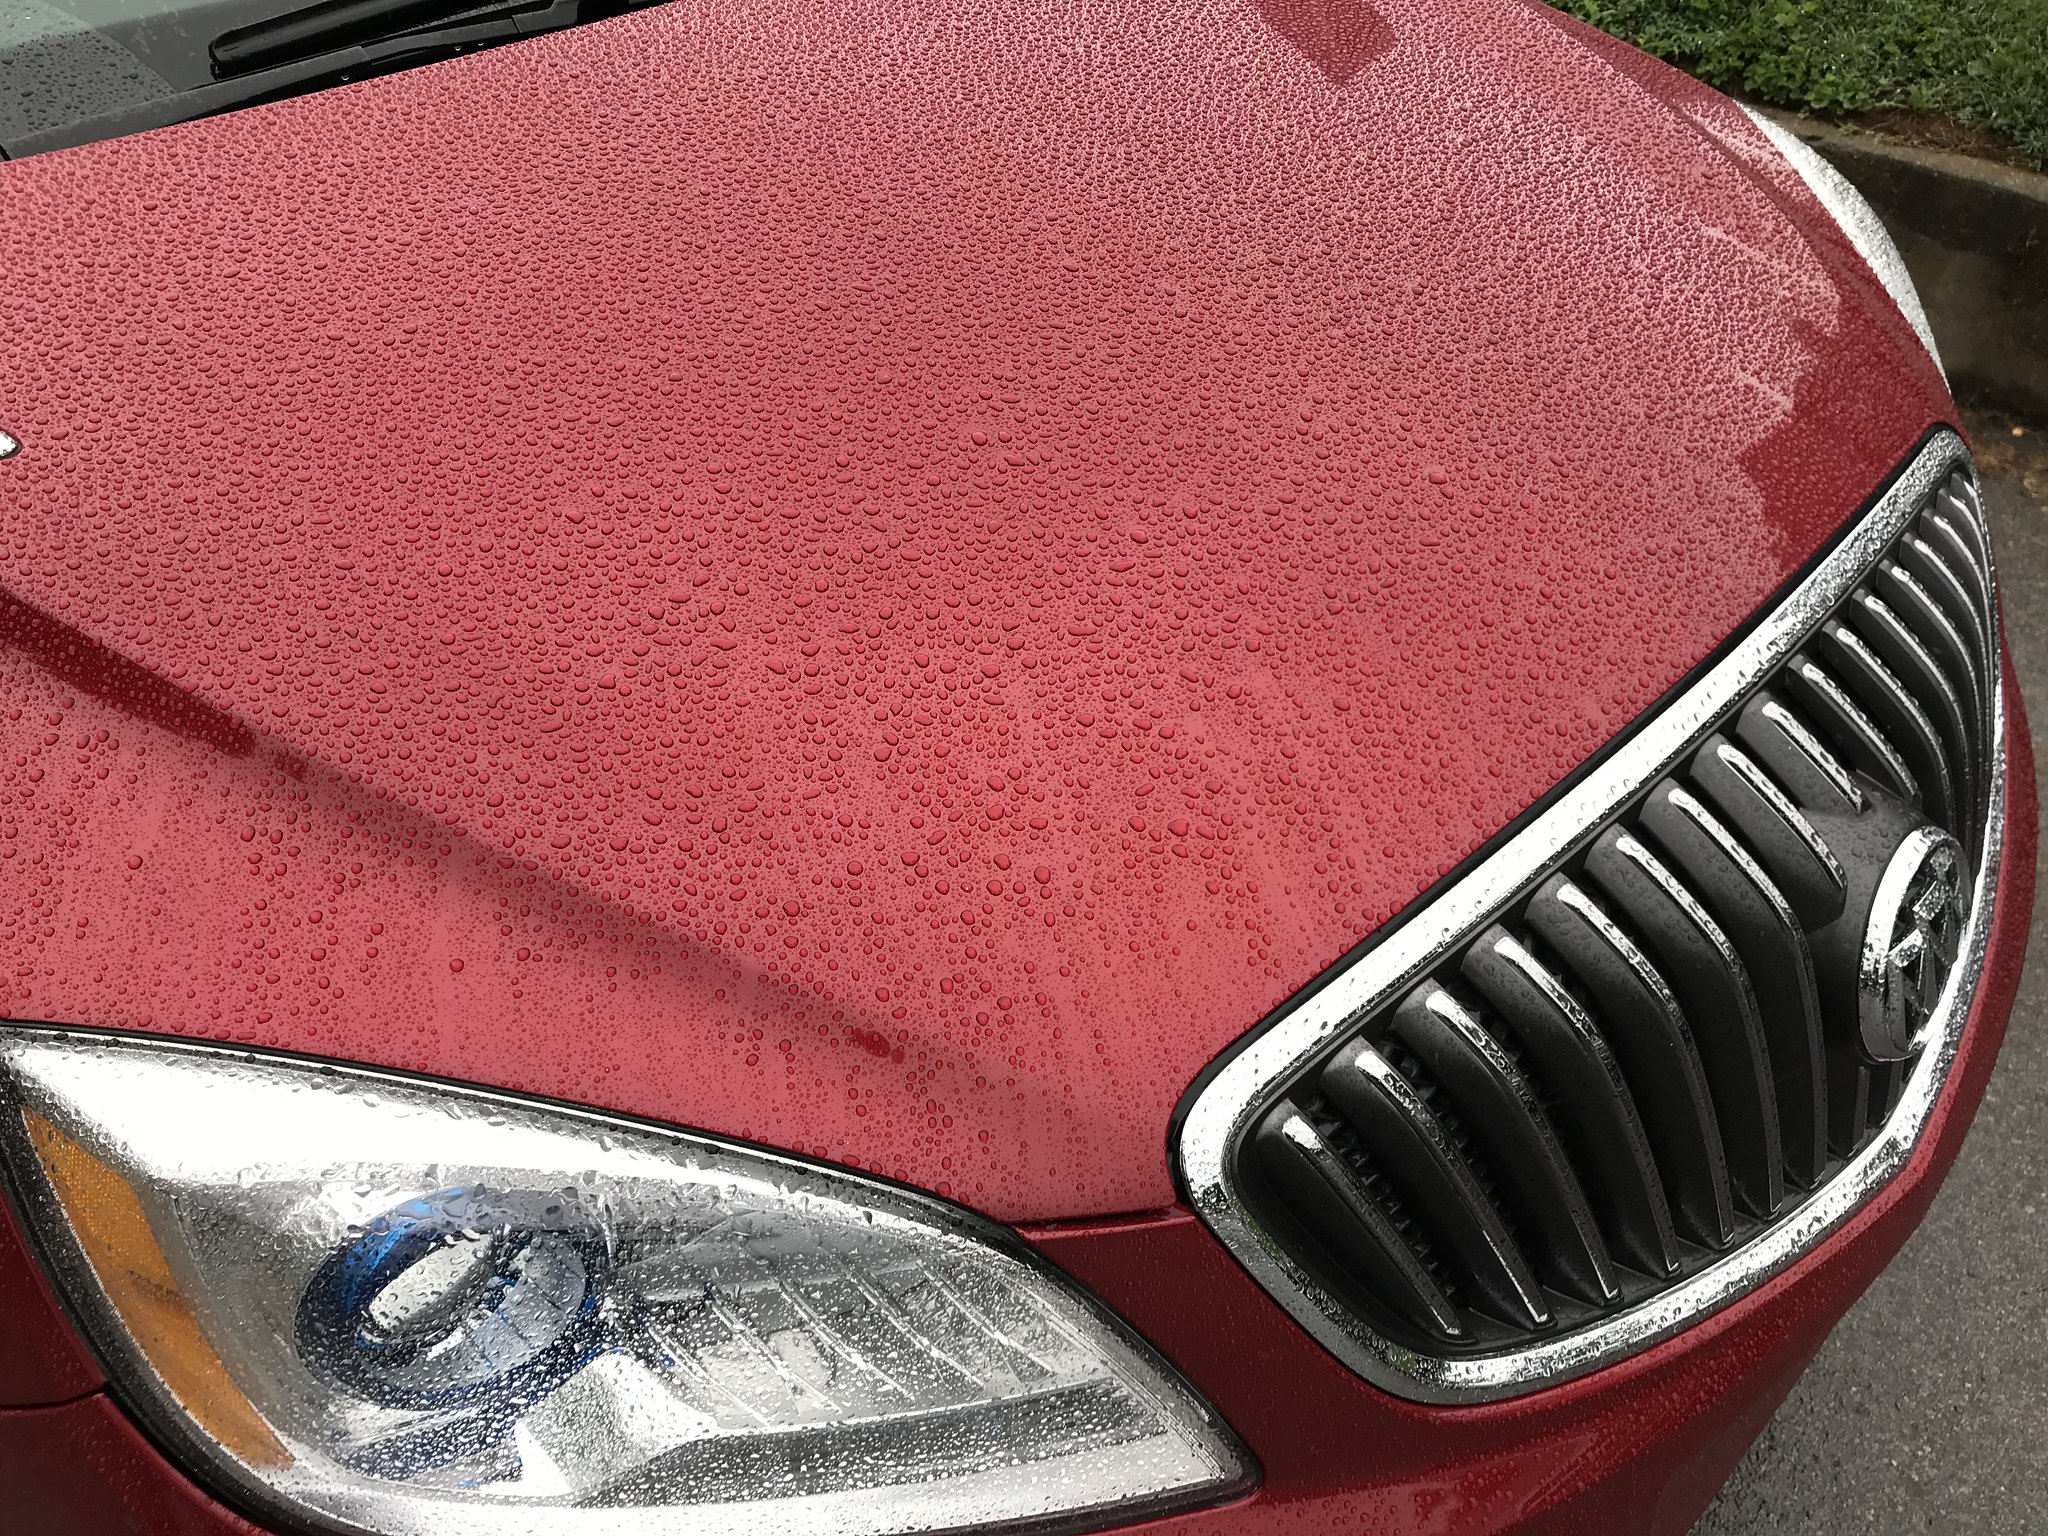 Customer was thrilled and didn't even have to use any touch up paint. Hope this helps someone.
__________________
Official Detailer of CamaroFest 8 & 9
https://www.autogeekonline.net/forum...st-8-pics.html https://www.camaro6.com/forums/showt...=521655&page=1 https://www.camaro6.com/forums/showt...=547470&page=1 https://www.camaro6.com/forums/showthread.php?t=527474 No one on Earth has detailed more Camaros. http://KirkTheDetailer.com |

|

|
|
09-10-2018, 02:27 PM
|
#2 |

Drives: The shiny ones. Join Date: Mar 2010
Location: In the detail shop!
Posts: 5,979
|
Nice save!
|
|
|
|
|
09-10-2018, 08:26 PM
|
#3 |
|
Camaros Of Northwest Ohio
|
Nice job Kirk. I have wet sanded several times and it really made me nervousness that I would go through the clear coat, but always got great results.
Where does the Ultimate Polish fit on the abrasive scale compared to M9 Mirror Glaze Swirl Remover? Bill
__________________
2023 2SS 1LE Red Hot
2016 2SS Black / Black & Arenaline Red (sold) 2023 GMC Canyon Denali 2013 2SS / RS - AGM / Jet Black (sold) 1970 1/2 Z/28 Classic Copper / Tan (sold many years ago) |
|
|
|
|
09-10-2018, 08:49 PM
|
#4 | ||
|
Drives: 2016 2SS M6 Mosaic Blk Met-SOLD Join Date: Jun 2016
Location: KY
Posts: 2,934
|
Quote:
Quote:
Ultimate Polish is a 3 and M9 is a 2. Ultimate Polish also has a little glaze in it.
__________________
Official Detailer of CamaroFest 8 & 9
https://www.autogeekonline.net/forum...st-8-pics.html https://www.camaro6.com/forums/showt...=521655&page=1 https://www.camaro6.com/forums/showt...=547470&page=1 https://www.camaro6.com/forums/showthread.php?t=527474 No one on Earth has detailed more Camaros. http://KirkTheDetailer.com |
||
|
|
|
|
|
|
|
|
Post Reply
|
|
|


