You are browsing camaro5 

|
 02-17-2016, 05:44 PM
|
#15 |
 
Drives: 2015 Black ZL1 m6, gone 2012 CTS-V Join Date: May 2014
Location: Metro Detroit
Posts: 225
|
Actually read the details and it states it will not work with the LS. I should read before posting

|

|

|
|
02-17-2016, 07:07 PM
|
#16 |
 
Drives: 2013 White ZL1 coupe 682hp/672tq Join Date: Sep 2015
Location: Isle of Wight VA
Posts: 134
|
Summit Racing® Manufacturing and Engineering Harmonic Balancer Puller and Installers SME-K-906008
Not cheap but it's everything you need |
|
|
|
|
02-18-2016, 06:06 AM
|
#17 |
 
Drives: 2015 ZL1 Blue Velvet Metallic Join Date: Mar 2015
Location: Melbourne, FL
Posts: 720
|
I went to O'Reilly's and they have a unique rental program. You buy the new tool and return it for full refund, regardless of tool condition. I noticed a list on the counter the last time I was there because they have an LS pulley removal tool on it. They have a generic installation tool as well, but I think the home-made version (I saw on another post on here a few months back) works just as well if not better according to others who have fabricated/used one.
__________________
Roto-Fab CAI, ARH LT, SW 3" catback, JRE tune, Elite-2 CC, VMAX TB, Big Gulp, WW II relo, Lingenfelter S/C reservoir
 |
|
|
|
|
05-02-2016, 01:34 PM
|
#18 |
 Drives: 2015 Camaro ZL1 Join Date: Mar 2015
Location: Dallas
Posts: 97
|
OK guys, I finished this little project over the weekend and have some feedback that should help the next guy...
First of all, make sure you get the correct puller. It is this one... http://www.amazon.com/OTC-6667-Harmo...ilpage_o00_s00 I wouldn't mess around with any other puller. This is the one and it pulls the harmonic balancer right off with no problem. I had a three jaw puller already and also rented one at Autozone, but couldn't get either one to stay on. For install, I went with the M16, 2.0 threaded rod cut down to 120mm and associated nuts, washers and a 1/2 coupler from the hardware store and it worked just fine. FYI, the threaded rod isn't as easy to find as people make it out to be and I live in a major metroplex. Most people don't carry metric threaded rod, so plan ahead (google "M16 threaded rod (your city name)" to find some). Make sure you have a 22mm socket, a 15/16 socket (if using the ARP Crank Bolt) and a 22mm open end or box-end wrench. Also, order a new A/C belt from GM. It is a stretch-to-fit belt and it is much easier to cut off the old one and put on a new one. Again, just plan ahead. In that regard, the A/C belt is a son-of-a-bitch to get on! Some people mention a tool that GM sells to put the stretch to fit belts on, but that tool will not work with the ATI damper setup. The new pulley for that belt is solid with no holes to bolt the tool to or wrap a zip-tie around (another trick recommended on the Internet). You just have to get the belt started on the bottom of the pulley with the belt on the side of the pulley closest to the engine and rotate the engine around while holding the belt on with your finger to keep it from slipping off. WEAR GLOVES! You almost get to the point where your finger is pinched between the pulley and a guide bracket before it will hold. I'm suprised more people haven't mentioned this in previous write ups. Next, some people have said you don't need to remove anything to do this. The upper shroud shield show below is a simple three clip removal and gave a lot of extra room. I highly recommend you do this. I also removed the two pulleys/guides (both on the same bracket) to the left of the supercharger coolant lines to make the A/C belt replacement easier. 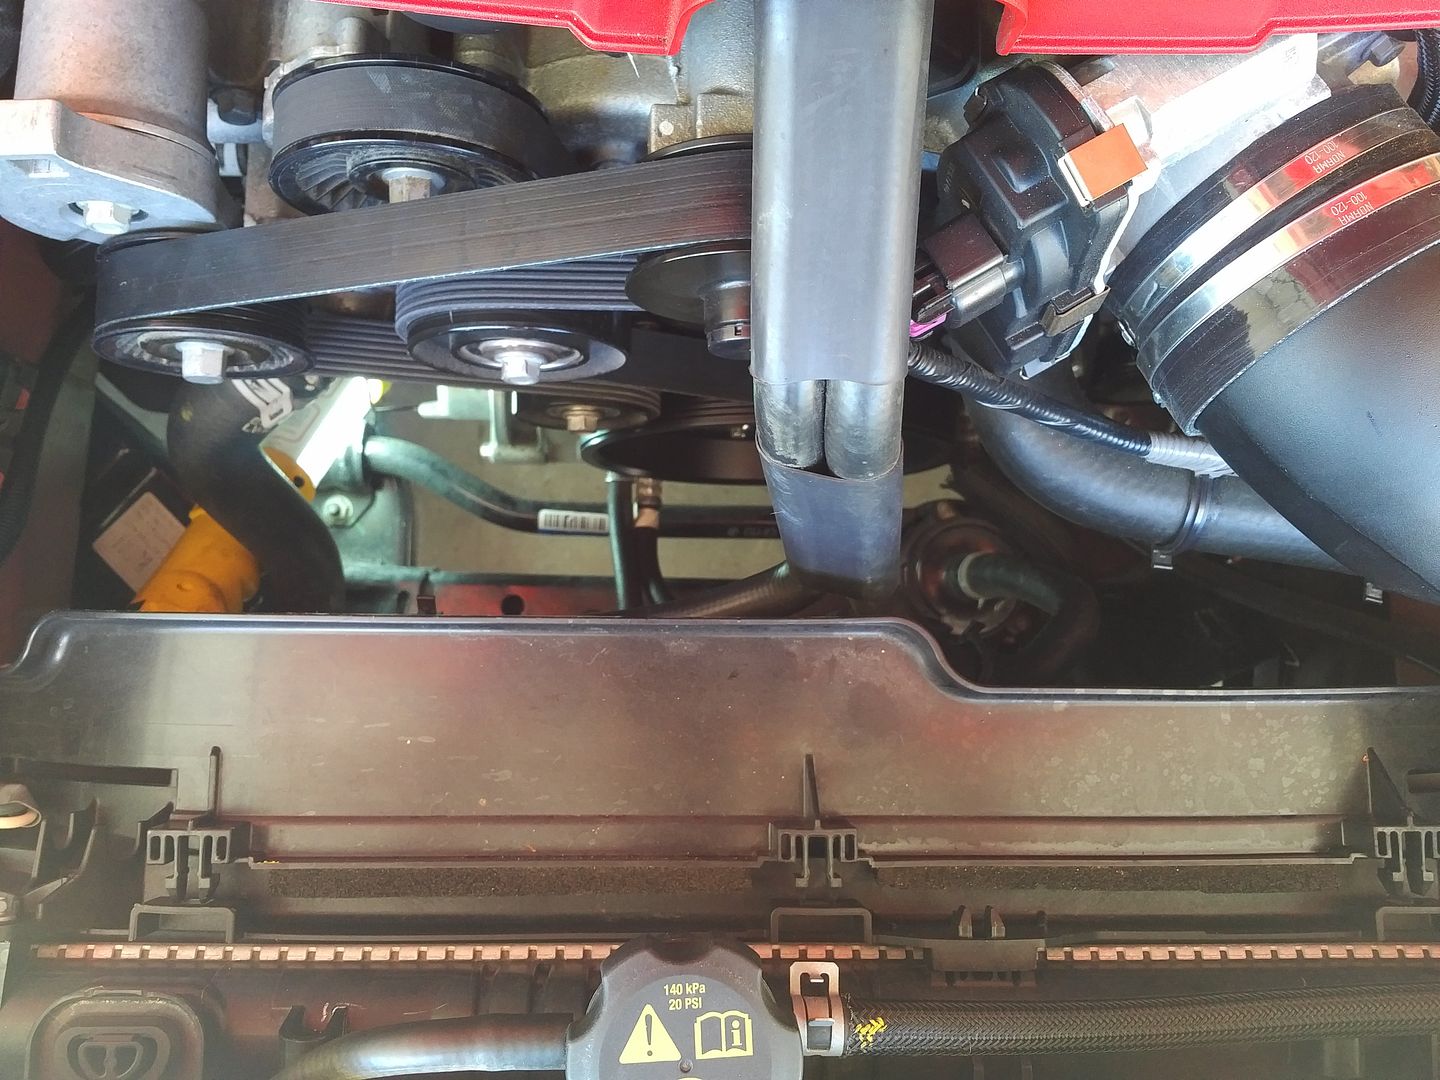 Shown here without. Also, I used a zip-tie and tied the supercharger coolant lines over to the right to give me room while I worked and then cut them loose when I was done (shown below). 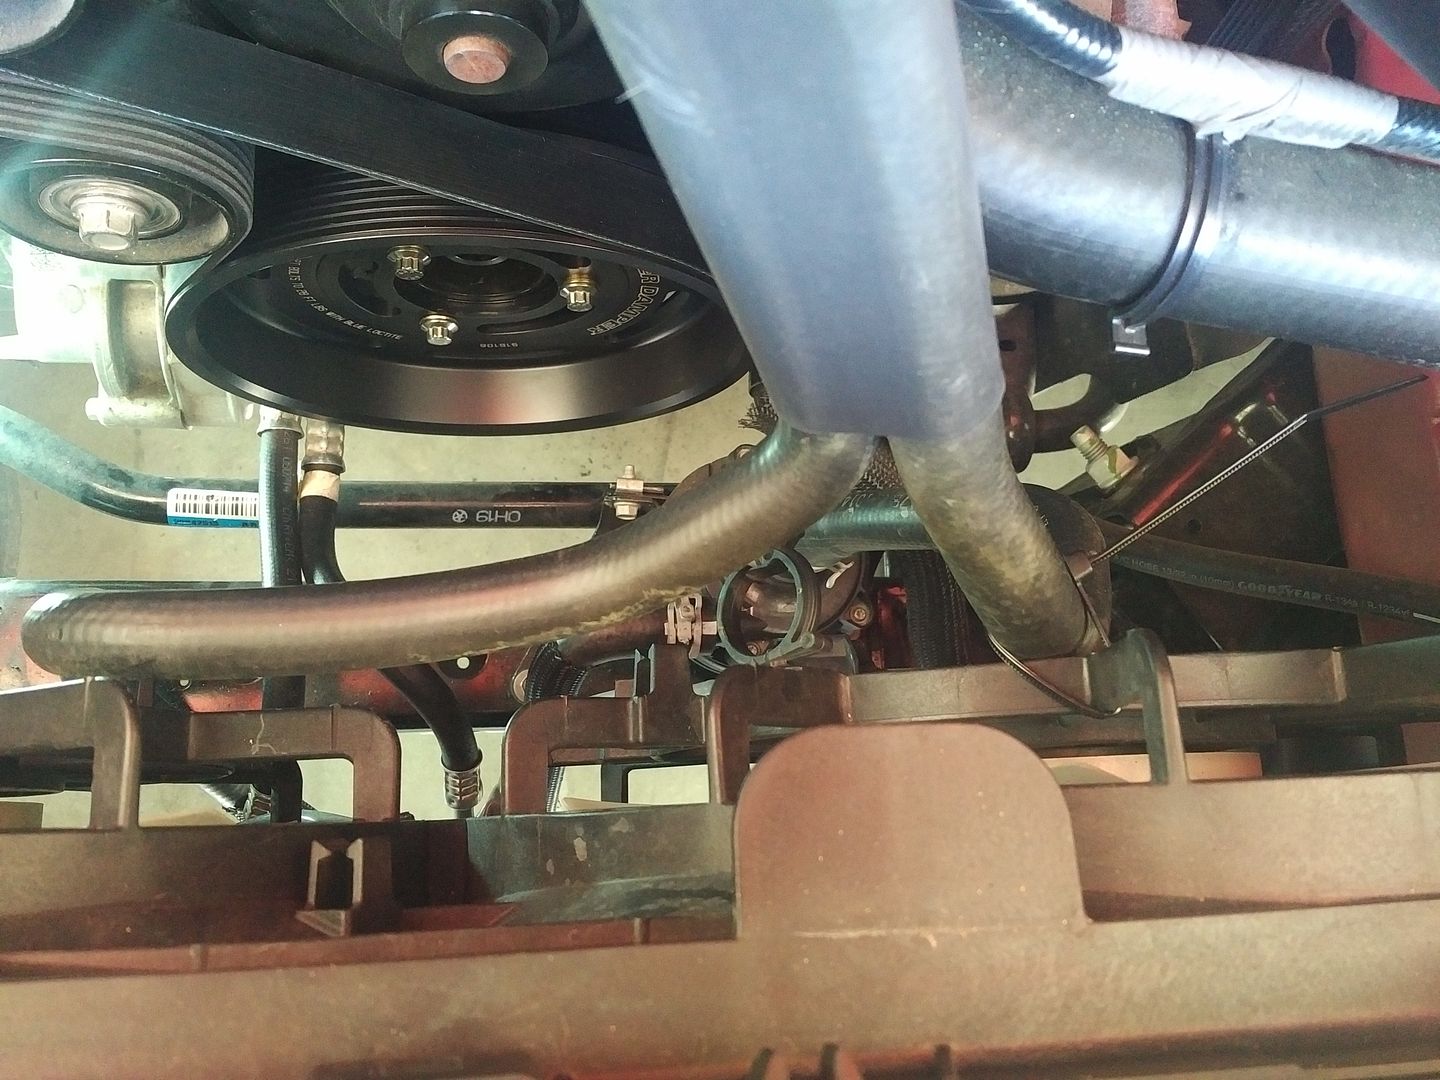 Other than these things, just don't get freaked out by how hard you have to crank down on the crank bolt when trying to torque it to 235 Ft/lbs. First of all, it pops and cracks when trying to seat the balancer (with the install tool) and then it feels like you are tightening it forever after that trying to get to 235 ft/lbs. To make myself feel better, I dialed the wrench back to 200, just to see if I was getting close. Then I cranked it the rest of the way. All-in-all, a very doable job and very rewarding when it was all done. I actually did a fist pump when I got that f-in A/C belt to pop on. Lol! Go for it guys and good luck!!
__________________
2015 ZL1 #377
 |
|
|
|
|
05-02-2016, 05:15 PM
|
#19 |
        
Drives: 18 ZL1 A10 Join Date: Nov 2008
Location: South East, FL
Posts: 3,024
|
How long would it take for the pulley job now that you worked out the bugs?
-bobby
__________________
2017 ZL1 M6 Bog City, 2013 ZL1 M6, 2010 2SS M6
ZL1::J-E-T-S JETS JETS JETS  |
|
|
|
|
05-02-2016, 07:33 PM
|
#20 | |
|
Drives: ZL1, 2013, tri-coat-red, manual Join Date: Nov 2013
Location: Michigan
Posts: 1,607
|
Quote:
|
|
|
|
|
|
05-02-2016, 07:59 PM
|
#21 | |
|
Go fast, please.

|
Quote:
Those pops and cracks had me scared to death when I did mine. I thought for sure it was stripping out the crank. |
|
|
|
|
|
05-02-2016, 09:59 PM
|
#22 | |
|
Drives: 2015 Camaro ZL1 Join Date: Mar 2015
Location: Dallas
Posts: 97
|
Quote:
__________________
2015 ZL1 #377
|
|
|
|
|
|
05-02-2016, 10:44 PM
|
#23 |
|
Drives: 18 ZL1 A10 Join Date: Nov 2008
Location: South East, FL
Posts: 3,024
|
How does the car feel now? Where is it stronger? Feel like 75hp? more? Less?
Night and day difference?
__________________
2017 ZL1 M6 Bog City, 2013 ZL1 M6, 2010 2SS M6
ZL1::J-E-T-S JETS JETS JETS |
|
|
|
|
05-03-2016, 08:03 AM
|
#24 |
|
Drives: 2015 Black ZL1 m6, gone 2012 CTS-V Join Date: May 2014
Location: Metro Detroit
Posts: 225
|
It took me an hour and a half to complete the install. I had everything ready to go. Like said before, buy another ac belt and cut the old one off.
__________________
2021-ZL1, Black, 6spd ceramic coated
2019-CTS-V, Black Gone 2015-ZL1, Black 6spd, CAI, JRE 75rwhp Gone 2012-CTS-V, Black 6spd Gone |
|
|
|
|
05-03-2016, 08:08 AM
|
#25 | |
|
Drives: 2015 Camaro ZL1 Join Date: Mar 2015
Location: Dallas
Posts: 97
|
Quote:
__________________
2015 ZL1 #377
|
|
|
|
|
|
|
|
|
 |
|
|


