You are browsing camaro6 
|
||

|
Post Reply
|
|
|
Thread Tools |
 04-25-2024, 01:11 PM
|
#1 |
 
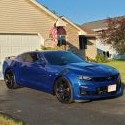
Drives: 2022 Chevy Camaro 2SS Redline Join Date: Dec 2016
Location: Houston, TX
Posts: 310
|
How on earth can anyone install smoked Rear Reflectors on their 2016-2024 Camaro?
I am having a hard time trying to install smoked rear reflectors on my 2022 Chevy Camaro. Reaching into such a tight space is tasking. Any suggestions on how to work smarter, not harder with this installation?
Hard to reach space 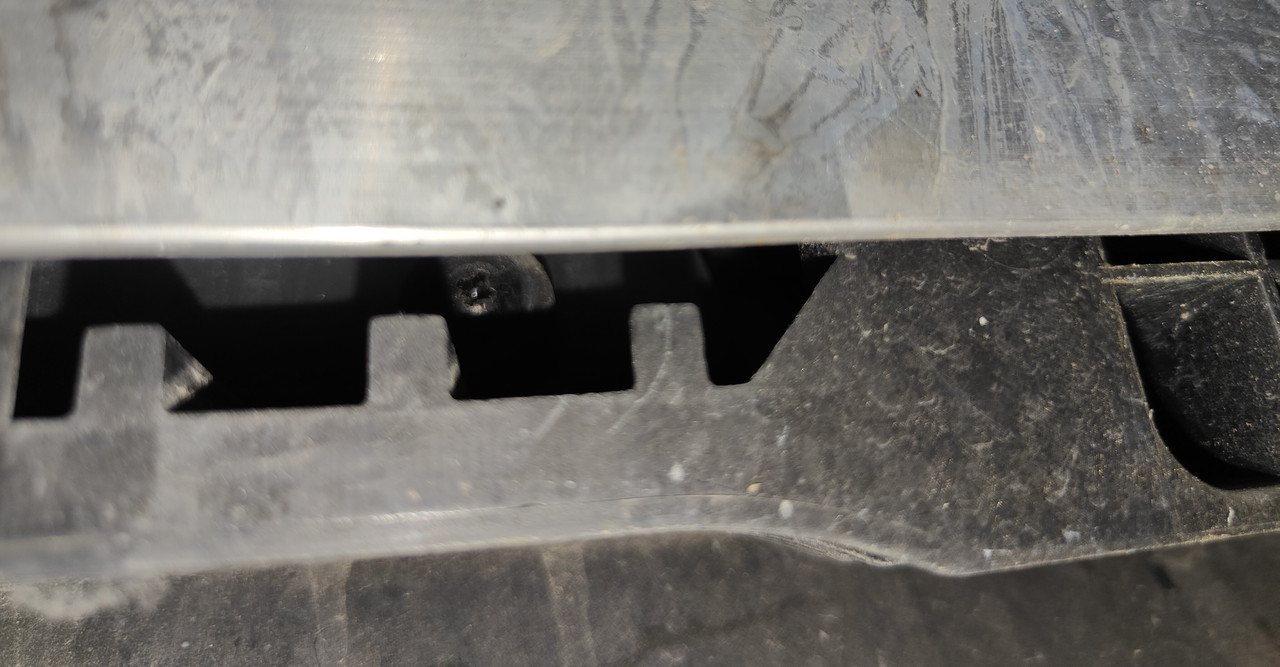 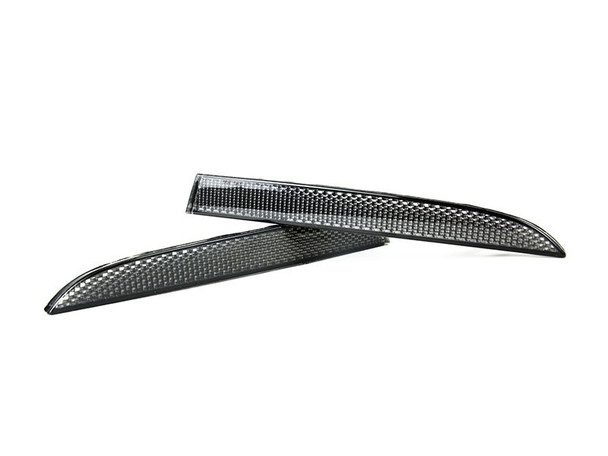
__________________
For the win!
|

|

|
|
04-25-2024, 01:19 PM
|
#2 |
   
Drives: 2023 Chevrolet Camaro 2SS 1LE Join Date: Jan 2020
Location: Pennsylvania
Posts: 1,037
|
I’ve done it twice without even lifting the car up. Smaller guy so I can just slide under there. Having said that I am literally working blind. So getting the screw out is the easier part. The trick is to get the right sized screw driver so it fits in that spot and between the exhaust suit case. Once the screw driver head is directly into the screw, press inward and turn as they screwed it in pretty tightly from the factory.
To get the new one in I used painters tape to tape the screw to the screw driver. I think I also try getting the screw through the hole before completing putting the new reflector in. Hope this helps. Just keep working at it and you’ll eventually get it. You’ll be tempted to just go buy double sided tape multiple times but I promise you you can figure it out without it.
__________________
Current: 2023 2SS 1LE
Prior: 2016 Camaro 1SS 2007 Mustang GT 2008 Civic Si |
|
|
|
|
04-25-2024, 01:31 PM
|
#3 | |

Drives: '23 LT1 A10 Join Date: Oct 2015
Location: Austin Texas
Posts: 995
|
I just did them on mine last week. I followed the removal of the lower diffuser from this vid:
pretty simple process, of course just make sure you don't break any tabs off.
__________________
24 LT1 M6 Sharkskin Metallic
|
|
|
|
|
|
04-25-2024, 01:40 PM
|
#4 |
|
Tampa Bay Camaros

Drives: 2017 Krypton Green 2SS Join Date: Jul 2011
Location: Westfield, IN
Posts: 1,021
|
Both times I have done mine, I did them when I was doing the exhaust. :-) So no exhaust, super easy to reach.
__________________
Me and wife, in order
2011 2SS SGM 2013 2SS Hot wheels vert 2016 C7 DSOM 2012 2SS yellow vert 2017 2LT Krypton Green 2018 2LT Hot wheels crush 2020 2SS Shock vert. 2017 2SS Krypton Green coupe |
|
|
|
|
04-25-2024, 02:01 PM
|
#5 |
|
2020 Shadow Gray 2SS

Drives: 2020 2SS - A10, NPP, MRC, CAI Join Date: Dec 2019
Location: SoCal
Posts: 3,031
|
I did it without lifting or removing anything, pain in the ass, but it can be done... Took me about 30 minutes or so... Reach over the exhaust from the outboard side...
__________________
2020 SGM 2SS - A10, NPP, MRC, Red Calipers, Black Camaro Fender Badge, Footwell Lighting
Added after delivery: - GMP CAI, GMP Black Strut Tower Brace, MRR017 1LE Wheels, SS Armrest, Black Fuel Door, Stainless Sport Pedals, SS Wheel Caps, Black Lugs/Locks, GM Splash Guards, DD Smoked LED Markers, Smoked Rear Reflectors, Mishimoto Catch Can, Xpel PPF - Full Front, SunTek 35% Tint, CeramicPro coating, RST Stainless Brake Lines, Castrol SRF, MSD Super Conductor Wires Left: My "fun" ride. Right: My "work" ride: a Gulfstream G600. One's top speed is 180 Mph, the other, 620 Mph...  |
|
|
|
|
04-25-2024, 03:17 PM
|
#6 |
|
Long hauler

|
I did on my 2016, from what I remember the 2016-2018 was easier than 2019+
Even then I couldn’t see the bolts and everything was by feel, I could however reach the bolts with my fingertips enough to move them around
__________________
|
|
|
|
|
04-25-2024, 04:00 PM
|
#7 |

Drives: 2023 Camaro ZL1 Join Date: Jan 2023
Location: NC
Posts: 319
|
My write up from another thread.
Patience is a virtue for this "apparently innocuous" easy procedure. This is mainly a blind, feel and touch procedure. First thing is run the screws into the new reflectors where the plastic screw receptacle is to get a good internal thread started. This will make the task of blindly attaching and tightening the screw easier later. Aim a flash light at the area where you will put a small Phillips screw driver (preferably magnetized) into the black abyss and attempt to extract the small OEM screw. If you are lucky after many tries to get the little tip into the screw and slowly, delicately, gently un-screw the fastener. You will drop it inside and must retrieve it with a slender pen magnet. The red reflector comes out easily. I used the OEM screw (kind of mistake) which has a built-in washer versus the supplied screw which is shorter and a separate washer. Put a small orientation screw driver from the outside in to find the area first where you want to put the screw in from the inside. My screw driver was magnetized enough to hold the screw while I attempted to put it in a tiny hole that you cannot see. This is the most frustrating part. Once obtained the area where you will feed in the screw, pull out the orientation screw driver from the outside. Put your finger in that same hole area while you feed the screw from inside. Eventually you will feel the point of the screw with your other hand/finger outside. With that same outside hand place the new reflector in and try to start the screw to bite into the plastic hole. Accomplishing this task is a great relief. Tighten gently the screw carefully as not to risk the screw driver falling off the screw. Maybe 20 minutes of frustration. One down, one more to go. I did the other side the same way, but for some reason I could not completely tighten the OEM screw (reflector was to lose) and wasted a lot of time. Took a break then went back creeping under the car to start all over. Removed the new reflector and decided to use the smaller screw/washer provided. These screws are shorter, hence easier to apply and overall better (guess that is why they included them). Next my magnetized Phillip screw driver went limp and would not pick up the screw. I resorted to blue painters tape wrapped around the tip and the screw/washer to hold them in place. This time luck was on my side and I was able to remove and replace quickly in five- or ten-minutes total. What a fun project and a challenging surprise, but totally worth the outcome. I think the rear end looks so much better. 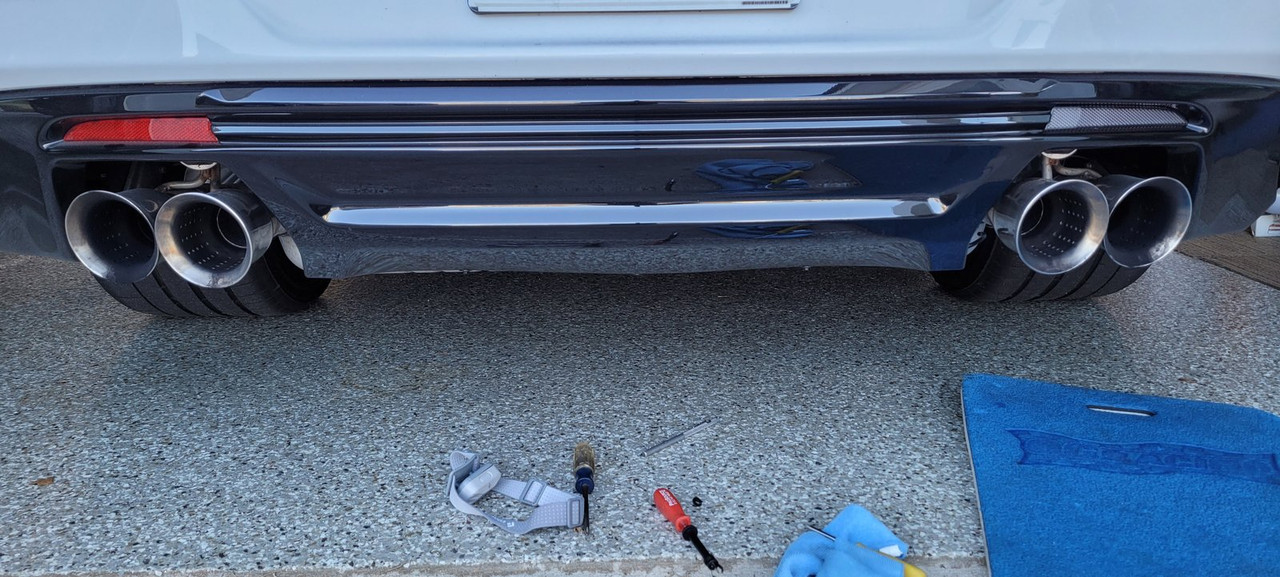 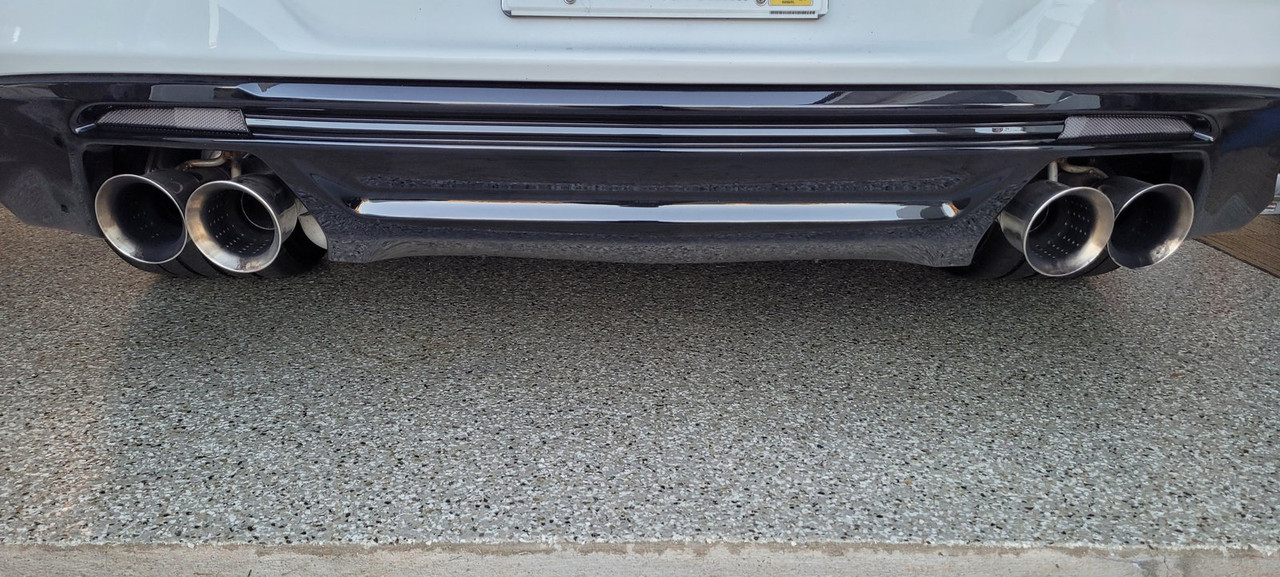
__________________
2023 Camaro ZL1 6MT Summit White
 |
|
|
|
|
04-25-2024, 04:24 PM
|
#8 |
|
Drives: '23 LT1 A10 Join Date: Oct 2015
Location: Austin Texas
Posts: 995
|
Just watch the vid I posted and remove the diffuser. Stop complicating it.
__________________
24 LT1 M6 Sharkskin Metallic
|
|
|
|
|
Yesterday, 06:23 AM
|
#9 |
|
Snackbar Tuning

Drives: 2023 SGM ZL1 Join Date: Oct 2016
Location: Florida
Posts: 1,118
|
Don't have sausage hands. Use your sense of touch. Use the right tools.
They are annoying but easy to swap without removing anything, even with the exhaust still in place.
__________________
GM Gen V Calibrator
|
|
|
|
|
Yesterday, 06:49 AM
|
#10 | |
|
Petro-sexual

|
Quote:
I didn't remove anything. It wasn't convenient, and couldn't see what I was doing while doing it, but the right tool, as stated, made it quick. Worth it.
__________________
 '20 ZL1 Black "Fury" A10, PDR, Exposed CF Extractor Magnuson Magnum DI TVS2650R // RFBG // Soler 103 // TooHighPSI Port Injection // THPSI Billet Lid // FF // Katech Drop-In // PLM Heat Exchanger // ZLE Cradle bushings // BMR Chassis-Suspension Stuff // aFe Bars // Diode Dynamics LEDs // ACS Composites Guards // CF Dash // Aeroforce // tint // other stuffs |
|
|
|
|
|
Yesterday, 08:03 AM
|
#11 | |
 Drives: 2024 Camaro 1SS M6 Join Date: Nov 2023
Location: Western NY
Posts: 167
|
Quote:
Welp, so much for this project 
|
|
|
|
|
|
Yesterday, 08:53 AM
|
#12 |

Drives: 2024 2SS Camaro, 1988 IROC Z Join Date: Nov 2012
Location: United States
Posts: 123
|
I was also able to do it without lifting or removing anything
Simply gotta go by feel as everyone stated. Driver side was easier than passenger side for me for some reason.
__________________
2024 2SS Camaro, Riverside Blue Metallic, NPP, F55, CF5, 5ZZ, VTU, S0O, 5KP, JF5, 2nd Gen GFX
 |
|
|
|
|
Yesterday, 08:41 PM
|
#13 |
|
I did it too, without removing anything. Just did it by feel. Took maybe 30 minutes, much of which was spent trying to find one of the screws that dropped.
__________________
2020 Camaro 2SS - Riverside Blue, NPP, Magnetic Ride, Sunroof
RUXIFEY Smoked LED Side Marker Lights / Black SS emblem on rear bumper / Blue SS vinyl overlay on front bumper emblem / Wildhammer Rear Dark Reflectors / Trim Illusion Gloss Black Door Handle Covers / eBay Black Fuel Door / Screaming Chicken Fender Hash Marks / Color-Matched G2 Caliper Paint RE Audio RFX10D4 10" Sub / Hand-made sub enclosure / Hifonics Zeus ZRX1200.1D amp / JL Audio LoC-22 line output converter / Sub Thump Plug N Play T-Harness With ANC Defeat Harness Kit My Camaro Journal |
|
|
|
|
Yesterday, 09:01 PM
|
#14 |
 Drives: 1987 IROC, 2020 ZL1 Join Date: Nov 2023
Location: Nashvile
Posts: 42
|
It's not easy but can be done.
All of the suggestions above are spot on. I'll magnetized screwdriver is so helpful, and also a screwdriver that isn't too long is another big plus. |
|
|
|
|
|
|
|
|
Post Reply
|
|
|


