You are browsing camaro5 
|
|
 10-04-2014, 12:02 AM
|
#1 |
|
'It's an experiment'

Drives: [COTW 2/09/15] '11 GPI LSA SC Z/LE Join Date: May 2014
Location: Dallas TX
Posts: 8,694
|
DIY: B&M A6 Dip Stick
Just a note: Before you do this, please read this first:
http://www.camaro5.com/forums/showpo...3&postcount=19 Hopefully, you read the above impressions first... OK, first things first, you need to really raise up the car as high in the front as you can -- it will make it easier to get the 'cap' on the transmission off: The cap is located here: 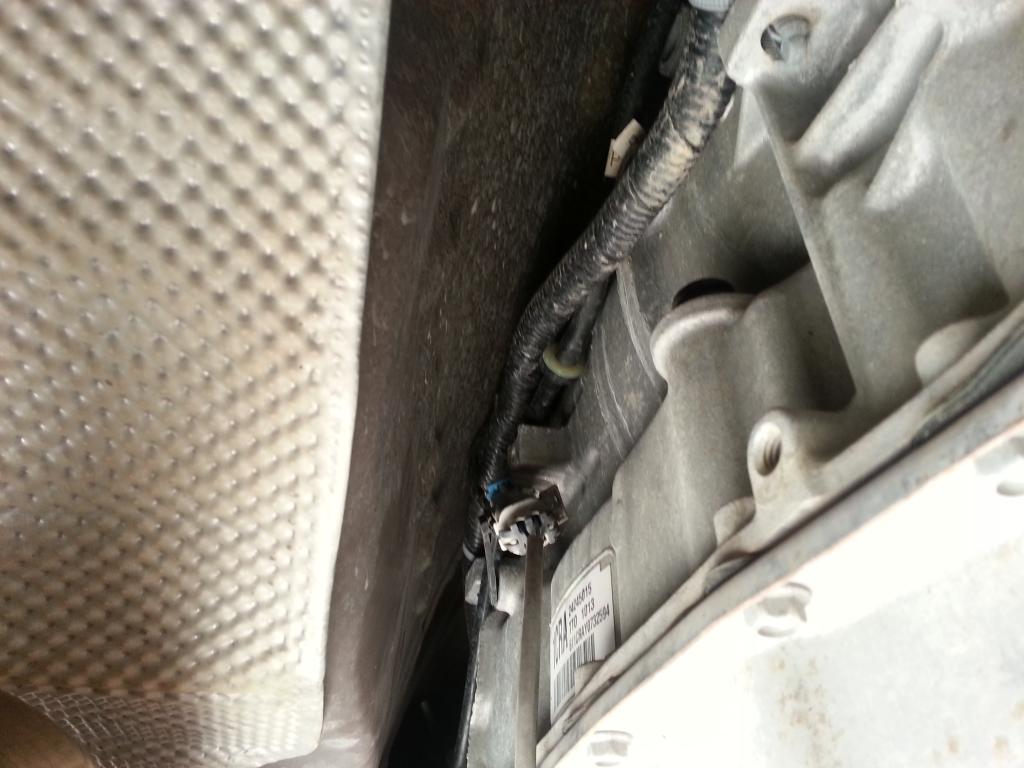 I had to remove the 'wire' holder right next to the cap as it forced the tube in @ an angle. Just removed it and 'pushed' it up out of the way. Once the new tube was in, it keeps the moved wire harness in place -- believe me, it won't move ;o) Here is what the plug looks like closed and then opened to remove: Closed: 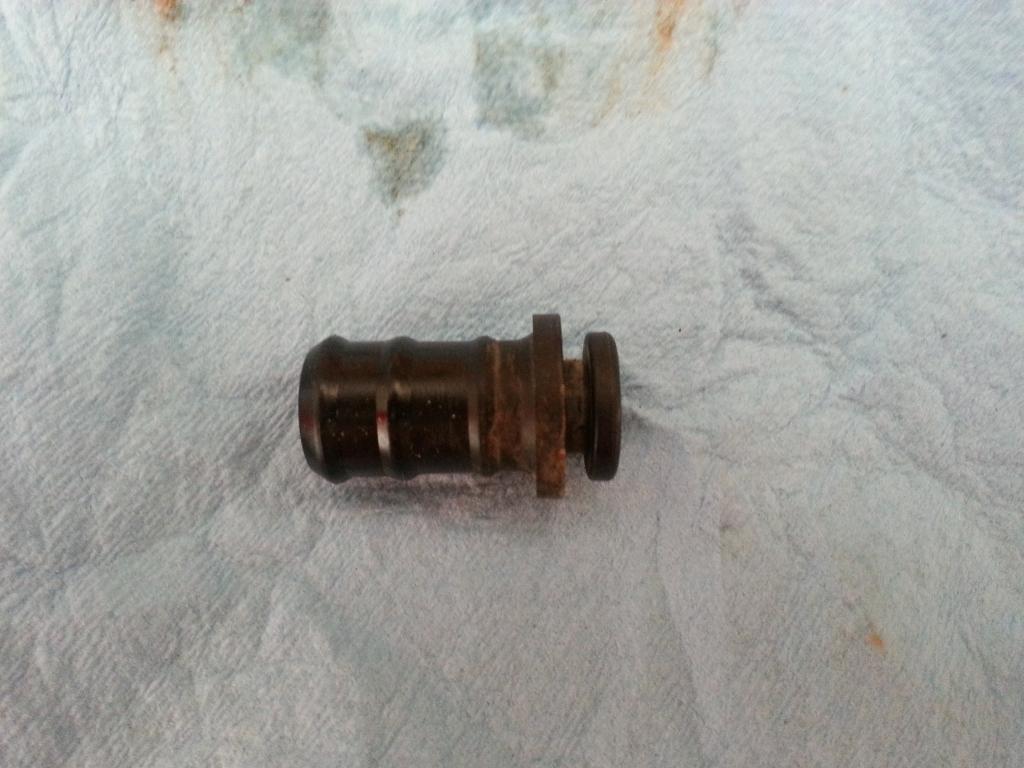 Opened for removal: 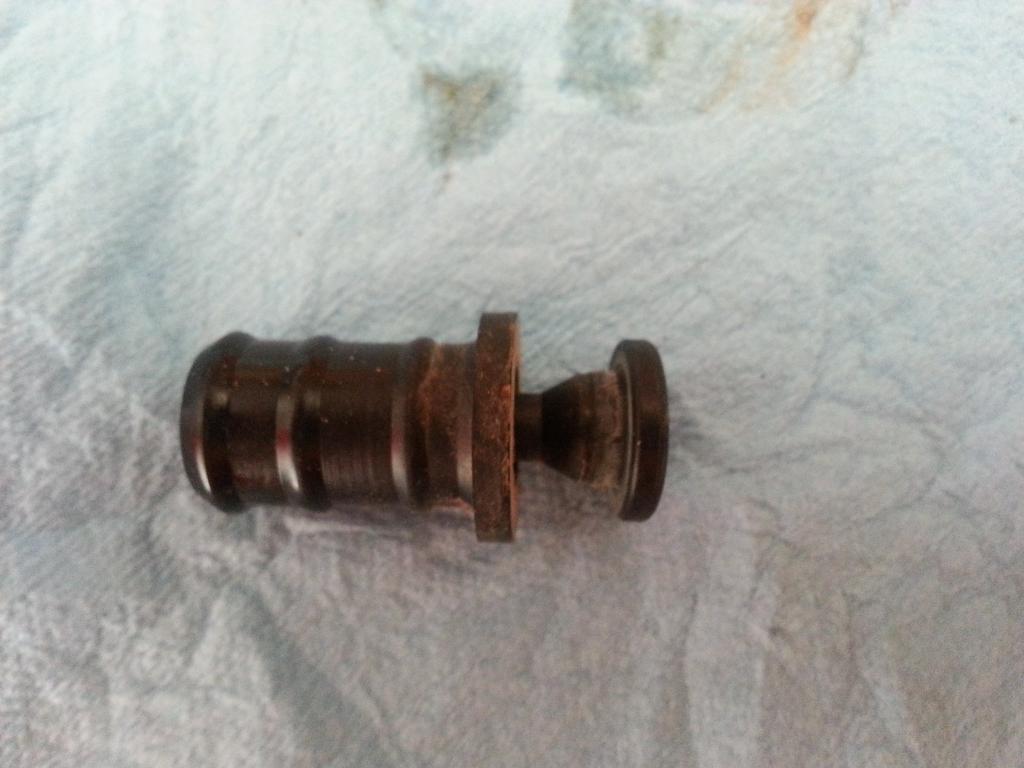 Once opened for removal, just 'pull straight up' -- mine came out easy and I didn't need a screw driver to remove it. Once removed, you need to route the SS tube so you can have as few bends as possible. I routed the 'end' into the transmission like this: 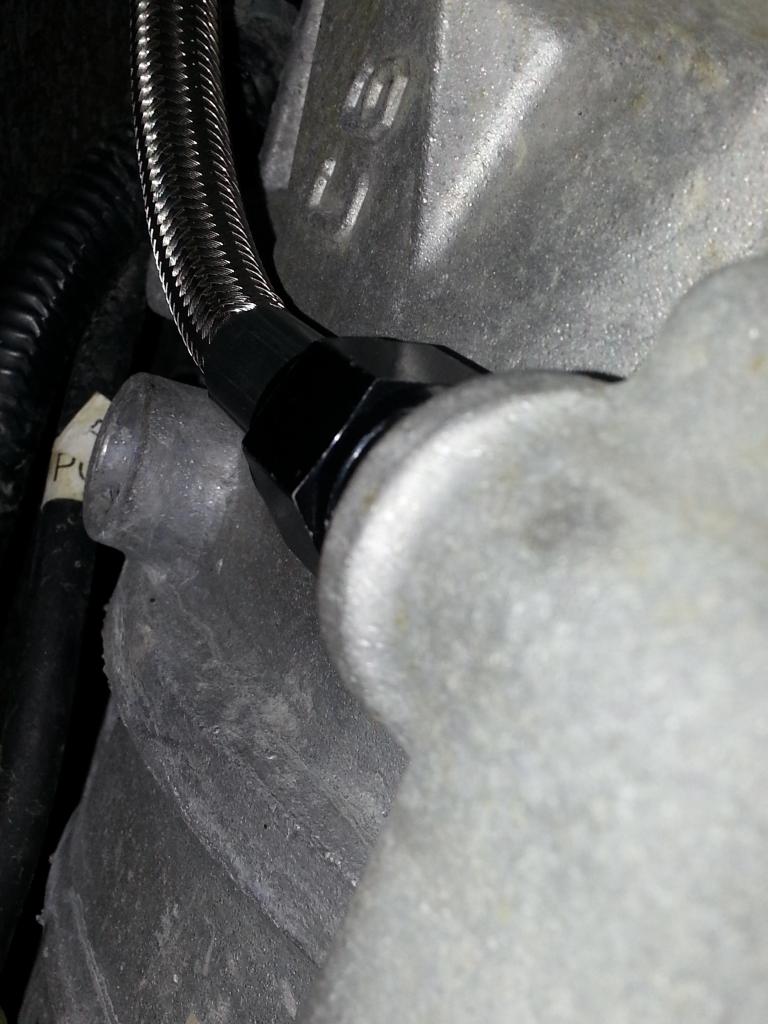 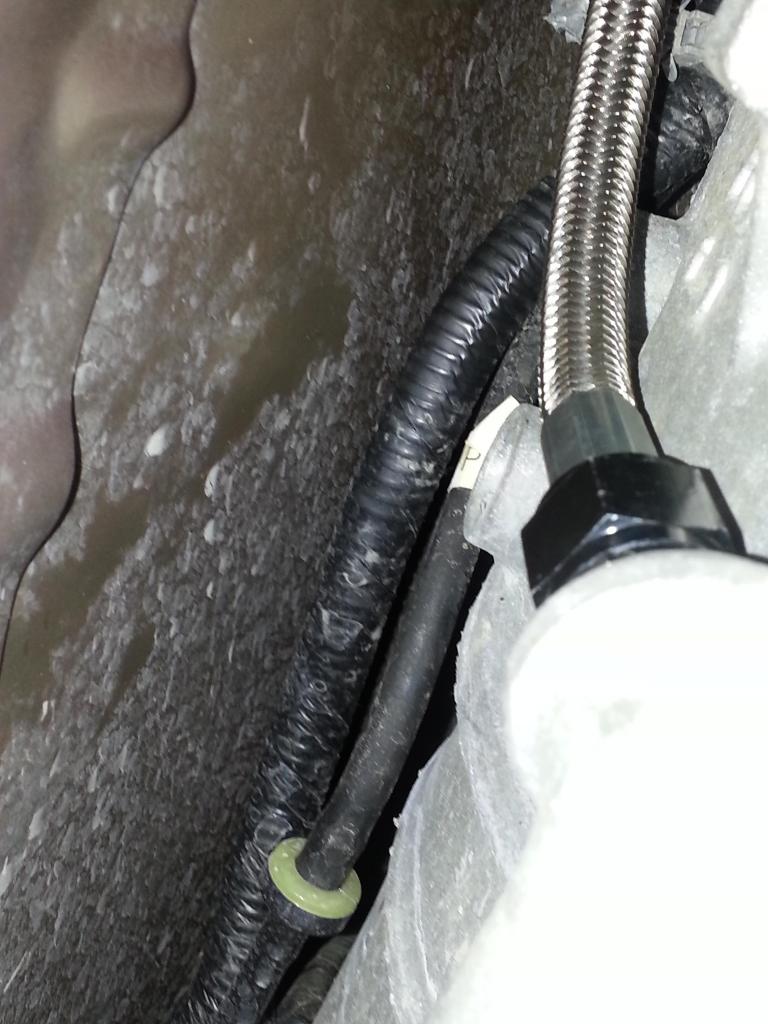 And I routed this up the firewall in order to stay away from the headers (notice the heat wrap to protect the tubing): 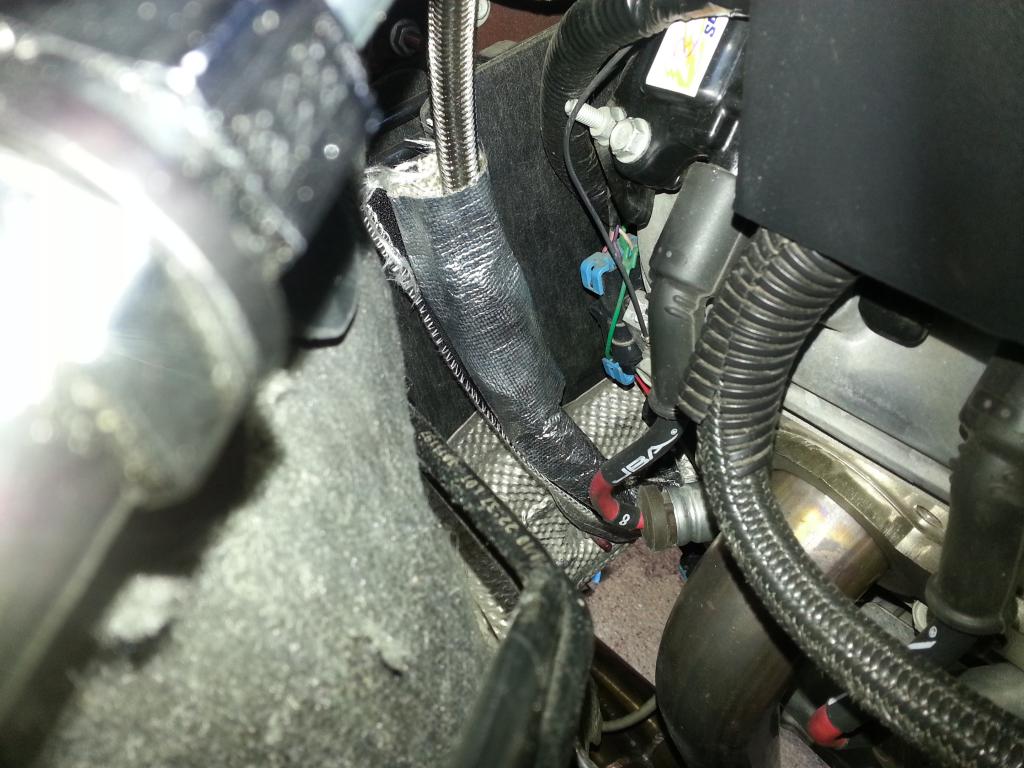 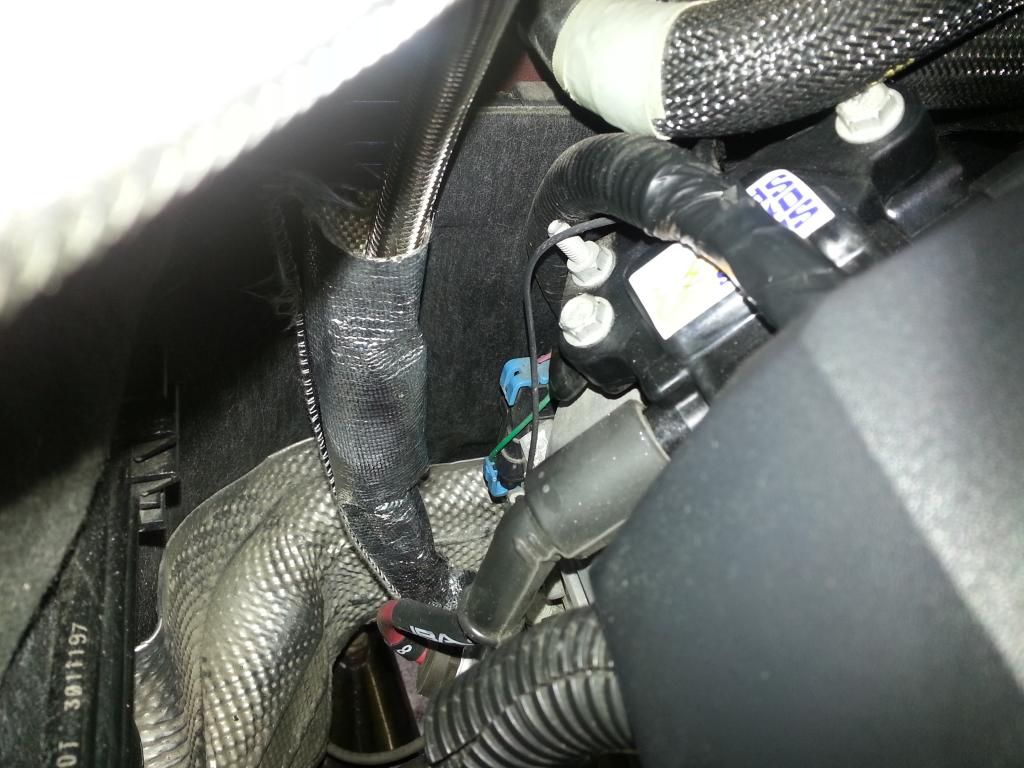 Now, I had to protected the end until I got it near the trans: 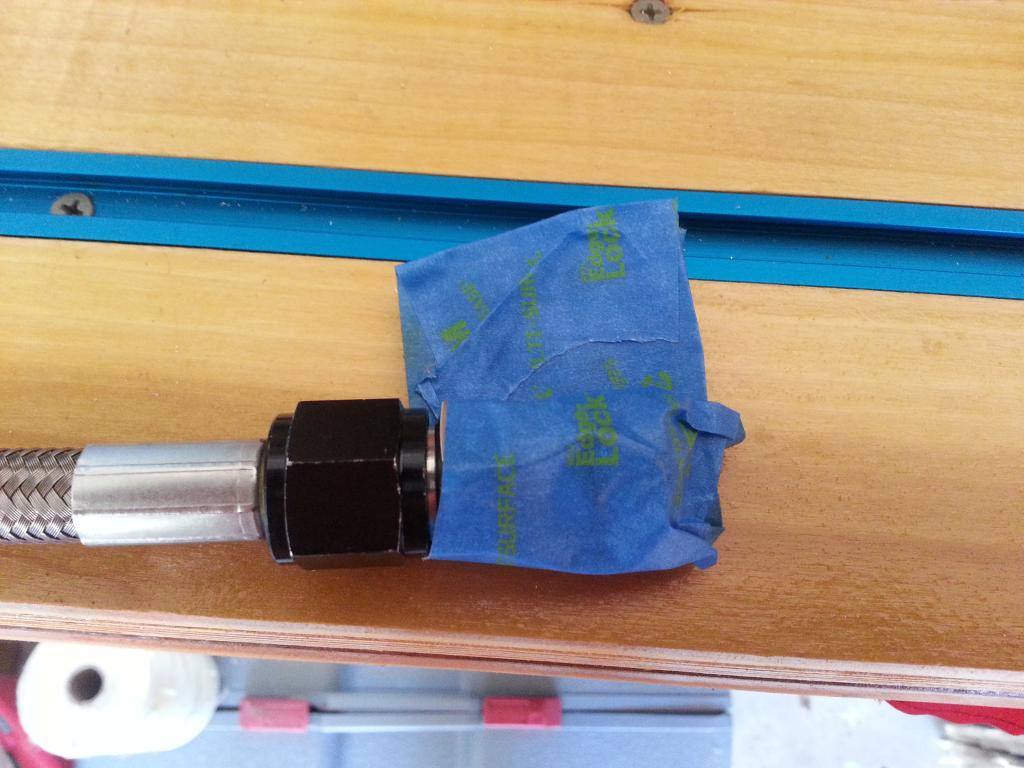 Also, the dip stick was about 1/2" too long so I had to cut that off and re-form it. Here is what the dipstick looked like when I started: 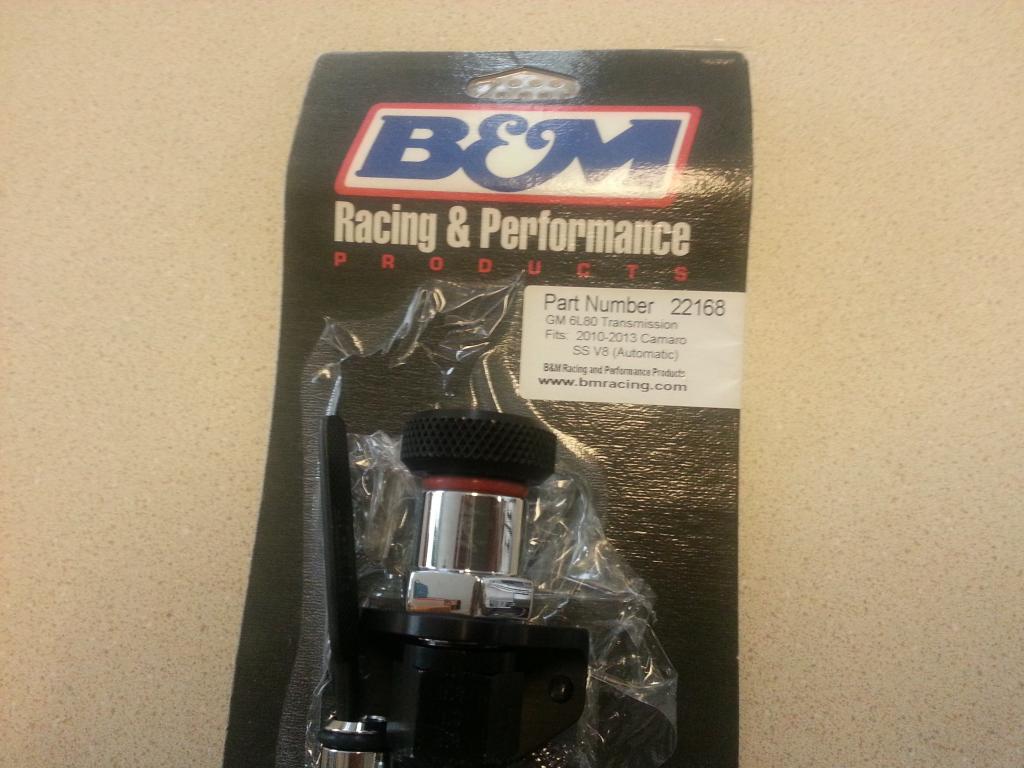  and how much I cut off: 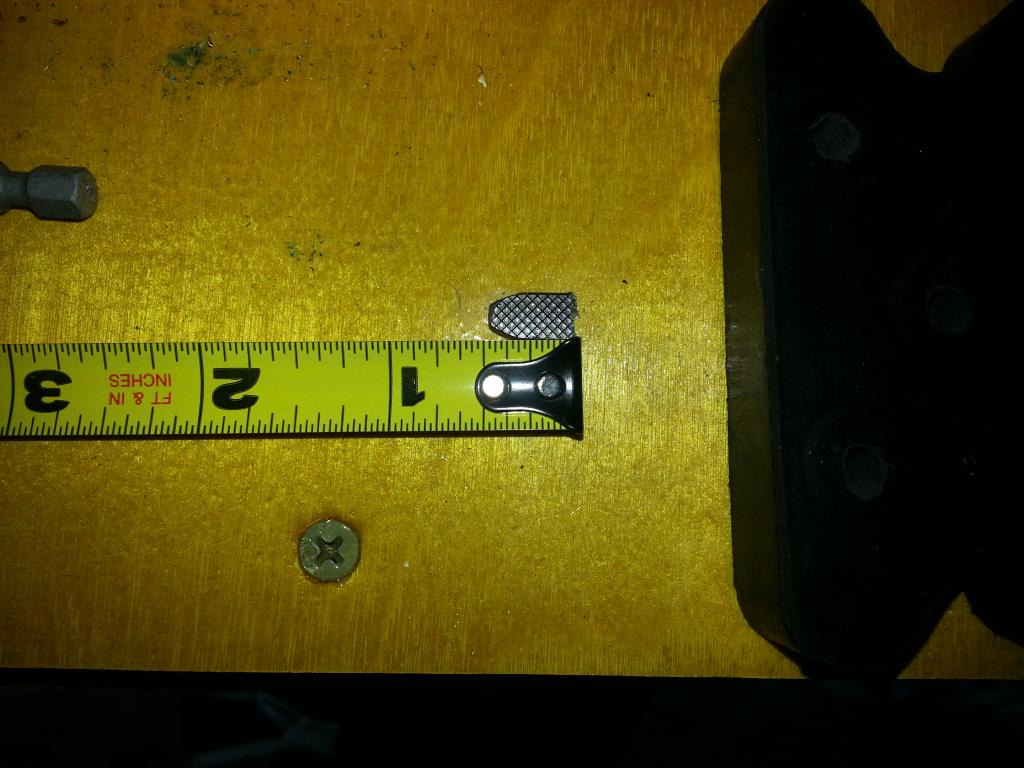 I still think this is the wrong dip stick -- waiting for B&M to let me know. So, here is where I mounted the dip stick: 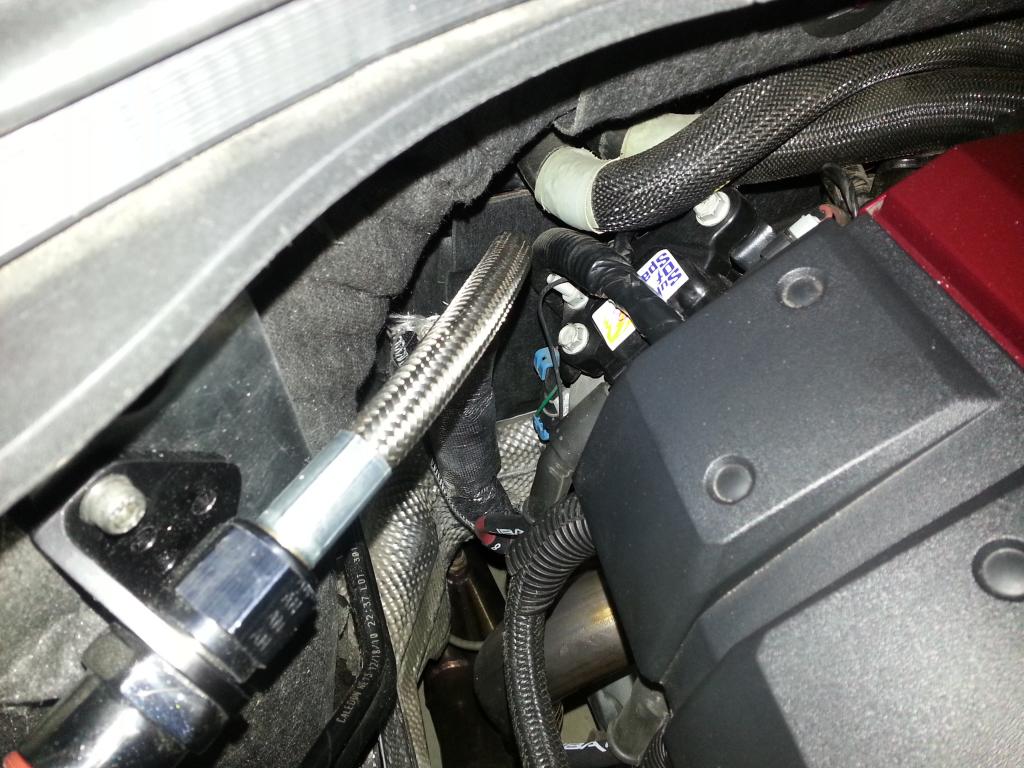 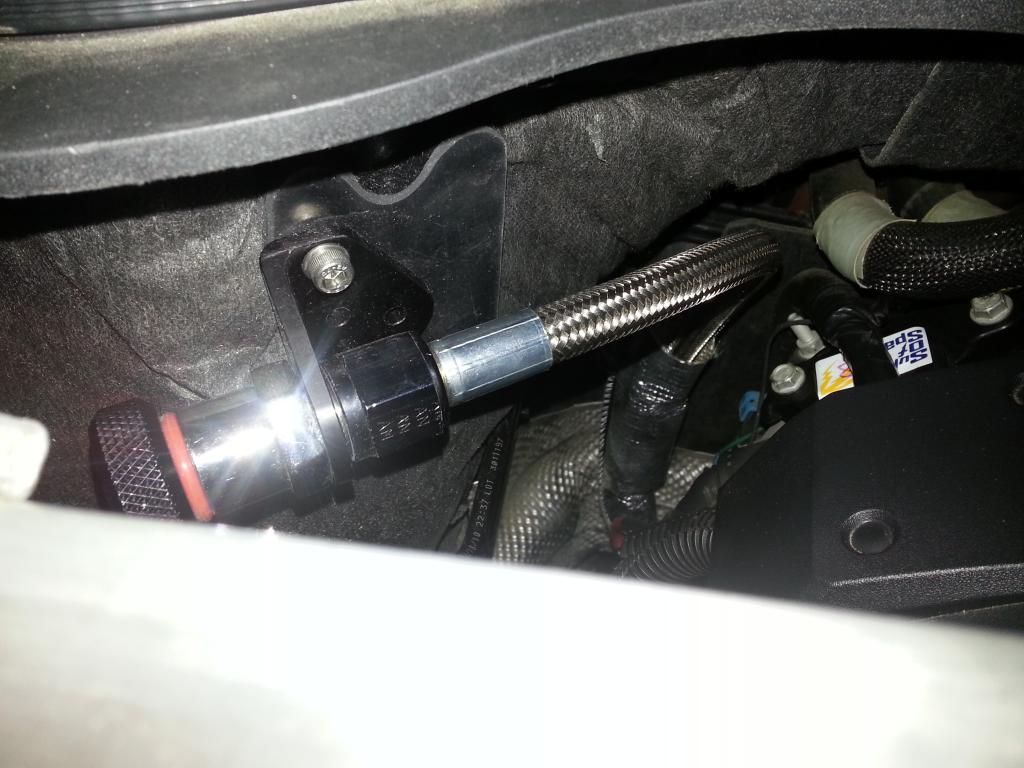 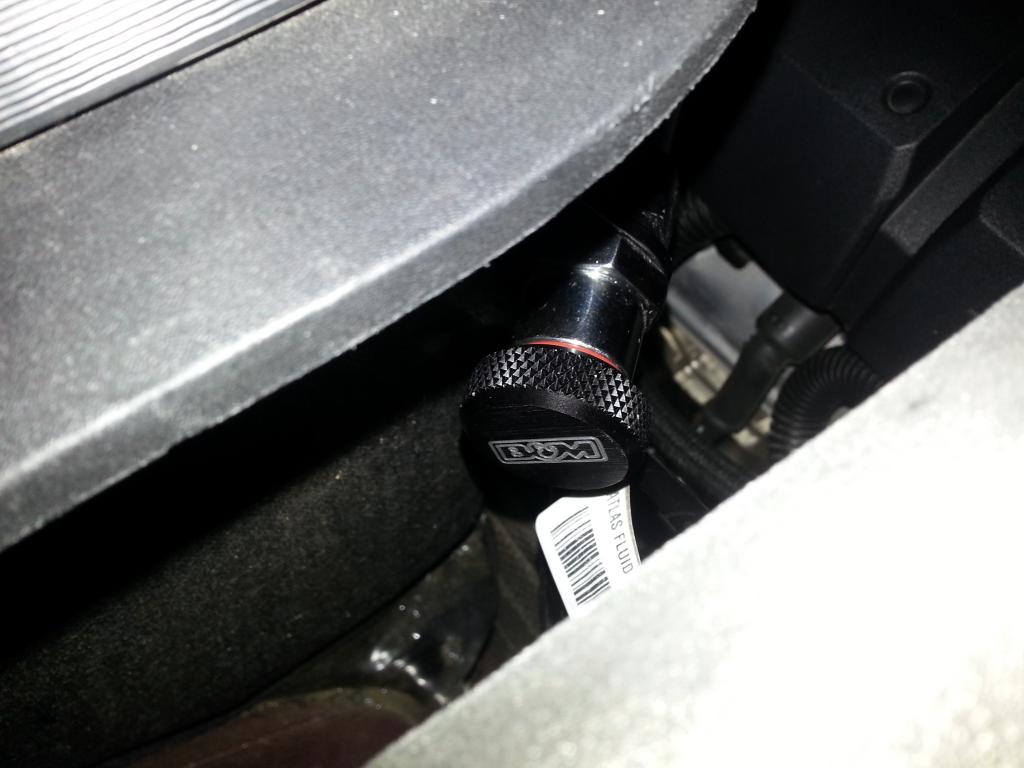 This was the ONLY location I could use to mount in order to avoid (with all the warnings) the wire and headers. But before I mounted it, I had to remove the cabin air filter cover and stuff paper towels down the opening -- don't ask why ;o) 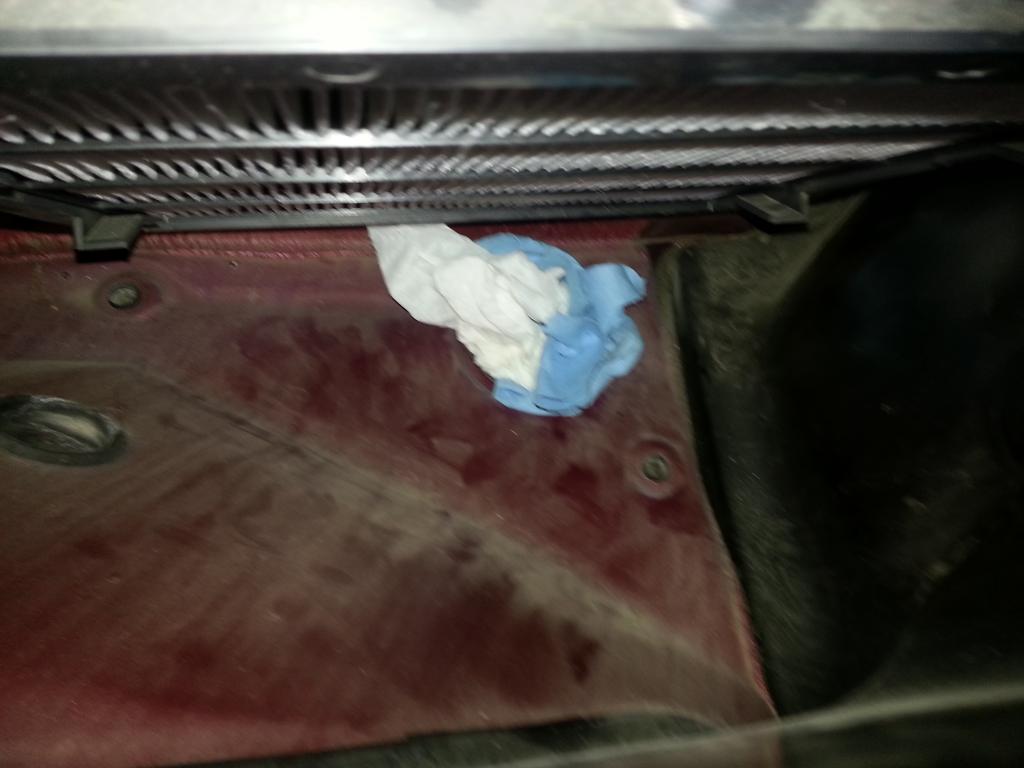 While you're @ it, replace the filter! To access the filter, follow this DIY from this forum (BTW, I didn't have to fully remove the cover, just lift it up enough to get to the filter and access your newly drilled holes to install the nuts, washers. DO USE blue loctite to fasten the nuts): http://www.camaro5.com/forums/showth...bin+air+filter I had to fabricate a 'rubber' extension so I could mount the bracket to the firewall so it would 'clear' the 1LE strut. I used a template from cardboard so I could cut out the holes: 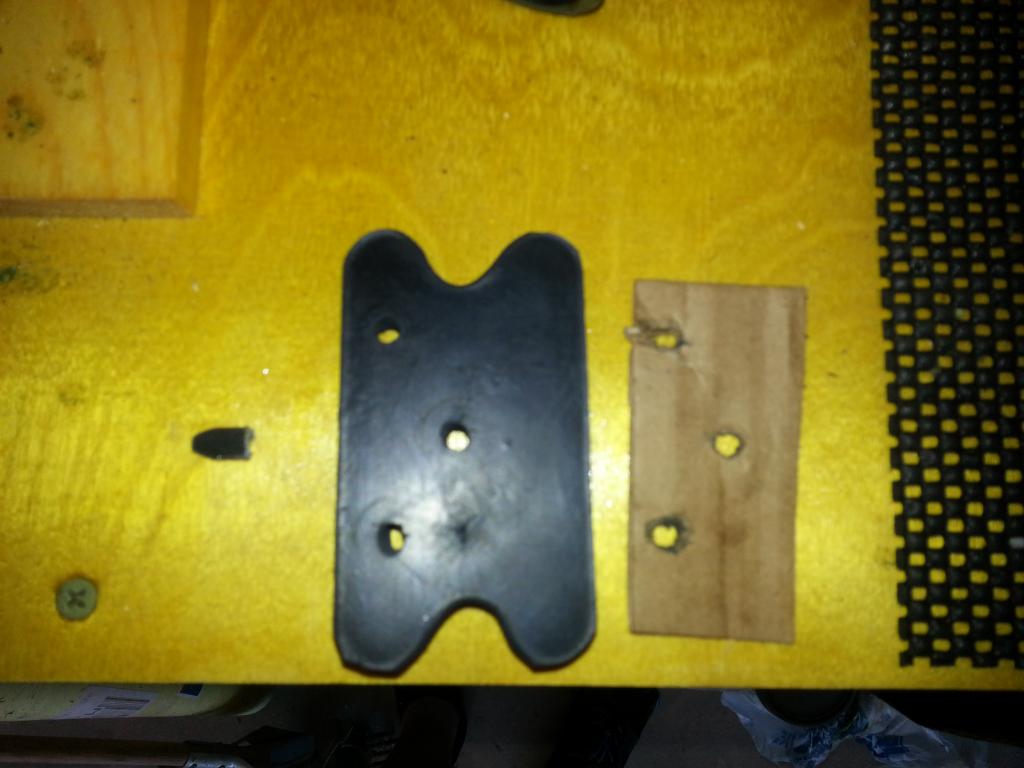 This helped tremendously in keeping the bracket out enough. This is a 'coil spring' rubber raiser that I cut in half @ an angle until the bolts left enough room to go though the fire wall holes I cut (use the cardboard template to 'center punch' the hole location). Once you drill, use the template and rubber brace to validate the mount will install correctly -- its much easier to do this first! To set the fluid level, the instructions were pretty good on this. I followed them and got it as close as I could -- once I know if I have the right stick, I'll update this. I'm going to 'paint' the end a white, yellow, or orange so I can see the fluid level better. Dark Gray is just not going to cut it... Hope this helps. Please read the first thread before you buy/install this... -Don Last edited by hammdo; 07-01-2017 at 03:52 PM. |

|

|
|
10-05-2014, 10:42 AM
|
#2 |
|
'It's an experiment'
Drives: [COTW 2/09/15] '11 GPI LSA SC Z/LE Join Date: May 2014
Location: Dallas TX
Posts: 8,694
|
Here is an update of the end part of the dip stick. You'll see how I redressed the end and painted it VHT yellow so I could see the fluid level:
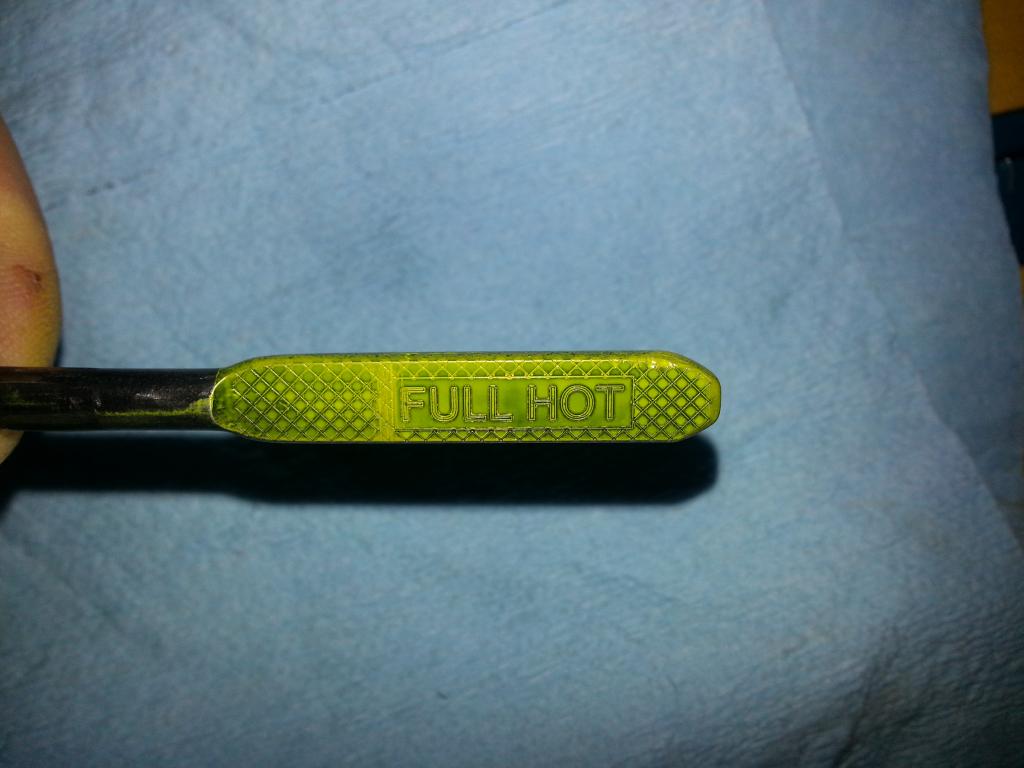 -Don Last edited by hammdo; 07-01-2017 at 03:53 PM. |
|
|
|
|
10-12-2014, 12:41 AM
|
#3 |
|
'It's an experiment'
Drives: [COTW 2/09/15] '11 GPI LSA SC Z/LE Join Date: May 2014
Location: Dallas TX
Posts: 8,694
|
Here is an update with me doing the B&M Transmission pan:
http://www.camaro5.com/forums/showthread.php?t=380751 -Don |
|
|
|
|
10-12-2014, 05:11 PM
|
#4 |
    
Drives: 2017 ZL1 A10 Join Date: Aug 2009
Location: Dubai
Posts: 1,250
|
Nice write up
 Ahmad
__________________
2017 ZL1 A10 SW (SOLD)
Whipple 2.9 with 3.2 Pulley, Weapon-X Stage 3 Cam, FIICHILLER ,LG Motorsports LT, Borla S type, ROTFAB Big Gulp, Big 3 Reservoir Glassskinz rear window valance . 2012 ZL1 A6 (SOLD) Forged 376 CI, LSA HeartBeat, Mast Medium Bore Heads & JDP ZLR Cam, ARH LT , MagnaFlow Resonated X + Borla Atak Catback, ADM 102mm Snout, CAI, NW102MM TB, ID850, Fore Triple Fuel Pump, MSD Wire's, Moroso CC. Alky Control, FIICHILLER. |
|
|
|
|
10-12-2014, 05:56 PM
|
#5 |
|
'It's an experiment'
Drives: [COTW 2/09/15] '11 GPI LSA SC Z/LE Join Date: May 2014
Location: Dallas TX
Posts: 8,694
|
Thanks! BTW, Love your ZL1!
- Don |
|
|
|
|
10-13-2014, 04:42 AM
|
#6 | |
|
Drives: 2017 ZL1 A10 Join Date: Aug 2009
Location: Dubai
Posts: 1,250
|
Quote:
 Ahmad
__________________
2017 ZL1 A10 SW (SOLD)
Whipple 2.9 with 3.2 Pulley, Weapon-X Stage 3 Cam, FIICHILLER ,LG Motorsports LT, Borla S type, ROTFAB Big Gulp, Big 3 Reservoir Glassskinz rear window valance . 2012 ZL1 A6 (SOLD) Forged 376 CI, LSA HeartBeat, Mast Medium Bore Heads & JDP ZLR Cam, ARH LT , MagnaFlow Resonated X + Borla Atak Catback, ADM 102mm Snout, CAI, NW102MM TB, ID850, Fore Triple Fuel Pump, MSD Wire's, Moroso CC. Alky Control, FIICHILLER. |
|
|
|
|
|
11-17-2014, 10:15 PM
|
#7 |
|
'It's an experiment'
Drives: [COTW 2/09/15] '11 GPI LSA SC Z/LE Join Date: May 2014
Location: Dallas TX
Posts: 8,694
|
BTW, B&M did say the dip-stick is correct (I forgot to update on that). I still believe the end of the stick needs some modification in order to easily allow it to slide in. So far, its doing what I needed it to do...
-Don |
|
|
|
|
12-07-2014, 03:52 PM
|
#8 |
 |
Thanks for the how to. Helped things go quicker.
I just got done installing mine. I did not have to trim anything and mounted it in a little different spot. Very quick and easy mod. |
|
|
|
|
12-07-2014, 03:54 PM
|
#9 |
|
'It's an experiment'
Drives: [COTW 2/09/15] '11 GPI LSA SC Z/LE Join Date: May 2014
Location: Dallas TX
Posts: 8,694
|
That's a good spot! I couldn't with the strut bar and now going SC so I had to go to the right side. Glad it worked out for you! Where did the oil wind up on your stick? Do you have a pic of that?
-Don |
|
|
|
|
12-07-2014, 04:19 PM
|
#10 |
|
|
Ive got the whole rear subframe out right now getting powder coated so i cant run it yet. When i get it driving again ill check and post a picture.
|
|
|
|
|
12-07-2014, 04:45 PM
|
#11 |
|
'It's an experiment'
Drives: [COTW 2/09/15] '11 GPI LSA SC Z/LE Join Date: May 2014
Location: Dallas TX
Posts: 8,694
|
Super -- that's fun! I'd like to see a pic of that!
-Don |
|
|
|
|
01-28-2018, 05:11 PM
|
#12 |
|
breaker of things
Drives: 2011 SS and 1988 Sport Coupe Join Date: Jan 2016
Location: Virginia
Posts: 110
|
Apologies for necro-posting.
Yes, I realize the last post to this thread was 2014. But, in the meantime, I'd be interested to know how folks are satisfied (or dissatisfied) with this aftermarket dipstick installation. Any solid info on why GM didn't want us to have a transmission dipstick on our cars? I can already imagine suggestions like
I suspect its a combination of all those reasons. But, tell me if anybody thinks there is truly some good reason for the omission. |
|
|
|
|
01-28-2018, 07:59 PM
|
#13 |
 
Drives: 2011 White 2SS Join Date: May 2011
Location: Ohio
Posts: 408
|
It looks nicer but I wanted a factory piece that looked like it came with the car so I got a JRE Trans Dip Stick.
Sent from my iPhone using Tapatalk |
|
|
|
|
01-28-2018, 08:13 PM
|
#14 |
|
'It's an experiment'
Drives: [COTW 2/09/15] '11 GPI LSA SC Z/LE Join Date: May 2014
Location: Dallas TX
Posts: 8,694
|
Yes, I too went the JRE route when it came out. Did a write up on it...
http://www.camaro5.com/forums/showpo...postcount=1058 -Don
__________________
747 RWHP 794 RWTQ
"Horsepower sells cars, torque wins races." - Enzo Ferrari See My Build: http://www.camaro5.com/forums/showthread.php?t=385577 |
|
|
|
|
|
|
|
 |
|
|


