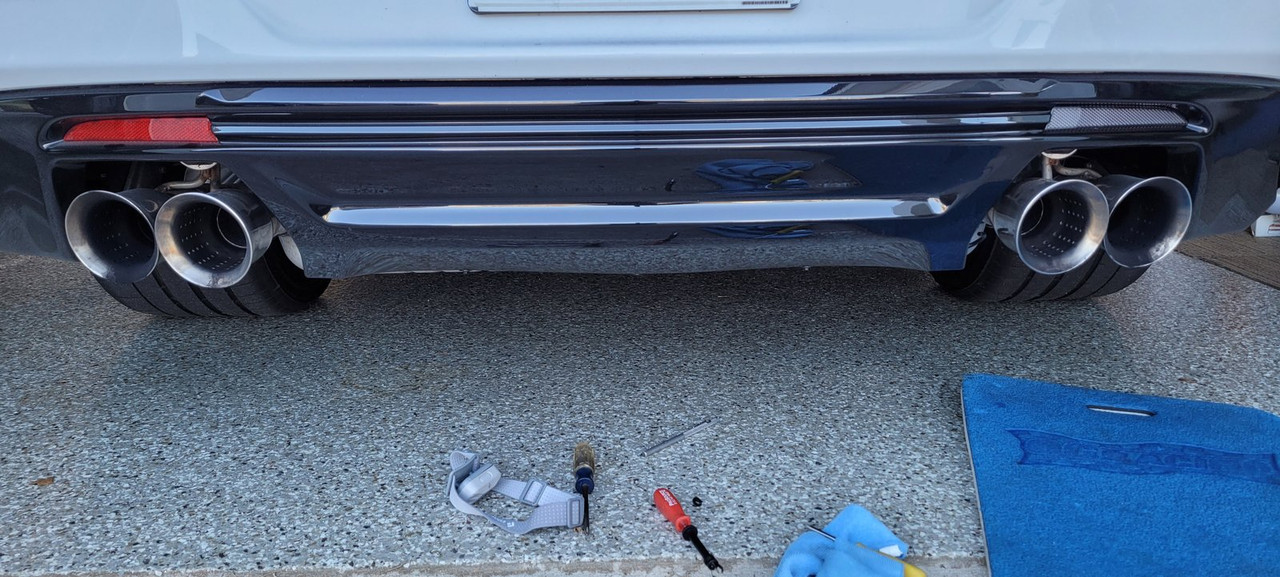
My write up from another thread.
Patience is a virtue for this "apparently innocuous" easy procedure. This is mainly a blind, feel and touch procedure. First thing is run the screws into the new reflectors where the plastic screw receptacle is to get a good internal thread started. This will make the task of blindly attaching and tightening the screw easier later.
Aim a flash light at the area where you will put a small Phillips screw driver (preferably magnetized) into the black abyss and attempt to extract the small OEM screw. If you are lucky after many tries to get the little tip into the screw and slowly, delicately, gently un-screw the fastener. You will drop it inside and must retrieve it with a slender pen magnet. The red reflector comes out easily.
I used the OEM screw (kind of mistake) which has a built-in washer versus the supplied screw which is shorter and a separate washer. Put a small orientation screw driver from the outside in to find the area first where you want to put the screw in from the inside. My screw driver was magnetized enough to hold the screw while I attempted to put it in a tiny hole that you cannot see. This is the most frustrating part. Once obtained the area where you will feed in the screw, pull out the orientation screw driver from the outside. Put your finger in that same hole area while you feed the screw from inside. Eventually you will feel the point of the screw with your other hand/finger outside. With that same outside hand place the new reflector in and try to start the screw to bite into the plastic hole. Accomplishing this task is a great relief. Tighten gently the screw carefully as not to risk the screw driver falling off the screw. Maybe 20 minutes of frustration. One down, one more to go.
I did the other side the same way, but for some reason I could not completely tighten the OEM screw (reflector was to lose) and wasted a lot of time. Took a break then went back creeping under the car to start all over. Removed the new reflector and decided to use the smaller screw/washer provided. These screws are shorter, hence easier to apply and overall better (guess that is why they included them). Next my magnetized Phillip screw driver went limp and would not pick up the screw. I resorted to blue painters tape wrapped around the tip and the screw/washer to hold them in place.
This time luck was on my side and I was able to remove and replace quickly in five- or ten-minutes total.
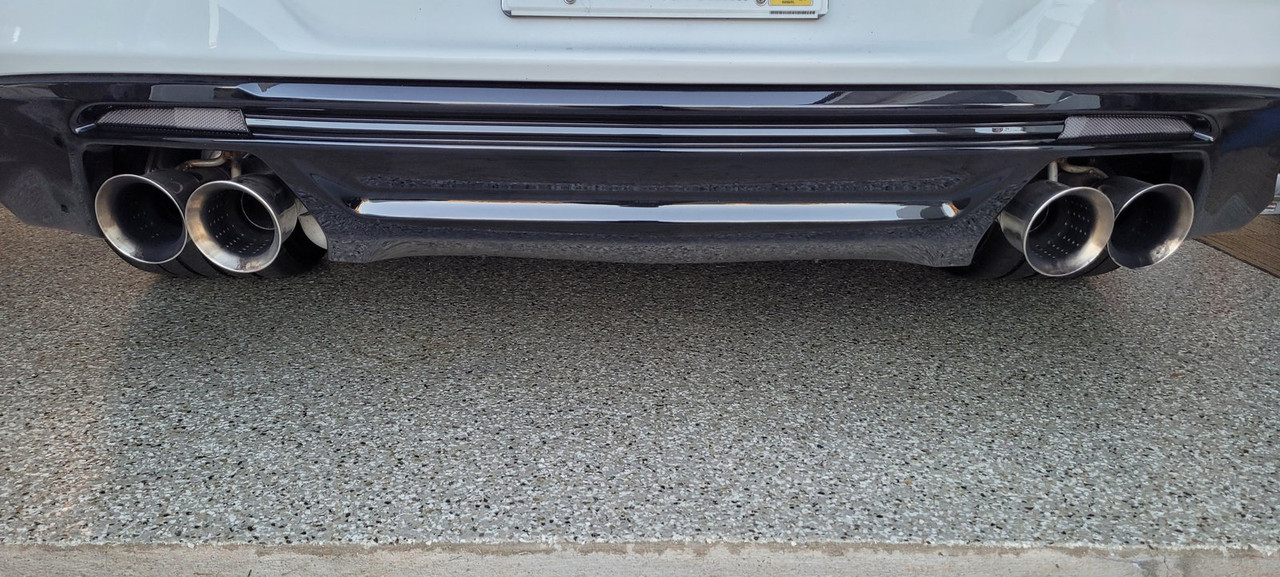
What a fun project and a challenging surprise, but totally worth the outcome. I think the rear end looks so much better.