Full Carbon Splitter-Part 1: Assembly!
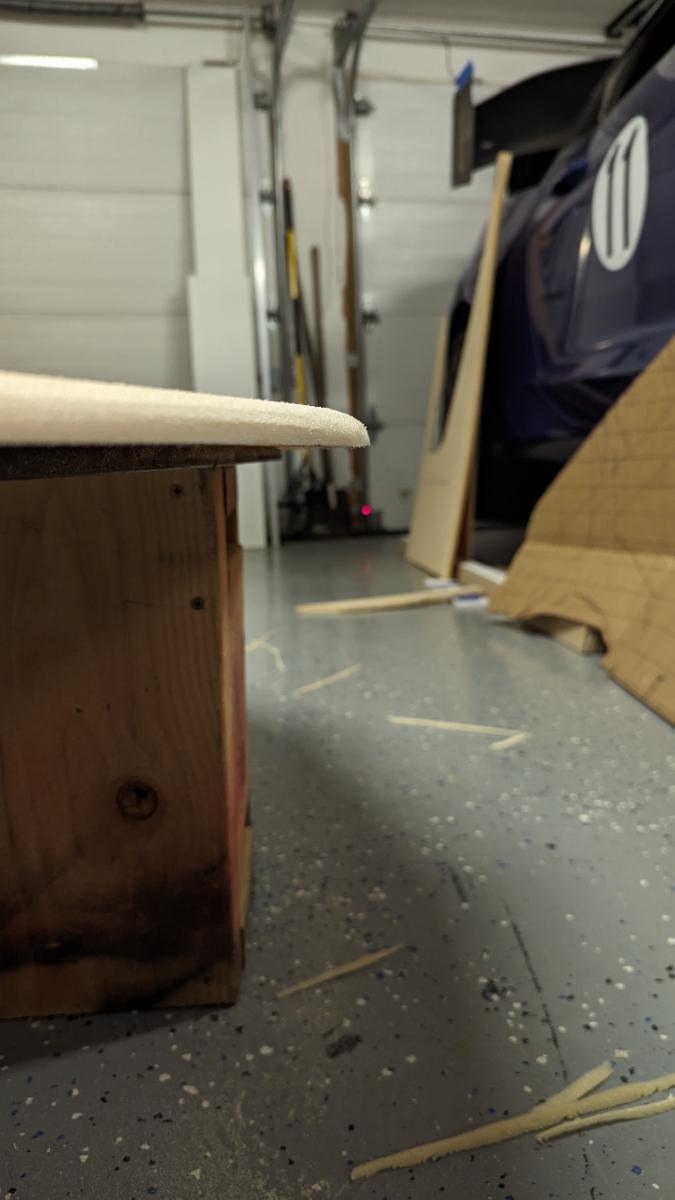
My first splitter was ½” premium plywood and angle iron for structural reinforcement. It was removable and could be taken on or off in about 3 minutes. I felt pretty happy with the way it came out, but I knew I could do better.
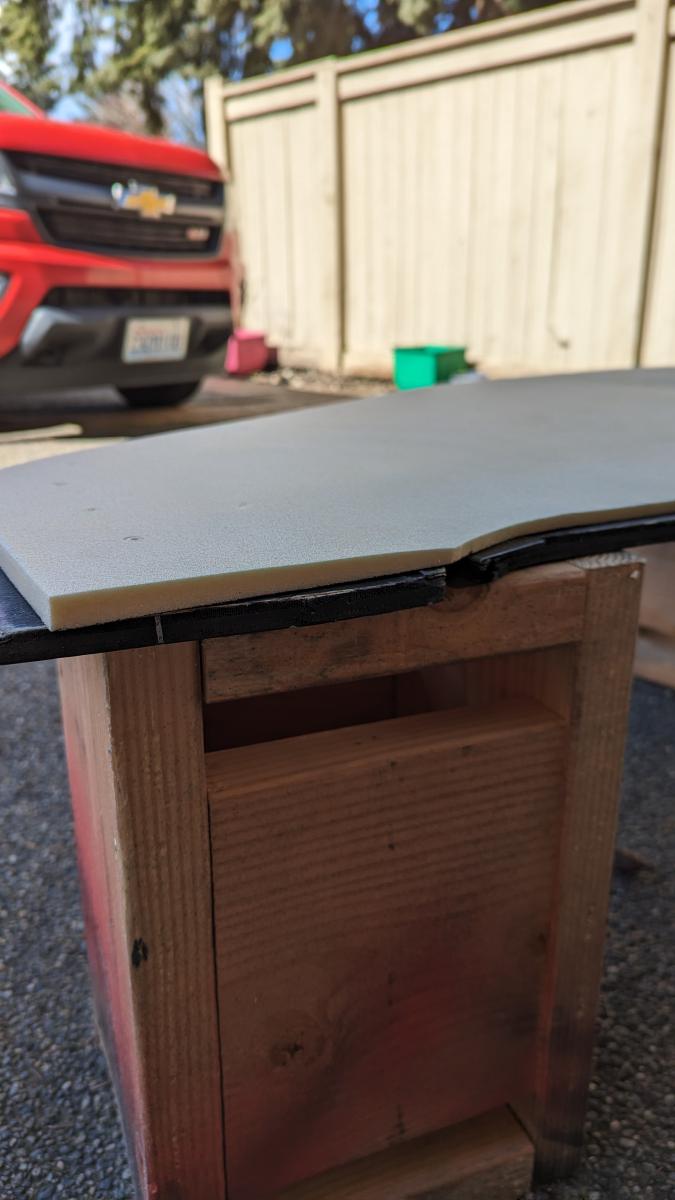
I picked up a couple of ½” sheets of 4lb/sqft PVC foam and cut them to match the template from my previous post. I then set about contouring them to provide a slight wing profile to the whole splitter. The foam is rigid enough that I could just hit it with my orbital sander and carefully taper the body of the foam core to the rear. I got the trailing edge down to around ¼” and felt going thinner might start to tear apart the foam.
I also perforated the core with a 1/8” hole every ~3 inches. The would allow resin to bleed from one side to the other and allows the bridging to help strengthen the whole panel.
I then profiled the leading edge for a nice, rounded taper. A vertical leading edge can cause turbulence and airflow separation. The rounded taper promotes attached airflow and will help the air accelerate under the splitter, using Bernoulli’s principle to create a lower pressure region on the underside of the splitter. Splitters don’t really work by generating high pressure on the top of the splitter. I mean maybe a little, but largely the faster airflow under the splitter provides a suction or downwards force.


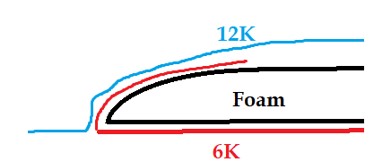
For the layers, I decided to go with 2 layers of 6K 2x2 twill for the top of the splitter, so that it would be have a nice finish without needing too much resin to fill the fabric. On the bottom, I chose 2 layers of 12K 2x2 for strength and rigidity.
Since I settled on a wet layup and the whole part would take some time to perform the layup, I bought a resin with a pretty slow hardener(2+hour). The downside was that this resin really needs heat to cure and harden. So I built a low temp oven out of plywood and insulation sheets. Its capable of ~150 degrees using a smoker heating element in a sheet metal box and a couple of 4 inch duct fans. I actually built a smaller version first when I was experimenting with CF stuff last year, but the big splitter needed a bigger oven.
I used a sheet of melamine plywood as my surface and cut the peel ply, bleeder cloth and vacuum bag to size. I then waxed and coated the melamine in a release agent so the resin wouldn’t stick.
The bottom layer of the layup would end up being the top side of the splitter, so I started by coating the melamine board in a thin layer of epoxy. This would have given me a perfect finish on the top of the splitter had I not accidentally offset the first layer of CF by about 4 inches….. I had to peel it back up and that created some little air pockets. I then used a squeegee to saturate the first layer before adding the second. Rinse and repeat. For the core, I put a skim coat on each side of the foam. Each layer of CF was cut about 4 inches larger than the core, so I could wrap the fabric from the top (bottom during layup) down over the edge. I then draped the first layer of 12K on top and saturated it with resin using the same squeegee method. Next, I made sure it was tucked in nice and tight to each edge of the core.
I didn’t get any shots during the actual layup as I had my hands covered in resin and I realized I only had a single pair of rubber gloves after I got the first layer down.
After the last layer of 12K, I added the nylon peel ply and then the bleeder cloth to absorb excess resin. I then taped the vac bag down to the board and pulled vacuum. I quickly sealed a couple of obvious air leaks but my vacuum gauge only read ~-25psi, so I probably had a couple that I couldn’t hear or find. I made sure all the edges were still nice and tight around the core and dropped the whole board into the oven. I let it sit at ambient temp for a couple hours to make sure the resin didn’t start to cure before the excess got squeezed out by the vacuum pressure. Then I turned on the oven and fans and closed the whole thing up to sit overnight. After 24 hours at 150 degree F, I turned off the oven and left for a week long vacation.
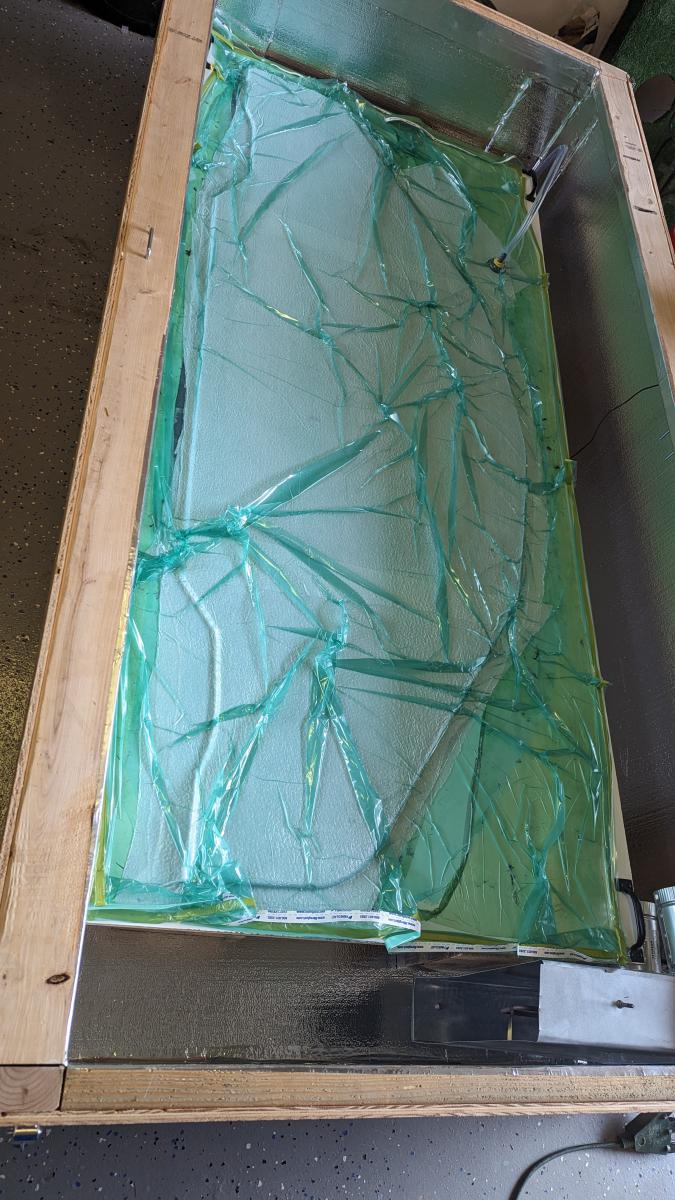
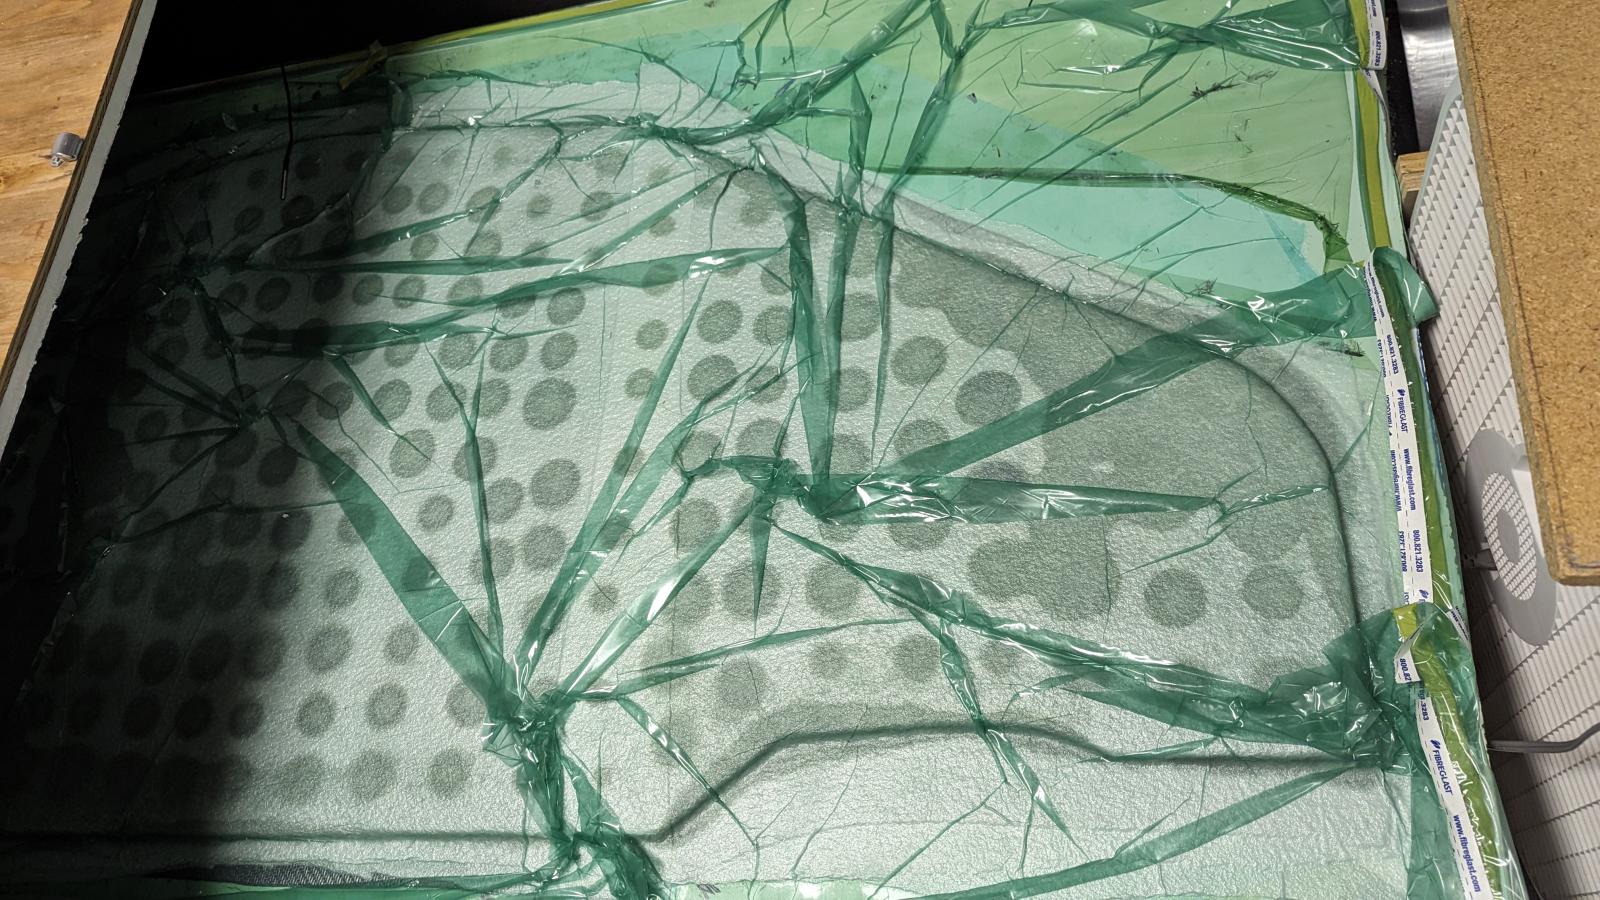
The dots of resin saturation are where the perforations in the core allowed resin to bleed from the bottom of the layup through to the bleeder cloth. Which means the top was pretty saturated and the perforations were an excellent idea.