EMC^2: EMarshall's Carbon Creations!
If you have a keen eye, you will also notice my lateral air curtain vents are blocked off with a carbon fiber panel. This was the second part of my fabrication journey.
In my time watching AJ Hartman videos, I took note of many of the different little aero tweaks he tested in many of his wind tunnel testing videos and I thought, "Hmmmm. Maybe I could try to make some carbon fiber parts. He makes it look so easy!" Obviously he has years of experience and you don't see all the prep-work and time and effort that goes into making all his molds and such, but I figured I'd try my hand at some simple stuff to start.
One thing he noted on
a video was that cars with an air curtain feature can actually have increased drag when running a wider tire due to the air curtain actually directing air into the leading face of the tire instead of around the edge of it. by the looks of it, stuffing a 305 up front on our cars likely runs into this problem.(note: I don't think the ZL1 has the air curtains at all, maybe this is why). I had the bumper off already for the splitter mounting, so I thought I could save a little weight and possibly reduce some drag by removing the front lateral vents(and DRLs) and the hidden ducting on the bumper. A front bumper block off panel and a small piece to block off the vent in the wheel well wouldn't be too hard to create...right?
I ordered a carbon fiber kit and layed up my first test piece. A simple flat panel on a sheet of glass I had handy. A wet layup of 3 layers of 3K carbon fiber fabric. I then trimmed the sheet using a Dremel and cutting wheel to fit the air curtain vent hole in the wheel well. Piece of cake! (sorry no picture)
The front panel would be a little harder. After experimenting with thermoplastic and other materials, I decided to go old school and try make a curved panel using a hammer and dolly. It took some patience and a couple of attempts before I had 2 panels made out of 22 gauge steel metal. I bought a mold making kit and stank up my garage(and house) with the gel coat and fiberglass resins, but the result was a couple of decent molds that I could use to make the block off panels.
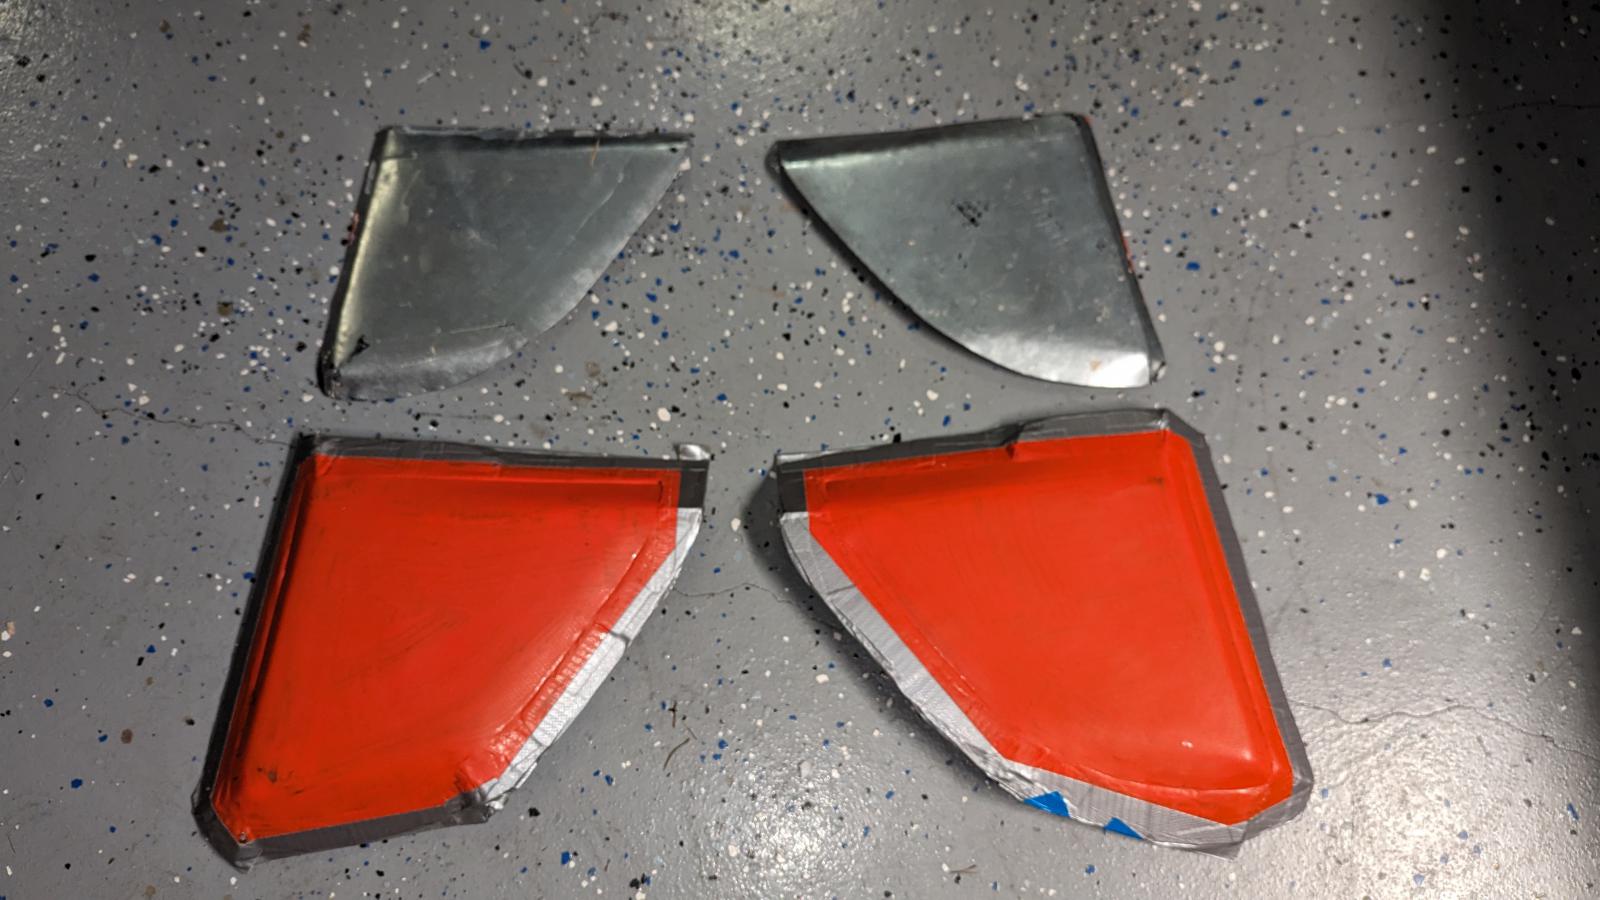
I had read about folks using simple storage vacuum bags to make a wet lay vacuum bagged part. A quick amazon delivery later and I had some vacuum bags and a little hand pump. I layed everything up again with 3 layers of 3K and topped it with a layer of peel ply and bleeder cloth. I popped everything into a vacuum bag and sucked the air out with the little hand pump. I quickly realize the single vacuum bag was not holding vacuum well. not surprising. but I though maybe I poked a hole in it or something. So I tossed the whole thing in a second bag and sucked the air out of that one. It held better but would still loose vacuum after 10 minutes. I checked in on it every few minutes and re-applied vacuum. I did that for about an hour and a half while working on some of the splitter stuff, before finally just letting it go. the benefits from a wet layup vacuum bag aren't that great, and it was my first attempt, so I wasn't expecting perfection.
When I pulled the first panel, it was better than I expected. I rinsed and repeated on the other mould, but somehow got a air bubble in the middle of the panel. I chucked it and tried again. The third one came out nearly as good as the first and I felt it was good to go! I trimmed up the panels and did a little sand and polish on them before drilling holes and bolting them onto the bumper with some black M6 button head bolts. The edges weren't perfect, but the fit was good enough. I figure without the weight of the DRLs and plastic bit, I saved 5-10lbs(the DRLs are surprisingly heavy!)
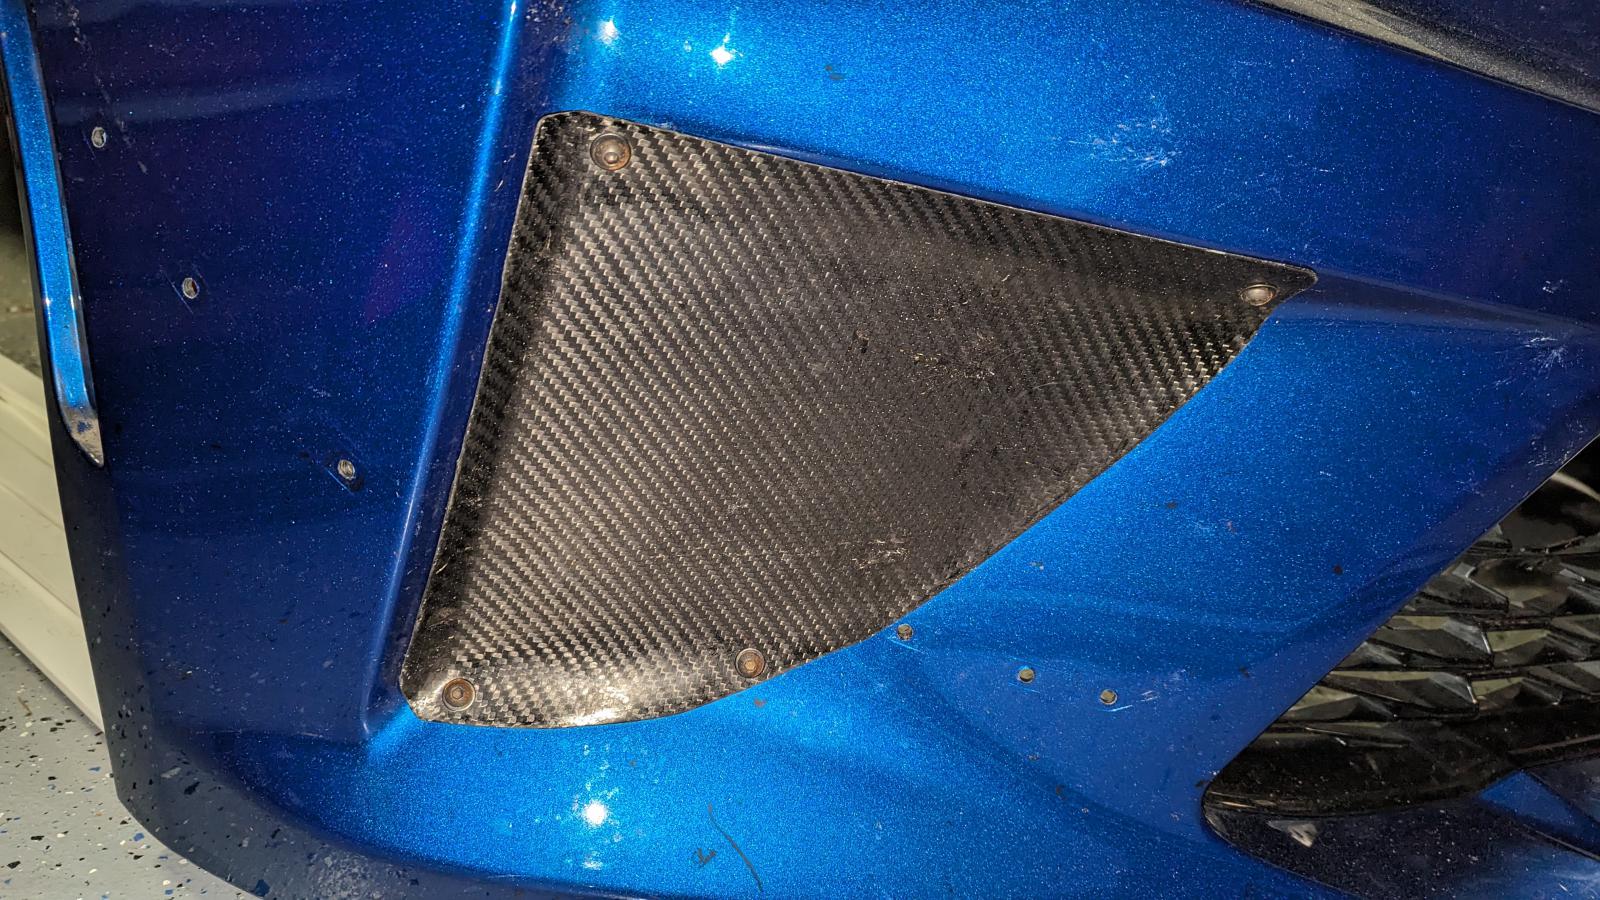
Mind you this photo was after a full season on racing grime and impacts.
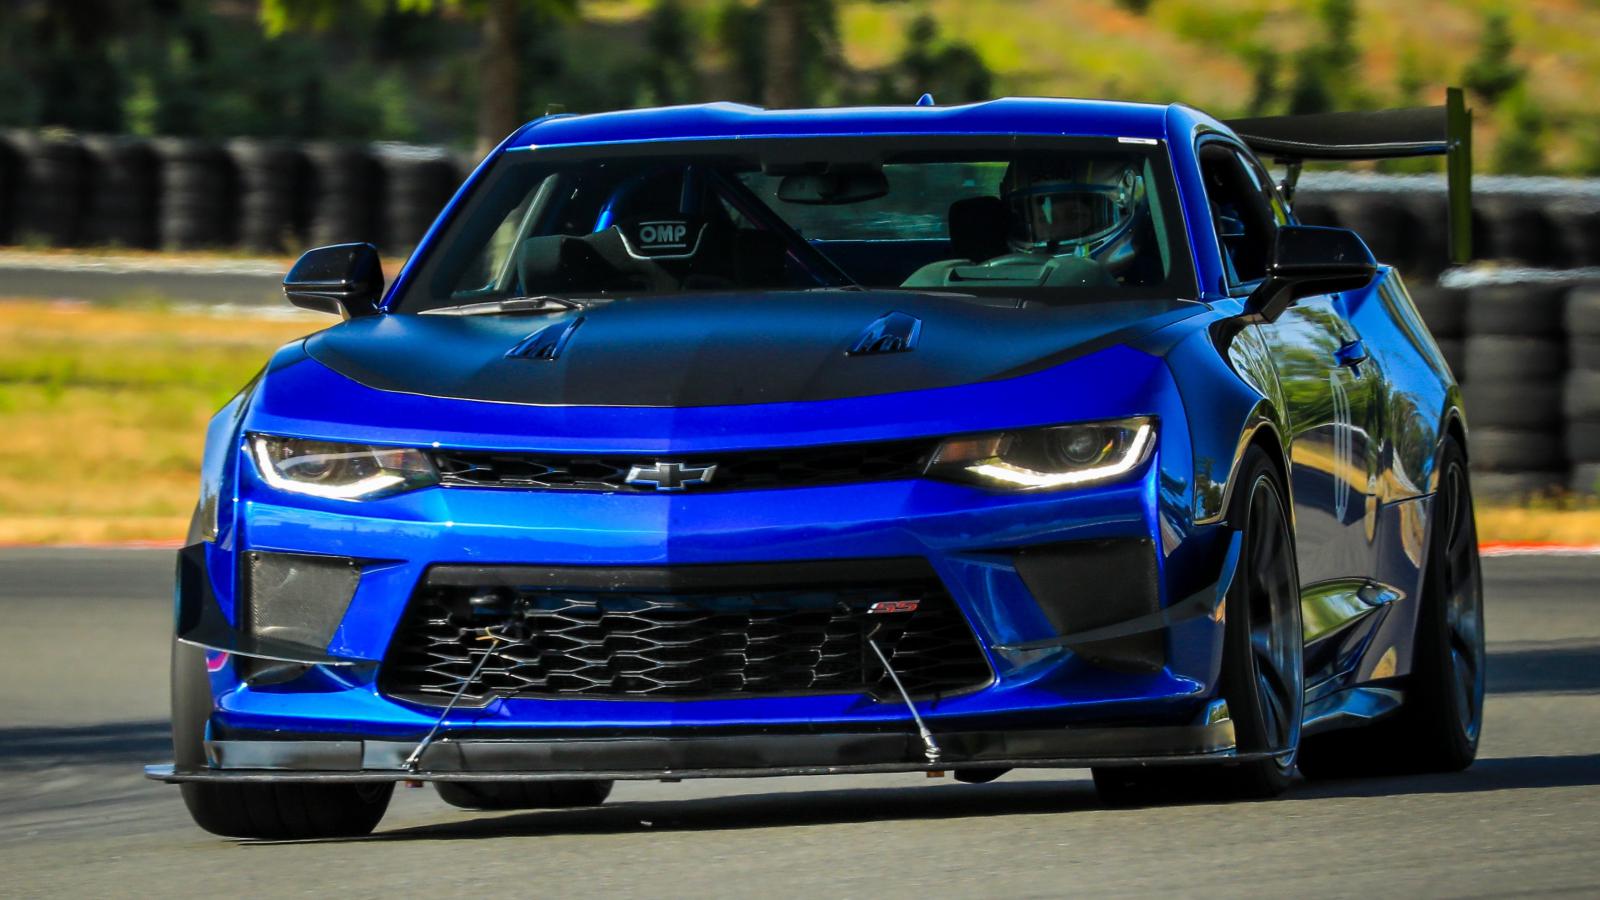
Action shot!