Fabrication attempts. aka. making it up as I go.
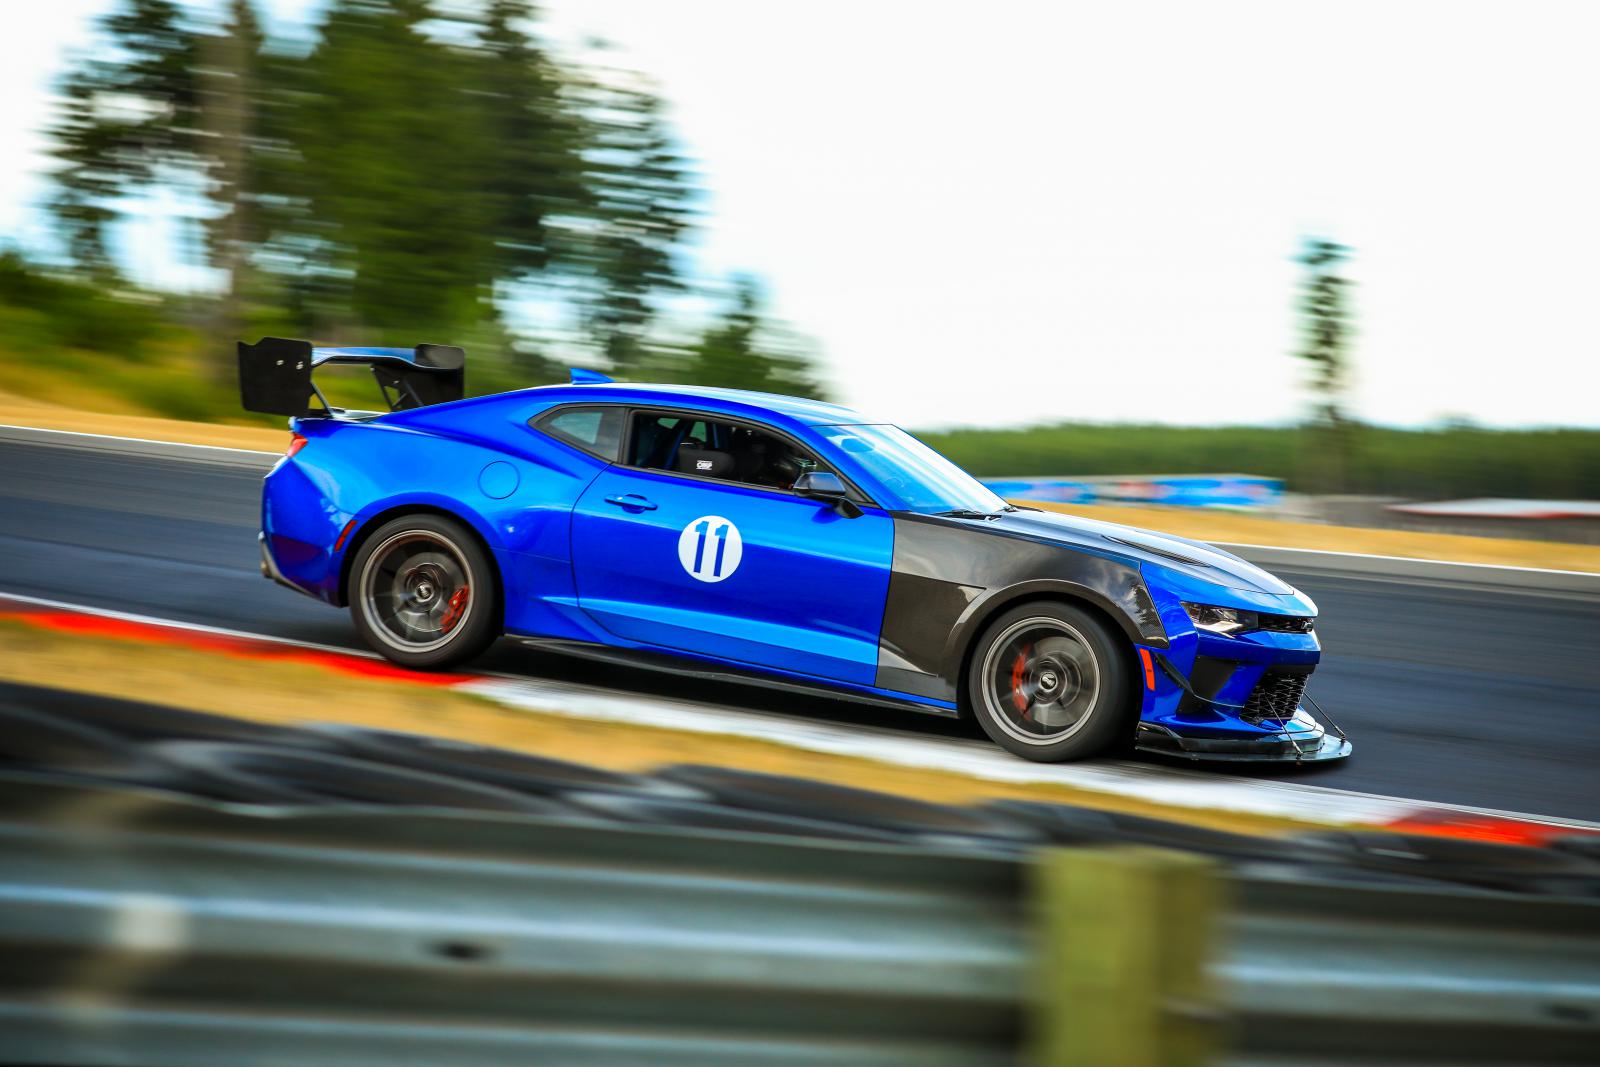
In the Fall of 2022 I let the mod bug get a hold of me. I made plans to add some safety features to the car(OMP HTE-R seats, CMS roll bar, 6 point harnesses.) but also decided to copy much of khcoaching's and other Camaro6 member's findings by adding DSSVs, sway bars(Hotchkis+BMR), and a full set of rear arms(BMR). A black Friday deal netted me a set of forged Apex VS 5RS in a square 19x11 setup and a screaming walmart deal nabbed me a set of 305 SC3R tires that everyone raved out. I came across a set of AC carbon front fenders and a knock off ZLE wing, so on they went as well. Lastly I decided I wanted to add a front splitter to keep some semblance of aero balance. I ordered an APR unit but as soon as it arrived, I knew it wasn't up to my standards. Let's just say it had more flex than Arnold Schwarzenegger in his prime....
After reading every article I could find on how to fabricate a splitter(AJ Hartman, Professional Awesome, and lots of forums), I decided to craft my own out of plywood, angle iron, and a little ingenuity mixed with elbow grease. I decided to go with a 4inch lip all the way around and a beveled leading edge(AJ Hartman talks about this quite a bit in his videos). Because of clearance issues loading the car onto my trailer(ground clearance and width) I decided to make it easily removable as well.
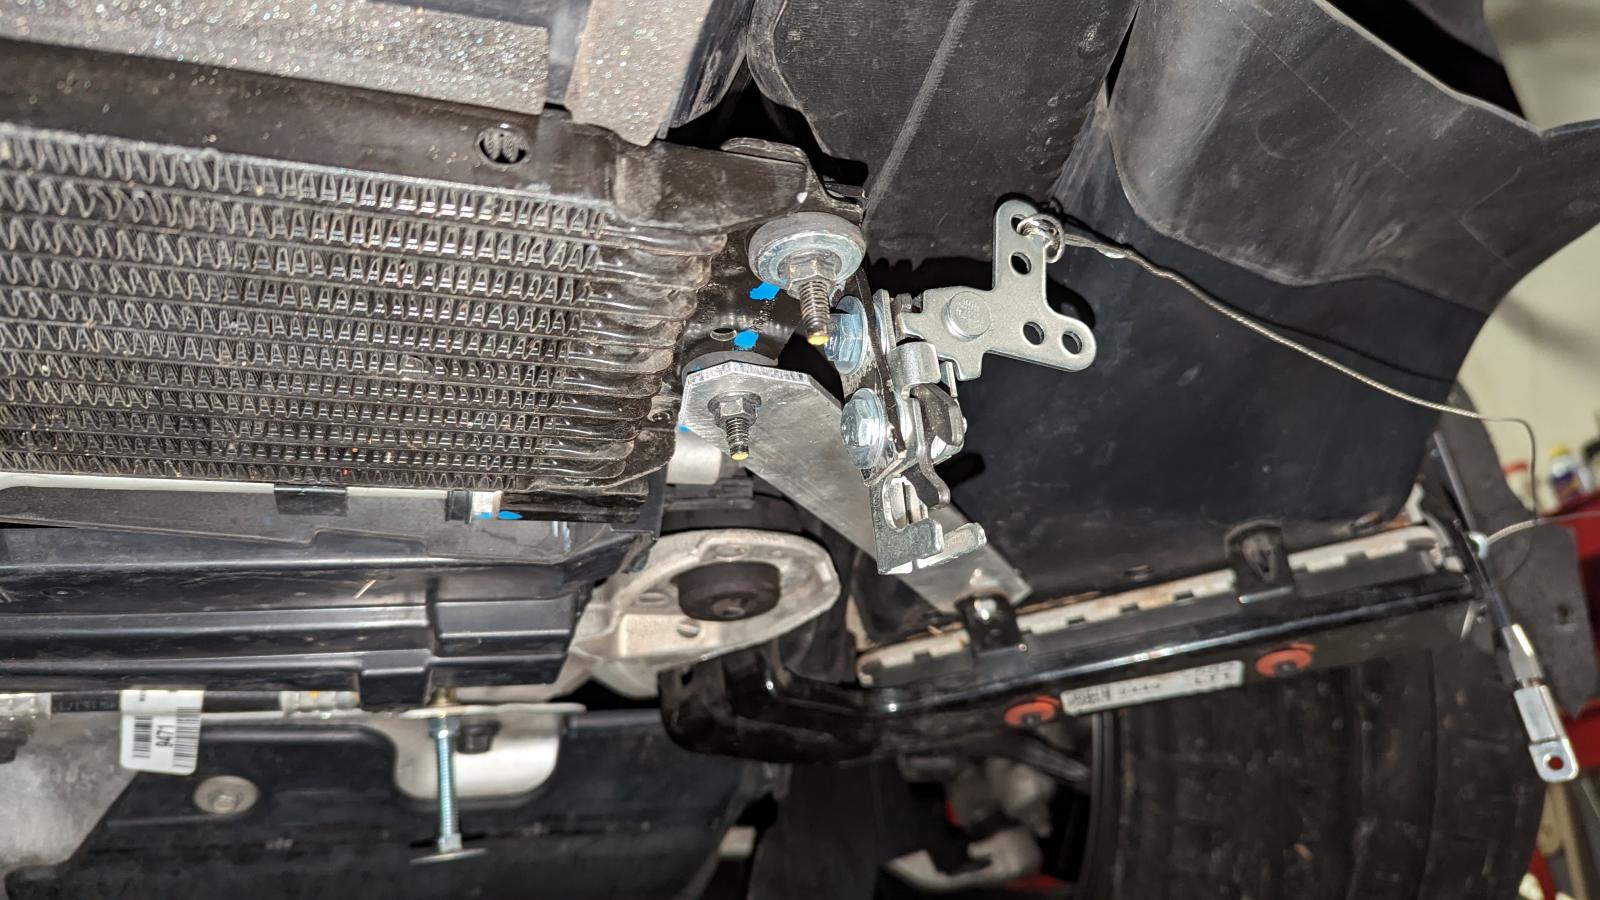
I started with half inch plywood because it was cheap, relatively sturdy, and could be easily shaped/modified using tools I had on hand. After cutting a rough shape I started looking at possible mounting solutions. I removed the front bumper and front undertray, and trimmed back the wheel well liners to the front edge of the wheel opening. I knew I would have to run a couple splitter rods through the lower grill, and I figured I could create a couple of brackets that hung from the metal support under the headlights. The "detachable" part was quickly solved after watching another AJ Hartman video where he mounted his flat floor using door latches. I took the undertray mounting tabs that hang off the trans cooler brackets, and bent them so that they pointed vertically. I then drilled a second hole and mounted the door latches so that the open side faced forward. There was a little lateral play in those trans cooler brackets but vertically they were solid.
(Most of these photos were taken much later, so you may spy other changes...)
For the rear of the splitter, I installed nutserts in the front most tabs of the aluminum brace(holes from the front undertray), hung elevator bolts down about 2 inches and secured them with jam nuts. I slotted the rear of the splitter so that it could slide onto the elevator bolts and be held up by the flange.

I started trying to figure out a way to make the side supports easily detachable( yet still solid enough to support each side), I thought the same elevator bolt/slot trick might work but that meant installing the splitter would require aligning 4 slots, ~70" apart, at 2 different fore/aft distances. Not very easy. After a couple of other attempts, and a few beers, I realized another set of splitter rods would actually work perfectly. There were already large enough holes in the headlight/aux rad support frame for an M8 bolt, and I could put the bottom clevis and bracket just inside the bumper and in front of the wheel well so it would be easy to access(remove one wheel well liner retaining screw). I decided to support Professional Awesome's great write ups and videos on splitter and aero design by buying a set of 4 splitter rods from them.
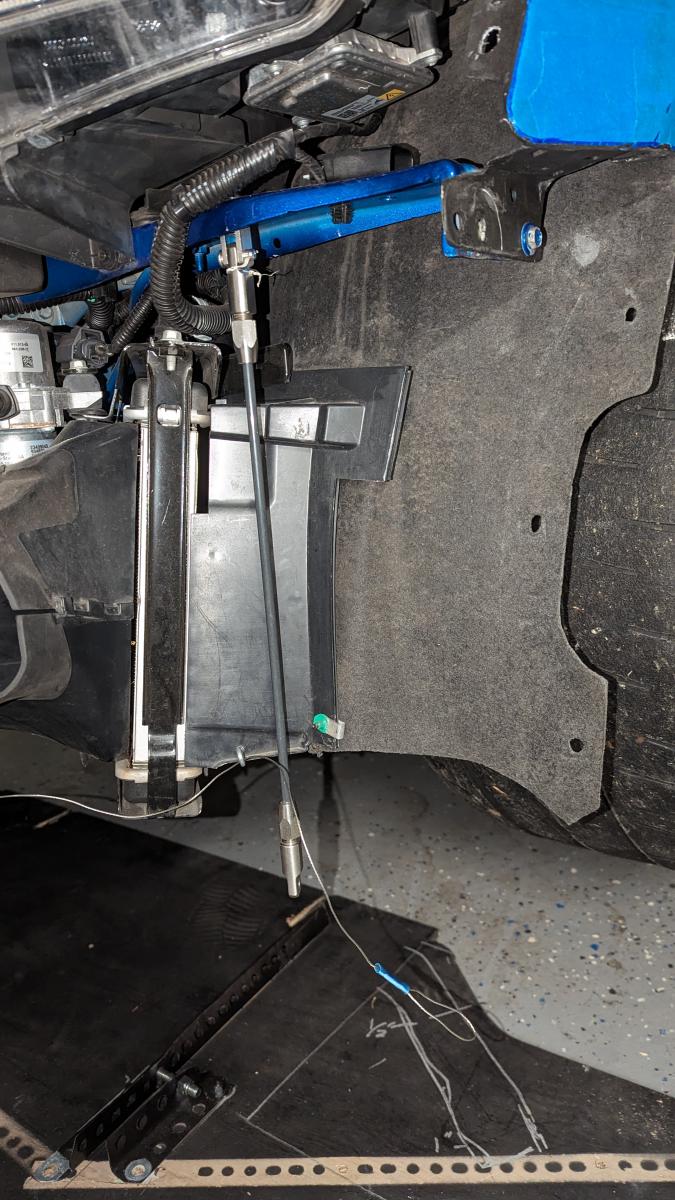
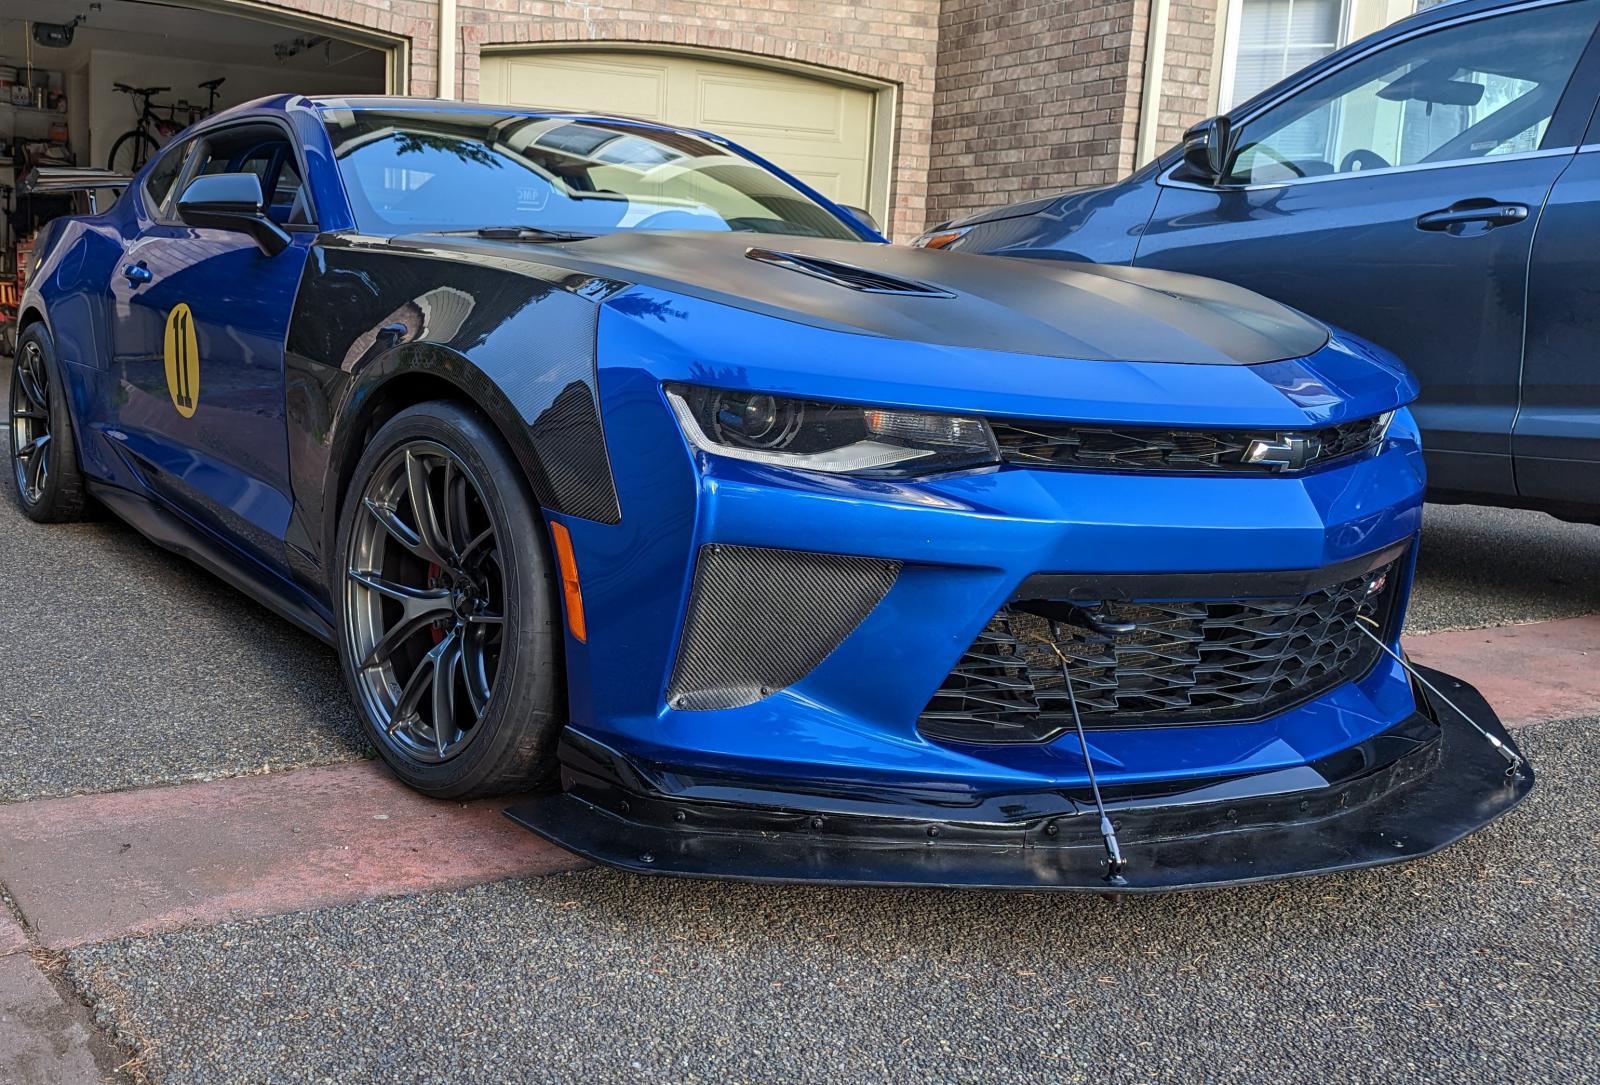
The wire you see is the pull to release one of the latches. I usually put the rod through the loop to prevent it from flapping around.
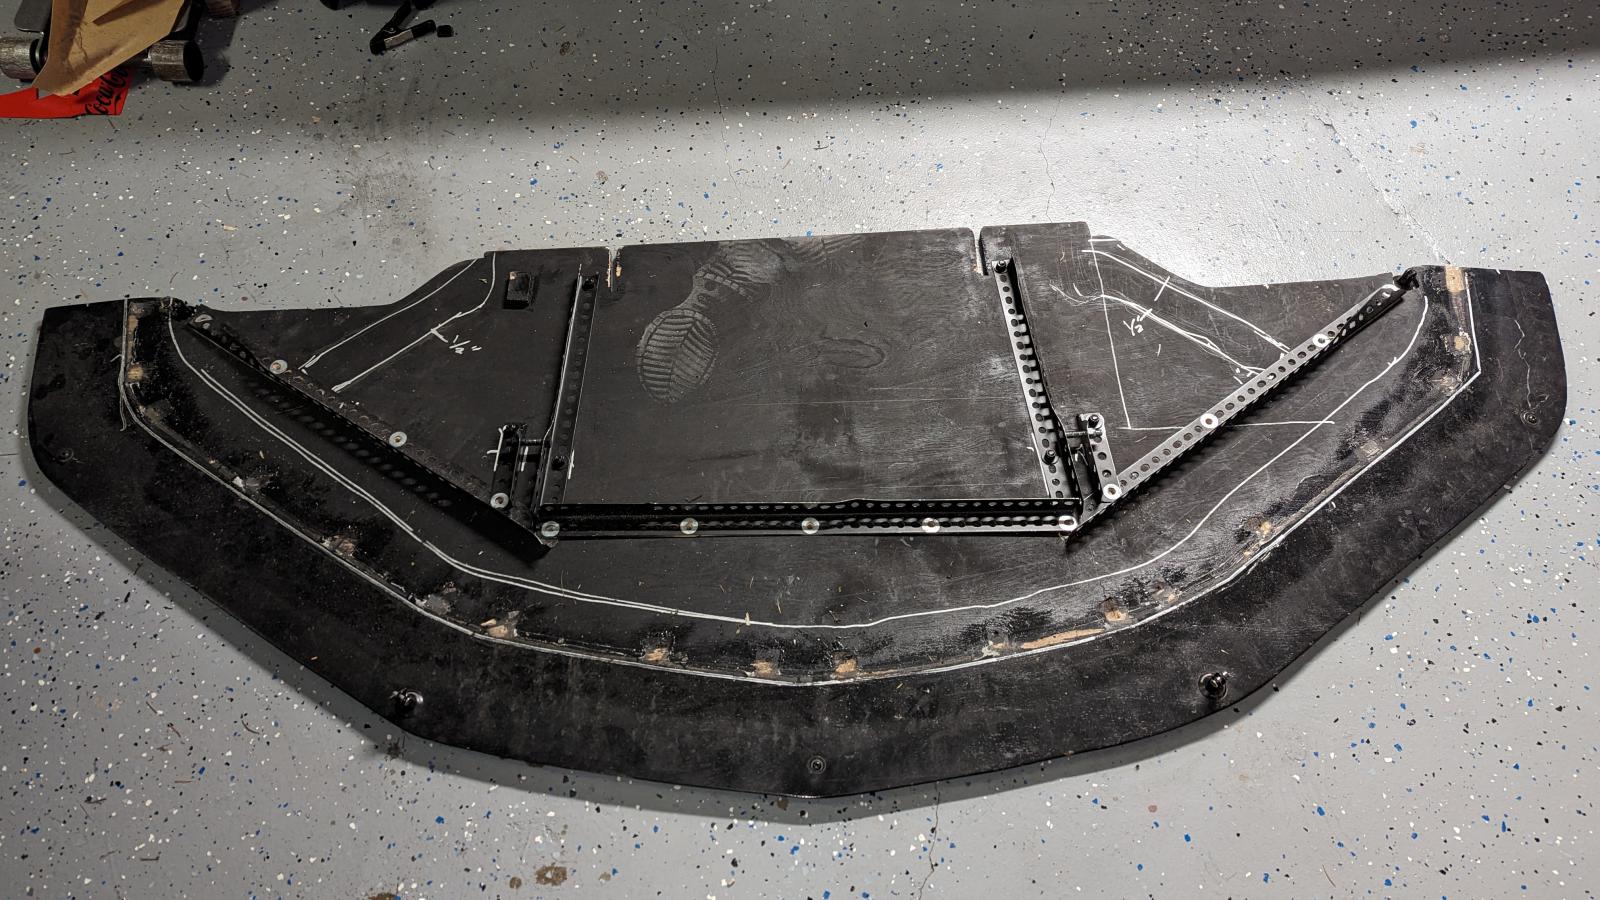
The half inch plywood was fairly sturdy, but I figured I would rather over engineer it than have it rip off on the first run. So I installed angle iron in a pattern that extended forward from the rear slots, past the door latch mounting points, to a point about 2-3 inches behind the front bumper. Then I ran a single piece across the front, connecting the two fore-aft lengths and added a diagonal on either side that ran to the outer support mounting points. I also decided to reinforce the underside of rear slots and lateral mounting points with a 1/8" steel plate cut to size and drilled to accept the bolts from the angle iron supports. I decided not to cut a vent for the trans cooler since there is about 3 inches of clearance below the cooler and enough of a gap on the trailing edge of the splitter for air to escape.

Again, these photos were not taken during assembly(rather during deconstruction for V2.....). I also added some splitter biscuits to protect the leading edge from scraping on the ground.
I added a piece of L shaped plastic from Amazon to create an air dam and seal the splitter to the 1LE lip. A final trim and bevel of the front edge, followed by a little sanding and a liberal coating of black spray paint, and viola!
The final splitter and hardware ended up weighing about 25lbs. It mounts by sliding the rear of the splitter up at an angle onto the rear elevator bolts, then lifting the front so that it is approximately level, before sliding the whole splitter back another couple inches to get the latches to lock onto the middle support bolts. Then I attach the bottom of the splitter rods ends via their pins and re-install the bottom wheel well liner screws. I can stand on the center of the splitter, but the sides still flex quite a bit and would most likely break if you tried to stand on the outer corners. Total ground clearance with it on the car is about 4 inches (under no load). for a couple hundred bucks and some fun time in the garage, I'm pretty proud of it.