On today's episode: Radar detector and Dash Cam install.
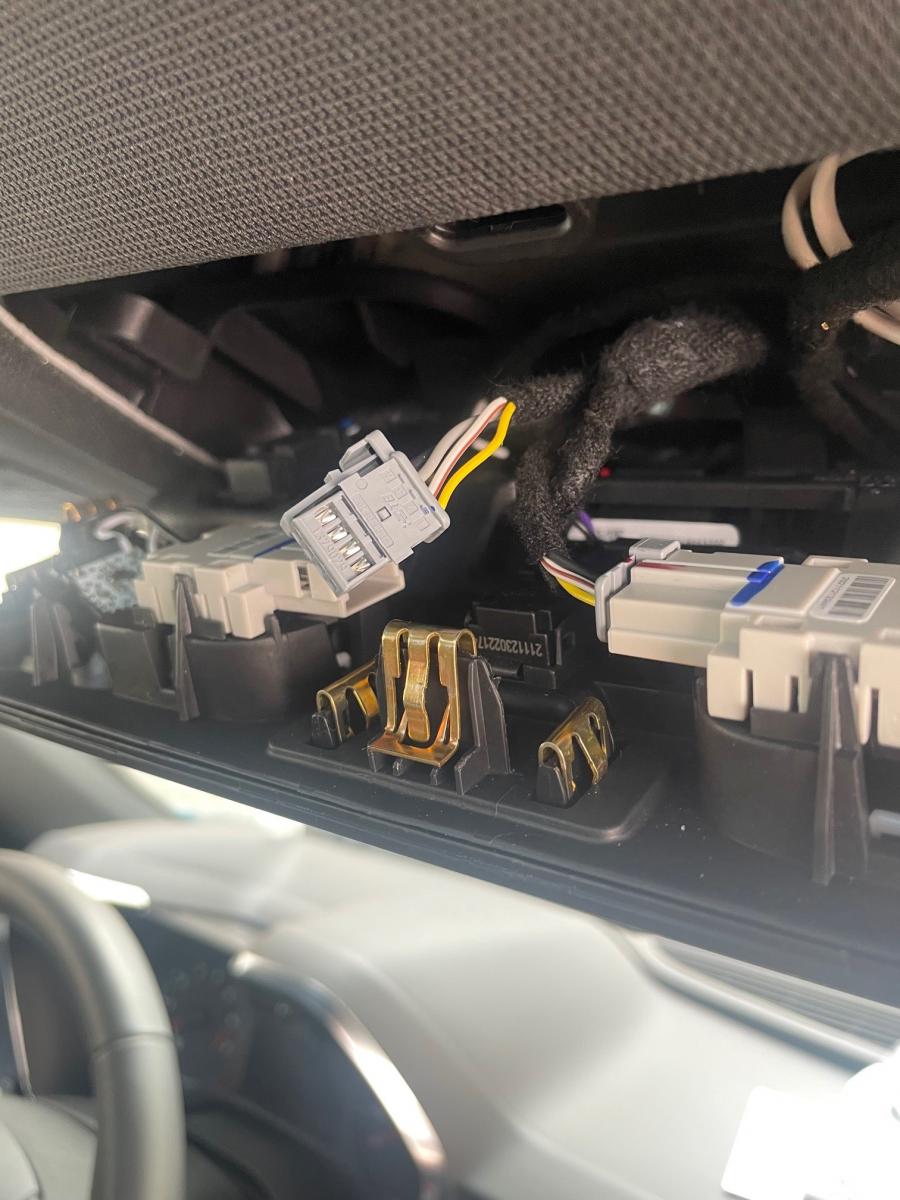
I have a Uniden R3 that I want mounted w/o suction cups and hardwired. I used the gen5DIY harness. It is a plug and play piggy back off the connector that goes into HVAC module (under the passenger side kick panel) to get +12V w/ignition. It also has a capacitor which apparently is needed to smooth voltage drops, I guess an early version w/o the cap had issues where occasionally the radar detector would inadvertently shut off.
Anyway it tucks in seamlessly under the headliner. Routed up the C pillar, it hides nicely behind the fabric. Just like the instructions state, pop off the dome light and anchor the wires to something there before drawing them out and going directly to the detector. FWIW That dome light was a PITA to pop off, maybe I was being too gentle but I didn't want to break anything, I had to use a few plastic trim tools to get it off:
BTW, I did get some DMM readings from the dome light LED while I was in there (but of course I didn't write anything down). IIRC it's a 5V circuit. Not sure when/where the voltage step down occurs but this would actually be great for the detector because it's also 5V. But I couldn't make it work, I forget what's going on there IIRC the ignition signal switches on a ground or something. So anyway not piggy backing onto that, I just used the harness I bought and it works great. With the electrical finished, it just became a preference of how to mount it.
I had one of these left over from my last car:

It is supposed to work like this but our Camaros have a somewhat unusual mirror mount so I had to get creative:

I bought a second one to be sacrificed. I cut and welded it up to make third joint.
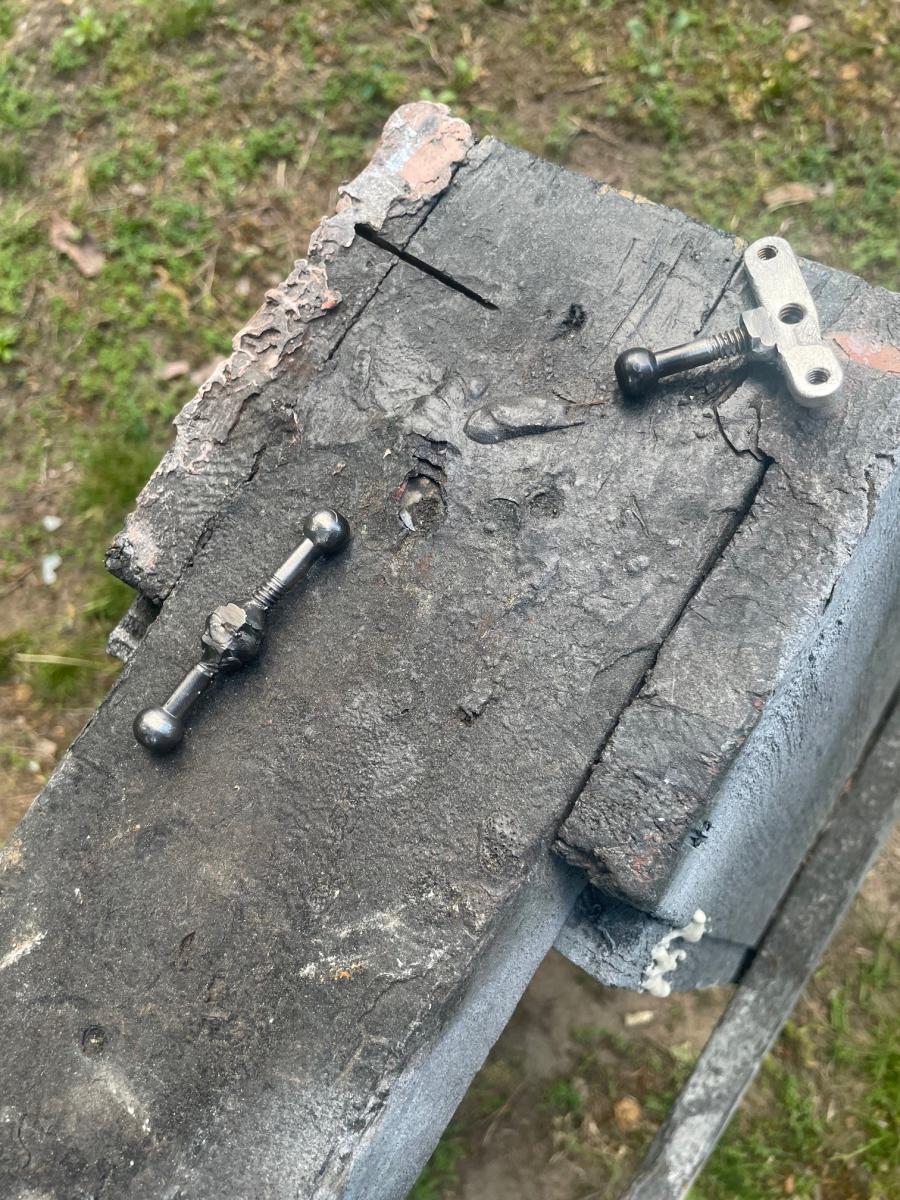
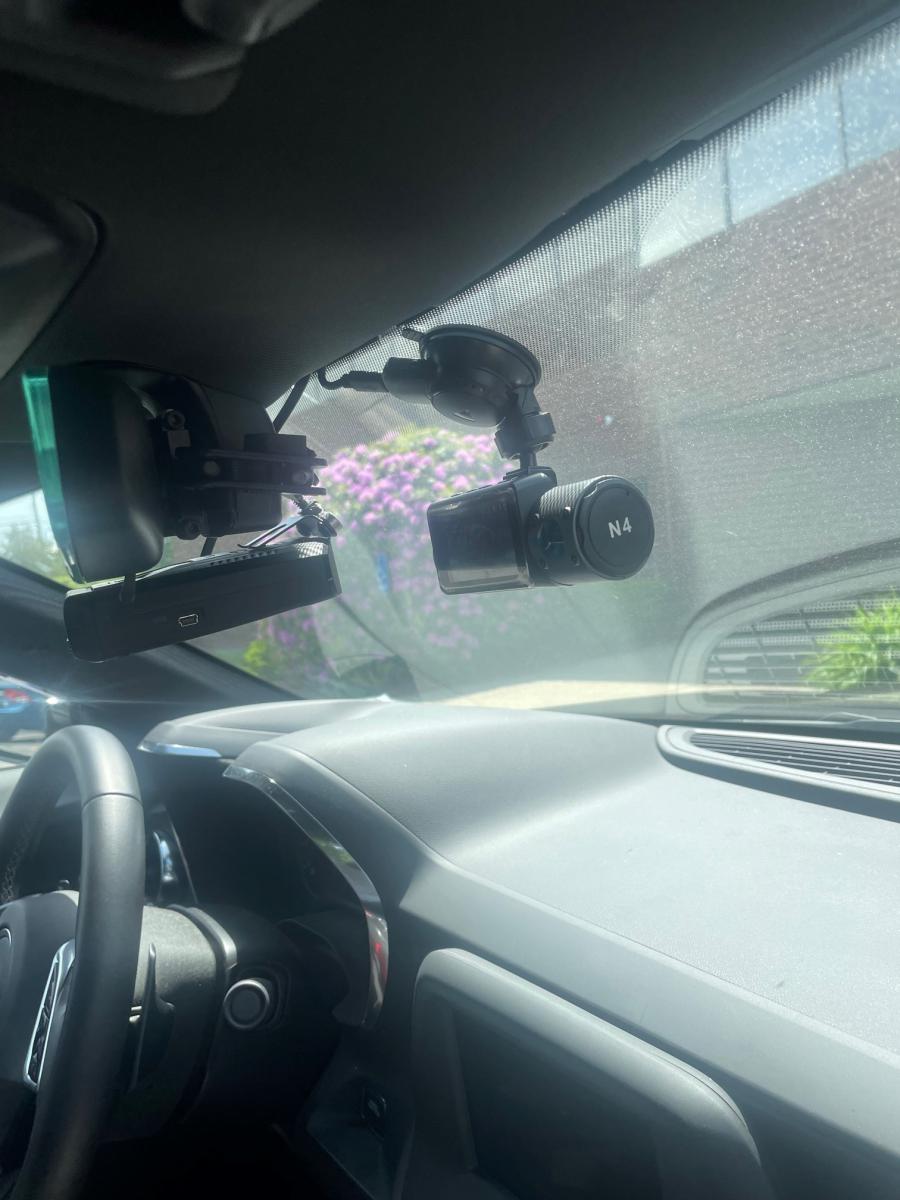
I started rushing so no pictures of it re painted black, or the final assembly before I put it on the car but here's the final product. Note the way it wraps around the mirror, kind of crazy but it works.
For the Dash Cam I want it always on and recording since I will pair it with a a low voltage protection unit to prevent a dead battery. Looks like this:
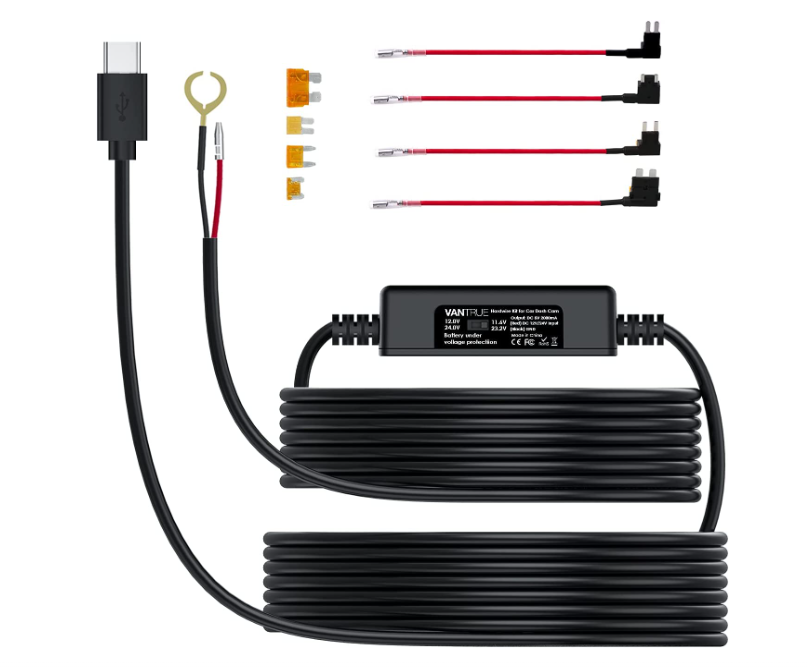
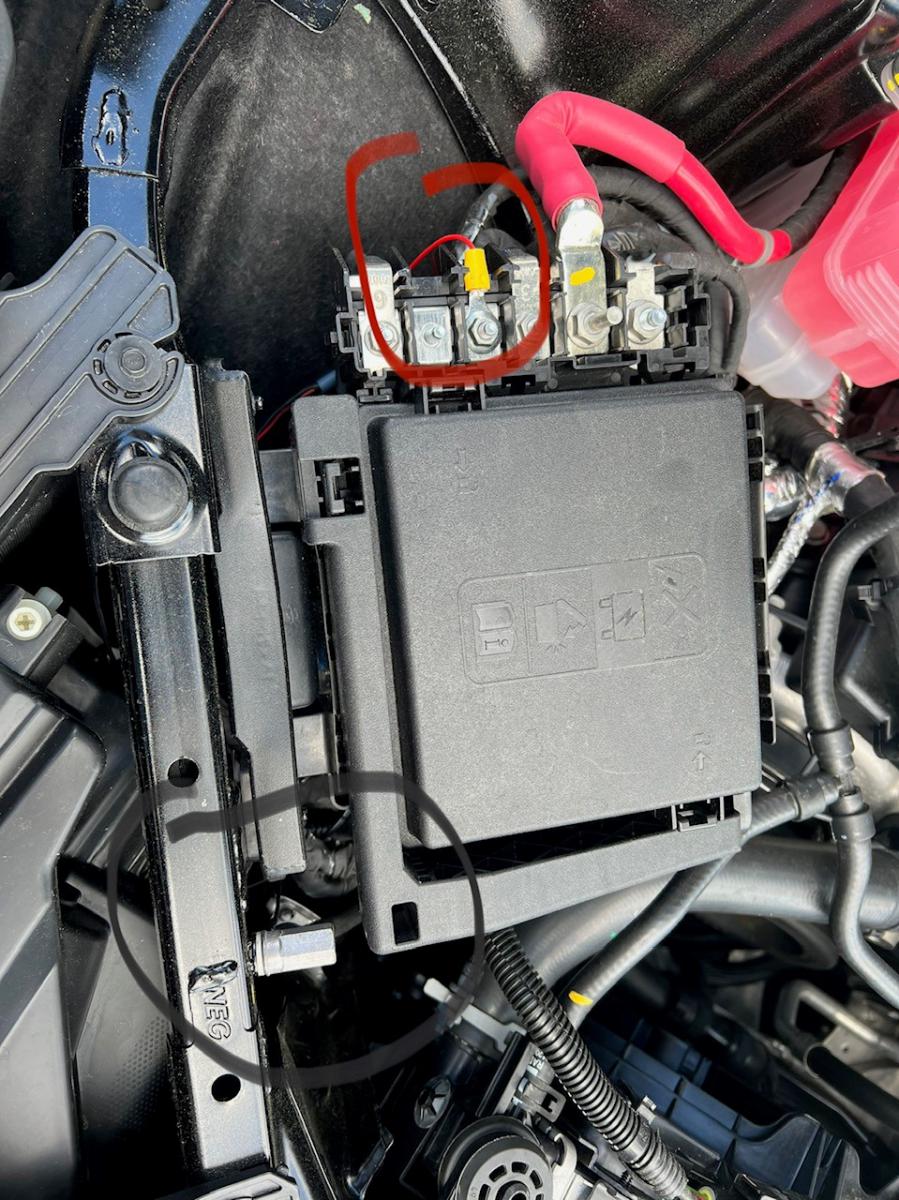
So where to get constant power? Usually that's the easy part but not on these cars it seems. If you search you'll see a lot of people struggling to find it inside the car. One solution is to go to the battery in the trunk or if you have a rear sub apparently you can piggy back off that. I wasn't easy finding a solution but now that I know how to do it, it's actually pretty easy. I know that doesn't make sense but hear me out. I was determined to use the fuse box in the engine compartment because I'm also going to use that for another project (more on that later) and because I knew if I could get through the firewall, I'd be home free (I just followed the same path that I took for the radar harness). BUT after trying a variety of ways to snake a wire through the grommet used for that beefy battery cable, I was about to give up. BUT if you have a REALLY long screw driver, you can use some electrical tape to smoothly wrap the wire to it and push through the fire wall. From there it's a piece of cake! Don't forget to add some circuit protection if you are going right off the battery, mine came with a small fuse and I just used that.
Anyway that's it, you really can't even tell it's there and no cutting or splicing involved.