You are browsing camaro5 

|
 03-12-2012, 09:16 AM
|
#505 | |
|
Drives: G5.R Join Date: Sep 2010
Location: SoCal
Posts: 2,377
|
Quote:
Steiger, I think I read somewhere were they used 3 harness. I'd imagine they spliced each one to get the length they needed. That could be one way to do it. Maybe Andy could shim in and give us a hand. That would  I wasn't planning at this point to monkey with the fuse box but once I removed the air box cover, it occurred that it might be possible to move the box to the wheel well without modifying the harness. That option I would be willing to explore. It would in essence accomplish the same thing, getting rid of the fuse box but without the monumental task of relocating it to the trunk. Well see..... I'm gonna need some  for this one. Actually this might require , LOL. for this one. Actually this might require , LOL.
Last edited by Moreno1; 03-12-2012 at 09:47 AM. |
|

|

|
|
03-12-2012, 09:19 AM
|
#506 |
|
knows 2 facts about ducks

Drives: ...and they're both wrong Join Date: Aug 2009
Location: The HMS Invincible
Posts: 25,072
|
I cannot wait to see your engine bay when this is all said and done
__________________
 |
|
|
|
|
03-12-2012, 09:41 AM
|
#507 | |
|
Drives: G5.R Join Date: Sep 2010
Location: SoCal
Posts: 2,377
|
Quote:
Mike sent me a couple of more shots of the intake. He had asked me if I wanted to add a couple more coats of color to get it darker or a couple of more coats of clear to get it shinier. Talk about customer service and going the extra mile! I asked him if he could take a couple of more shots in the natural lighting with something black on it. This way I could get an idea of how the black rail and injector connectors would contrast.......After seeing these pictures, I told him to just send it on home. 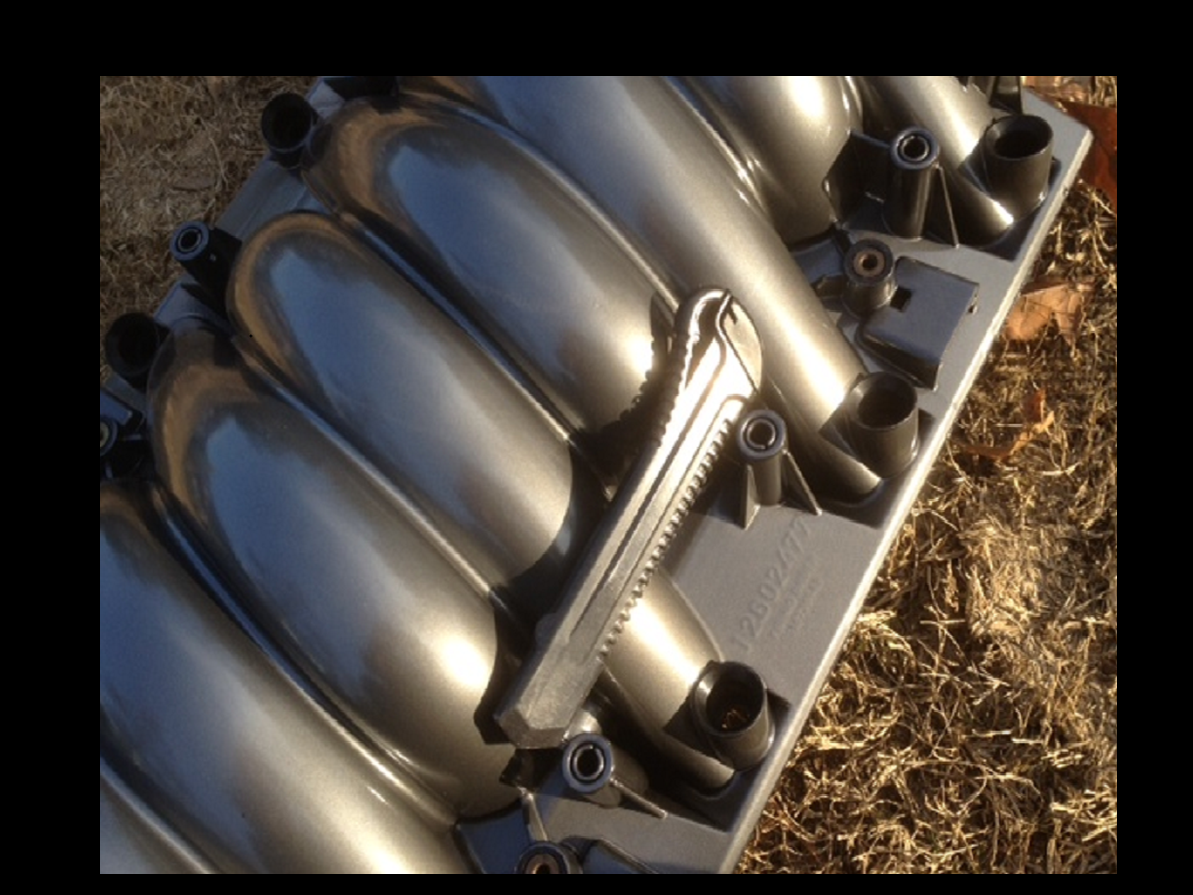 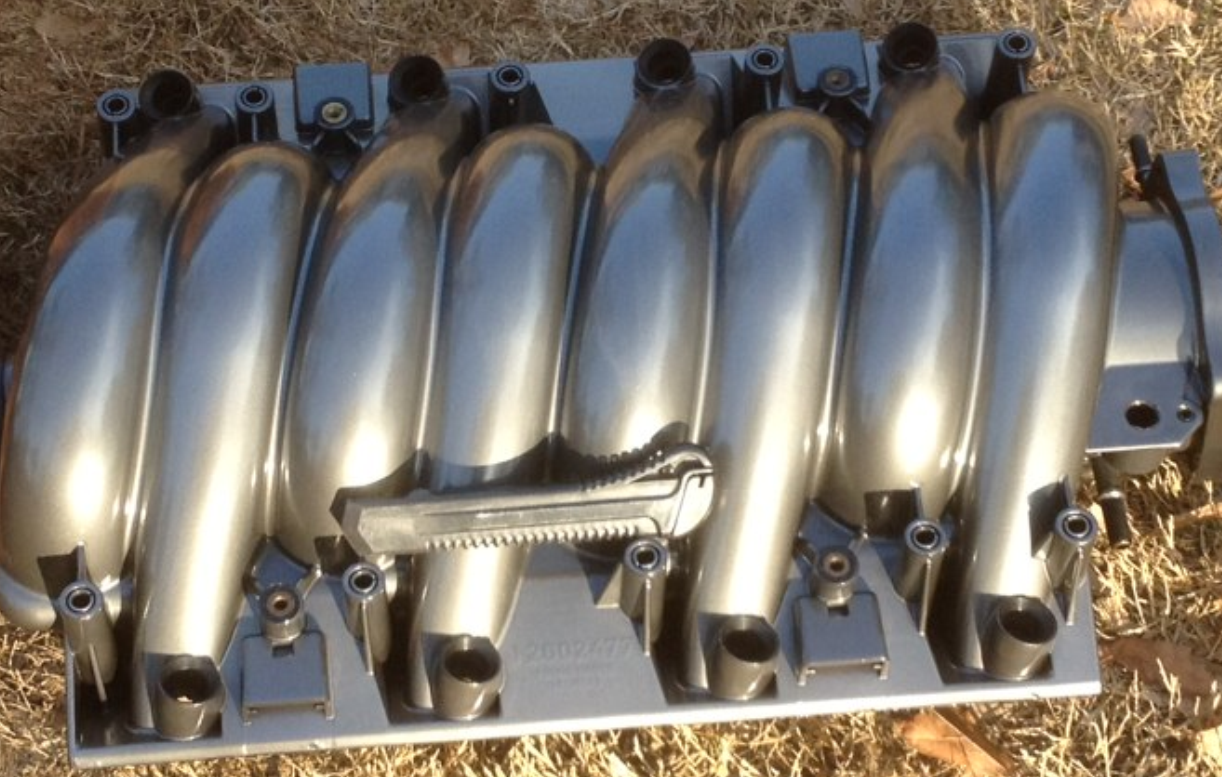 By the way, he's offering special pricing for Camaro5 members on the intake and clam shell. I'll post them when I get them. |
|
|
|
|
|
03-12-2012, 10:10 AM
|
#508 | |
|
The New Guy

Drives: 2010 2SS/RS IBM M6 Join Date: Sep 2009
Location: Cali
Posts: 1,147
|
Quote:
Careful with that fuse box relocation, there was a thread around here about someone else that wanted to do it just for looks also. I think Andy at ADM quoted him $7K for the job... based off that and knowing that their prices are reasonable for the quality of work you get it really must be a job and a half. but if your going to go for it good luck! hopefully i get to see your car around!
__________________
|
|
|
|
|
|
03-12-2012, 10:13 AM
|
#509 |
          Drives: cars Join Date: May 2011
Location: Oversneeze
Posts: 4,544
|
That was for relocating it to the trunk, smoothing the struts, and repainting the engine bay so that includes engine removal.
|
|
|
|
|
03-12-2012, 08:13 PM
|
#510 |
|
Drives: G5.R Join Date: Sep 2010
Location: SoCal
Posts: 2,377
|
OK, I pulled the inner fender and there is ..... definitely no room to relocate the fuse box :( Here are some pics of the area. Some of these pics might be boring but you never know when you'll need to look at them for reference. I know many times, I go back and referance pictures. A lot of what I've learn is by just studying the pictures of other peoples project.
The only place it would fit would be inside the front end but you'd have to unbolt it every time you were going to check the fuses. Plus I'm not even sure the harness would stretch that far. 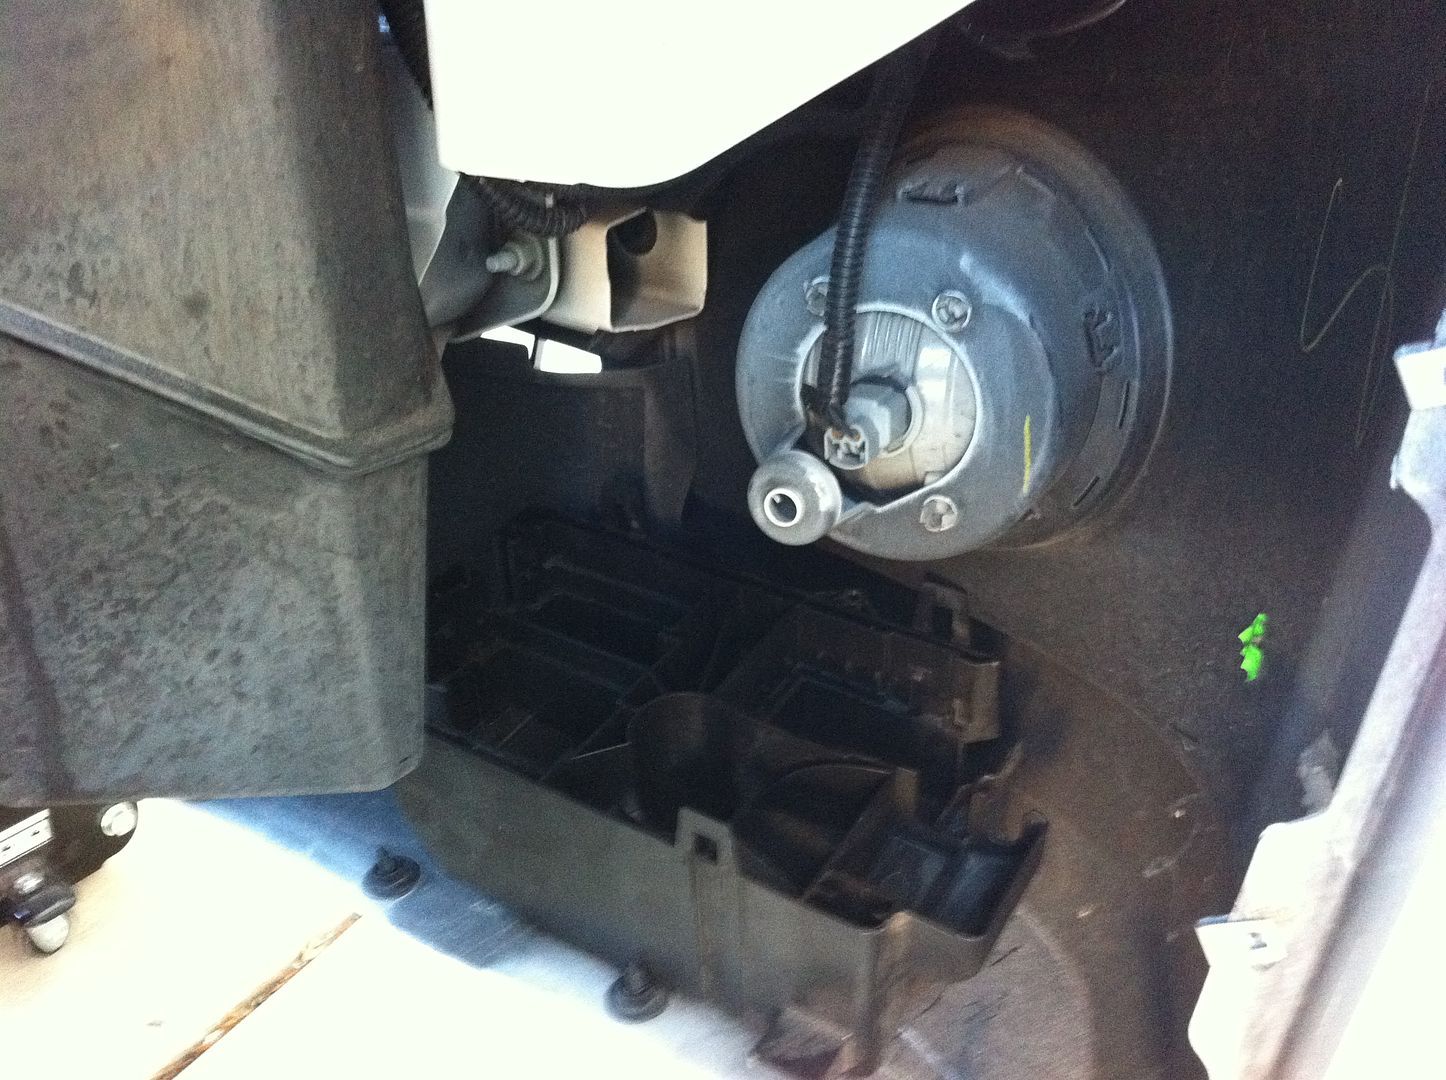 Here a shot of the over flow tank. I going to see if I can find something nicer. 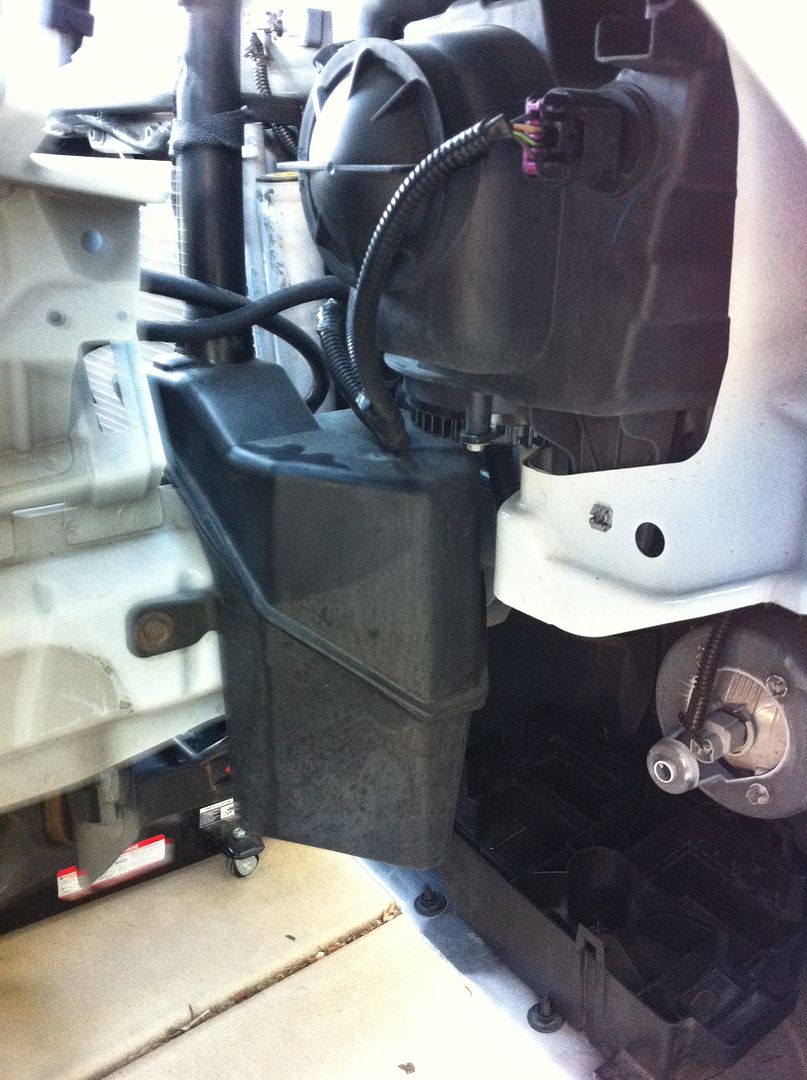 Definitely room to relocate the coil. In fact, I know that Vengeance is coming out with a kit for this area. I'm contacting a company that suplies a lot of Nascar stuff about getting longer wire to move them here. 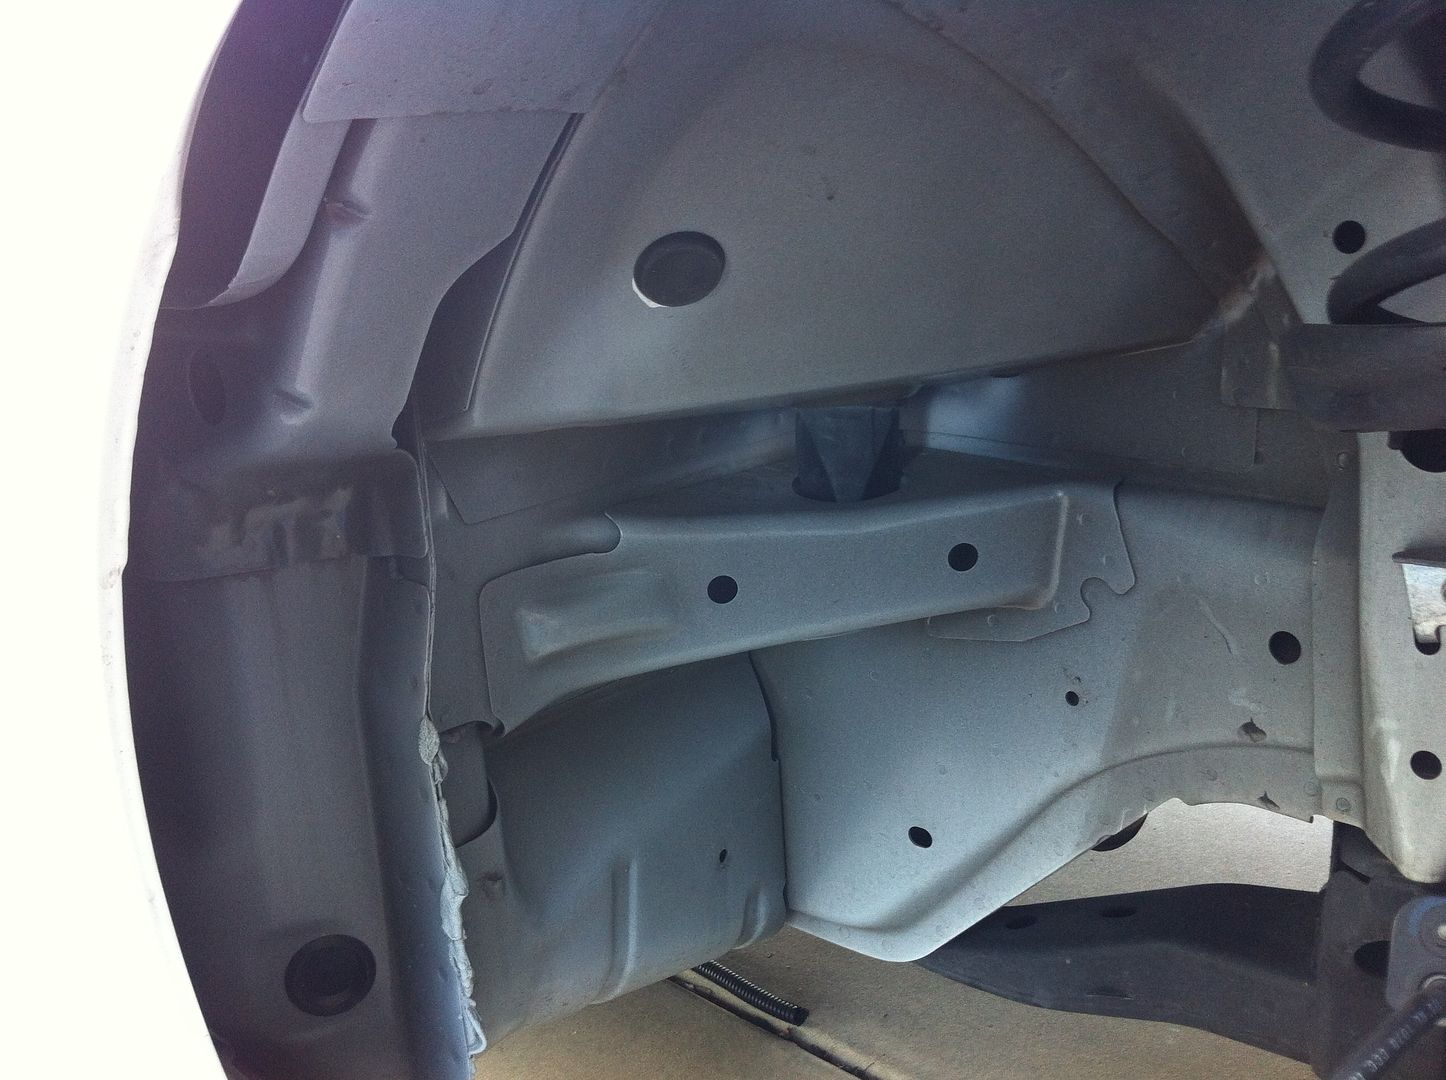 This is an under shot of the fuse bracket. You can see there's four spot weld that will need to be drilled out. 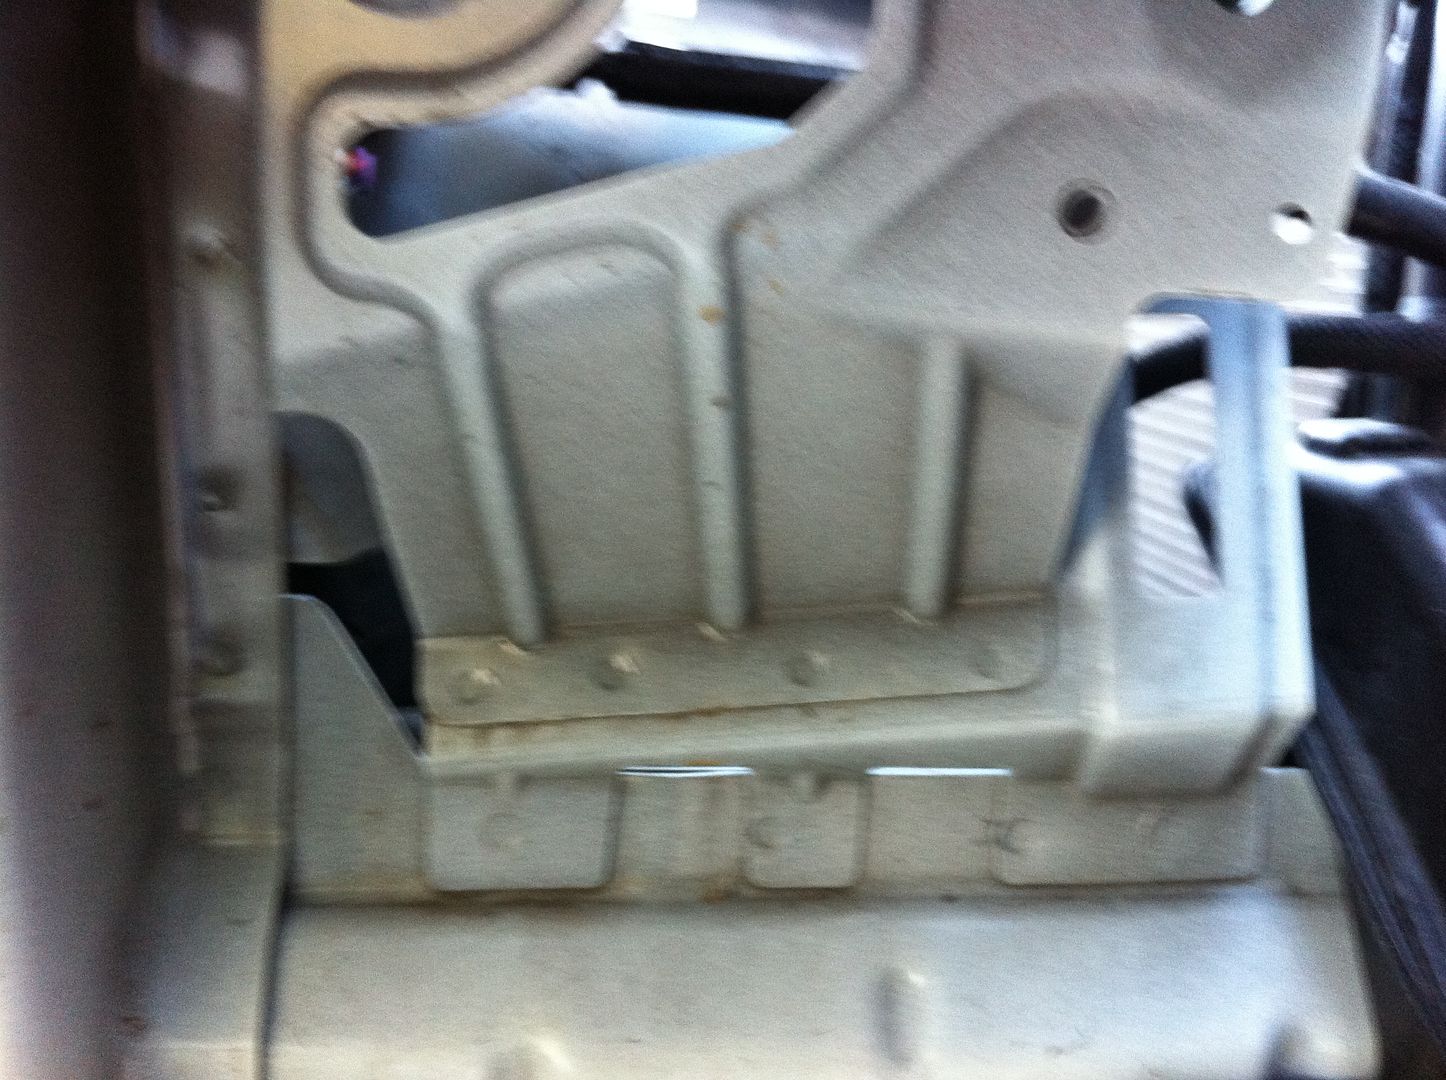 There's also two from the top. 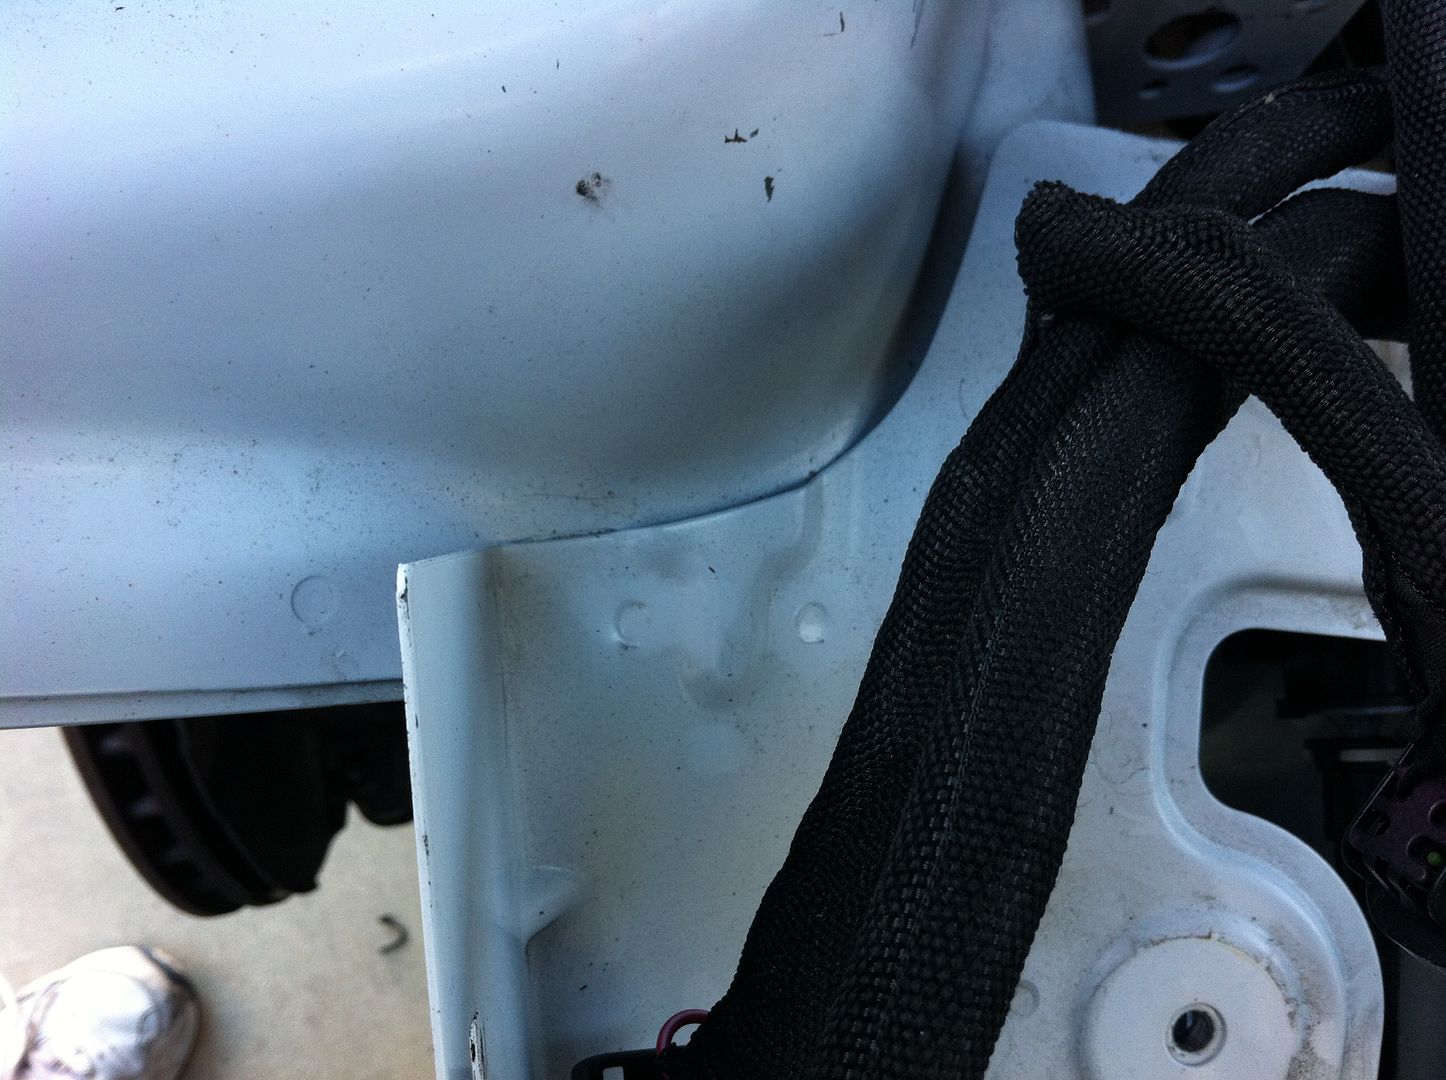 I'm definitely going to get rid of this bracket. Thanks to Kyle's aka NC-V help. He e-mailed some pics of a custom bracket they did for their in-house project cars. Those guys do incredible work! I actually saw one of their project cars inside the SEMA convention center two years ago and they already were doing all this stuff, definitely ahead of their time. 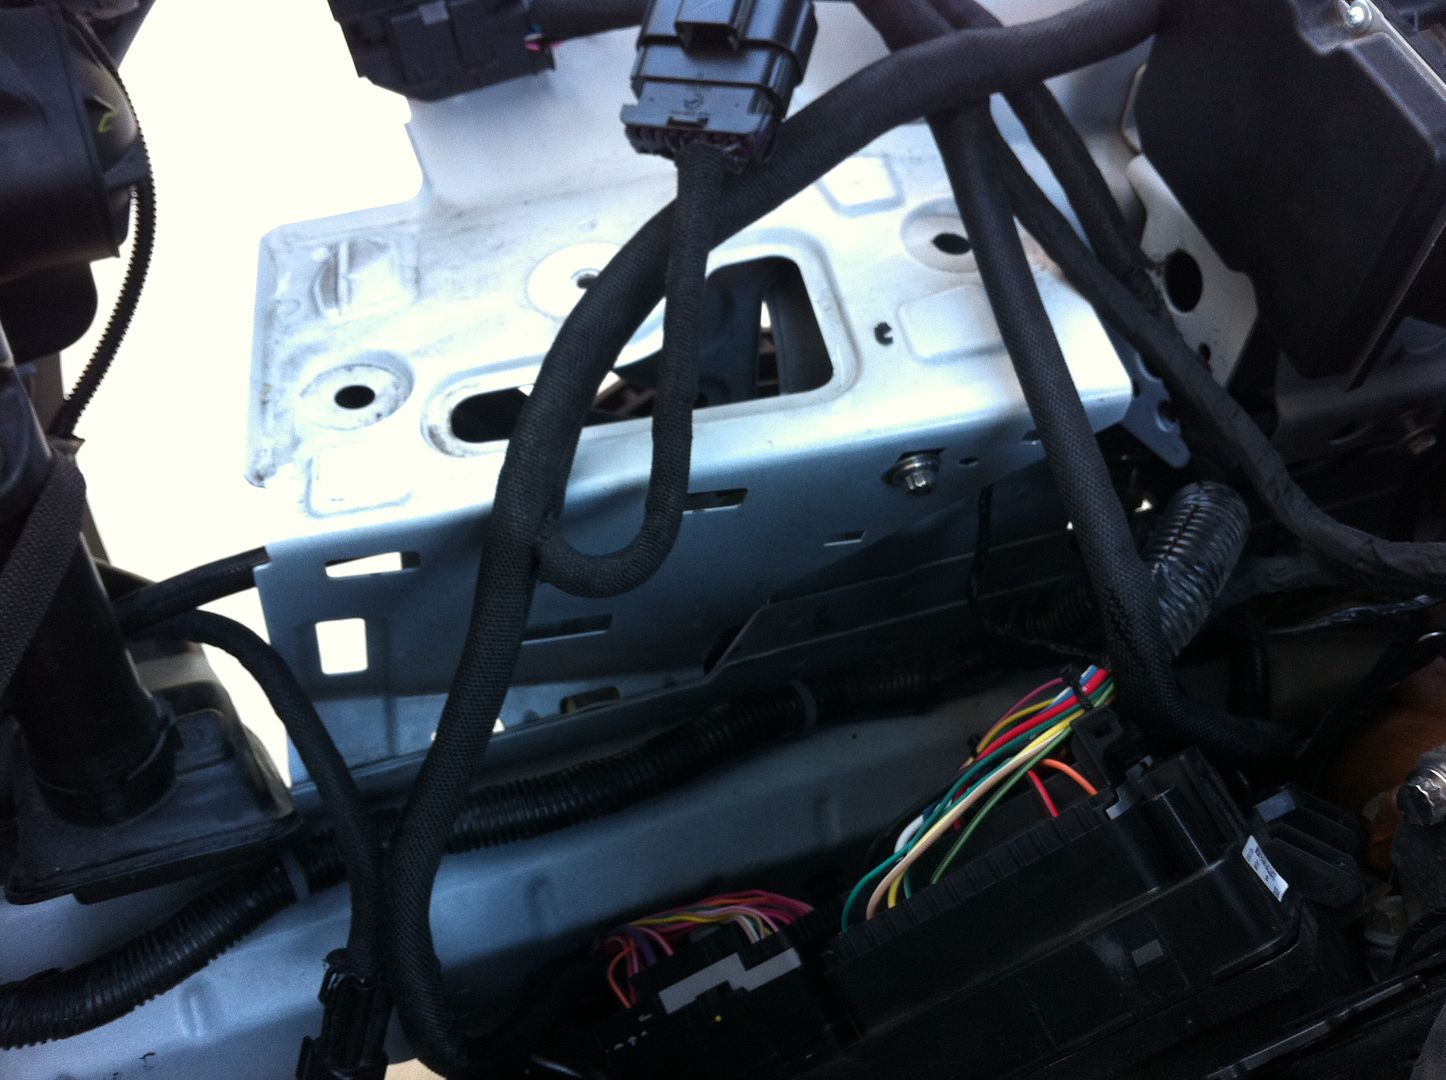 Well, after 3 months of work.... this is were "Project Cleaning Up Our Engine Bay" Stands!  Somebody please shoot me Somebody please shoot me  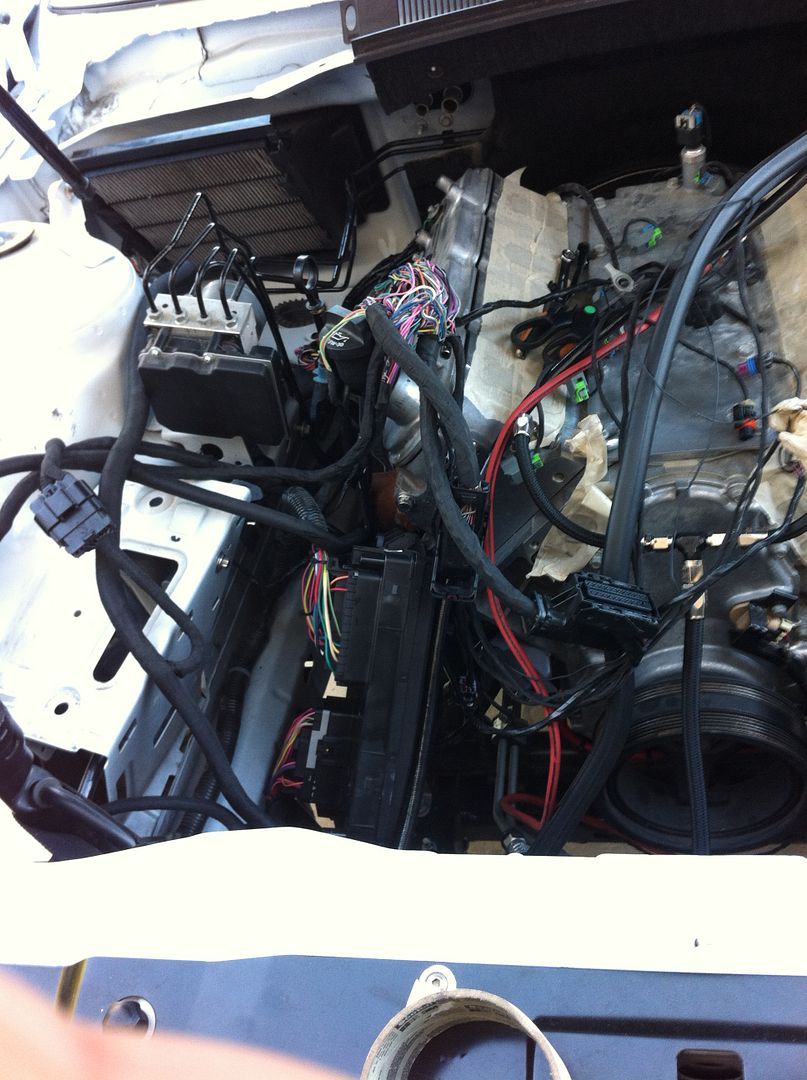
Last edited by Moreno1; 03-12-2012 at 11:58 PM. |
|
|
|
|
03-12-2012, 08:58 PM
|
#511 |
|
Drives: cars Join Date: May 2011
Location: Oversneeze
Posts: 4,544
|
I got a chance to buy some of the russell split loom from jegs and its leaps and bounds better than the generic kind that Jegs and others sell. Its definitely NOT the same quality. Russells is twice as thick while the jegs stuff was practically see through and you could see the color of the wire you put in there. I'll try to post a pic tomorrow.
These are the 2 I'm talking about. Personally I wouldn't let the Jegs brand touch my car. This is a case where you get what you pay for. http://www.jegs.com/p/Russell/Russel...48918/10002/-1 http://www.jegs.com/i/JEGS-Performan...10652/10002/-1 |
|
|
|
|
03-12-2012, 09:19 PM
|
#512 |

Drives: cts-v Join Date: Dec 2011
Location: Mooresville, NC
Posts: 506
|
LMAO!!!!!!!! I'm sorry Nathan but after following along with this thread the whole time and emailing you back and forth, I just found that last picture and caption absolutely hilarious. lol good stuff, you cleaned that engine bay right up!
__________________
|
|
|
|
|
03-12-2012, 09:32 PM
|
#513 | |
|
Drives: cars Join Date: May 2011
Location: Oversneeze
Posts: 4,544
|
Quote:
|
|
|
|
|
|
03-12-2012, 09:33 PM
|
#514 |
|
Furious Shine
Drives: None Join Date: Mar 2011
Location: Indiana
Posts: 669
|
Moving forward! Got engine stripped down (not going nearly as far as Nathan
 ). New valve covers are in the process of being custom painted, going to shoot some more paint and clear in the engine bay. Thinking about painting the black shroud over the hood latch IOM. Feel like I might as well do the Apex scoop & w/w relocation I had always considered ). New valve covers are in the process of being custom painted, going to shoot some more paint and clear in the engine bay. Thinking about painting the black shroud over the hood latch IOM. Feel like I might as well do the Apex scoop & w/w relocation I had always considered  . Have fuel rails to polish and will tidy up at least some of the wiring lol! . Have fuel rails to polish and will tidy up at least some of the wiring lol!Still some things up in the air regarding my coil relocation plans... |
|
|
|
|
03-12-2012, 11:52 PM
|
#515 | ||
|
Drives: G5.R Join Date: Sep 2010
Location: SoCal
Posts: 2,377
|
Quote:
 Quote:

|
||
|
|
|
|
03-12-2012, 11:55 PM
|
#516 | |
|
Drives: G5.R Join Date: Sep 2010
Location: SoCal
Posts: 2,377
|
Quote:

|
|
|
|
|
|
03-13-2012, 12:34 AM
|
#517 |
|
Drives: cars Join Date: May 2011
Location: Oversneeze
Posts: 4,544
|
Take out the rear seats and make it a mid engine. Think of all the underhood room for fuse box mounting.
|
|
|
|
|
03-13-2012, 01:44 AM
|
#518 | |
|
Drives: G5.R Join Date: Sep 2010
Location: SoCal
Posts: 2,377
|
Quote:
 Wait, HMMMMM, you think? Could you imaging how cool! Pop the hood open and  all there is....... a giant fuse box center stage with all kinds of circuitry running to each fuse. I think I'm going to give Circuit City a visit tomorrow. all there is....... a giant fuse box center stage with all kinds of circuitry running to each fuse. I think I'm going to give Circuit City a visit tomorrow. I think the fumes are starting to get to me. |
|
|
|
|
|
|
|
|
 |
|
|
 Similar Threads
|
||||
| Thread | Thread Starter | Forum | Replies | Last Post |
| Roto-Fab | Engine Covers - S/C | Fuse Relay Cover | Radiator Cover | Billet Oil Cap+ | AutoAgenda | Exterior Parts & Accessories | 14 | 02-06-2013 08:43 PM |
| New Texas Speed & Performance Engine Machining Center! | Trevor @ Texas Speed | Camaro V8 LS3 / L99 Engine, Exhaust, and Bolt-Ons | 18 | 01-16-2013 03:46 PM |
| Hawk Performance Brake Pads part HB247Z.575 $85.00 | Rogan | USA - Florida | 2 | 10-07-2011 12:10 PM |
| Acronyms? | KEEP RT | Camaro V8 LS3 / L99 Engine, Exhaust, and Bolt-Ons | 20 | 03-11-2011 08:57 PM |
| Great Read and Info on Oil Weight | Banshee | Mechanical Maintenance: Break-in / Oil & Fluids / Servicing | 1 | 11-23-2009 09:03 PM |


